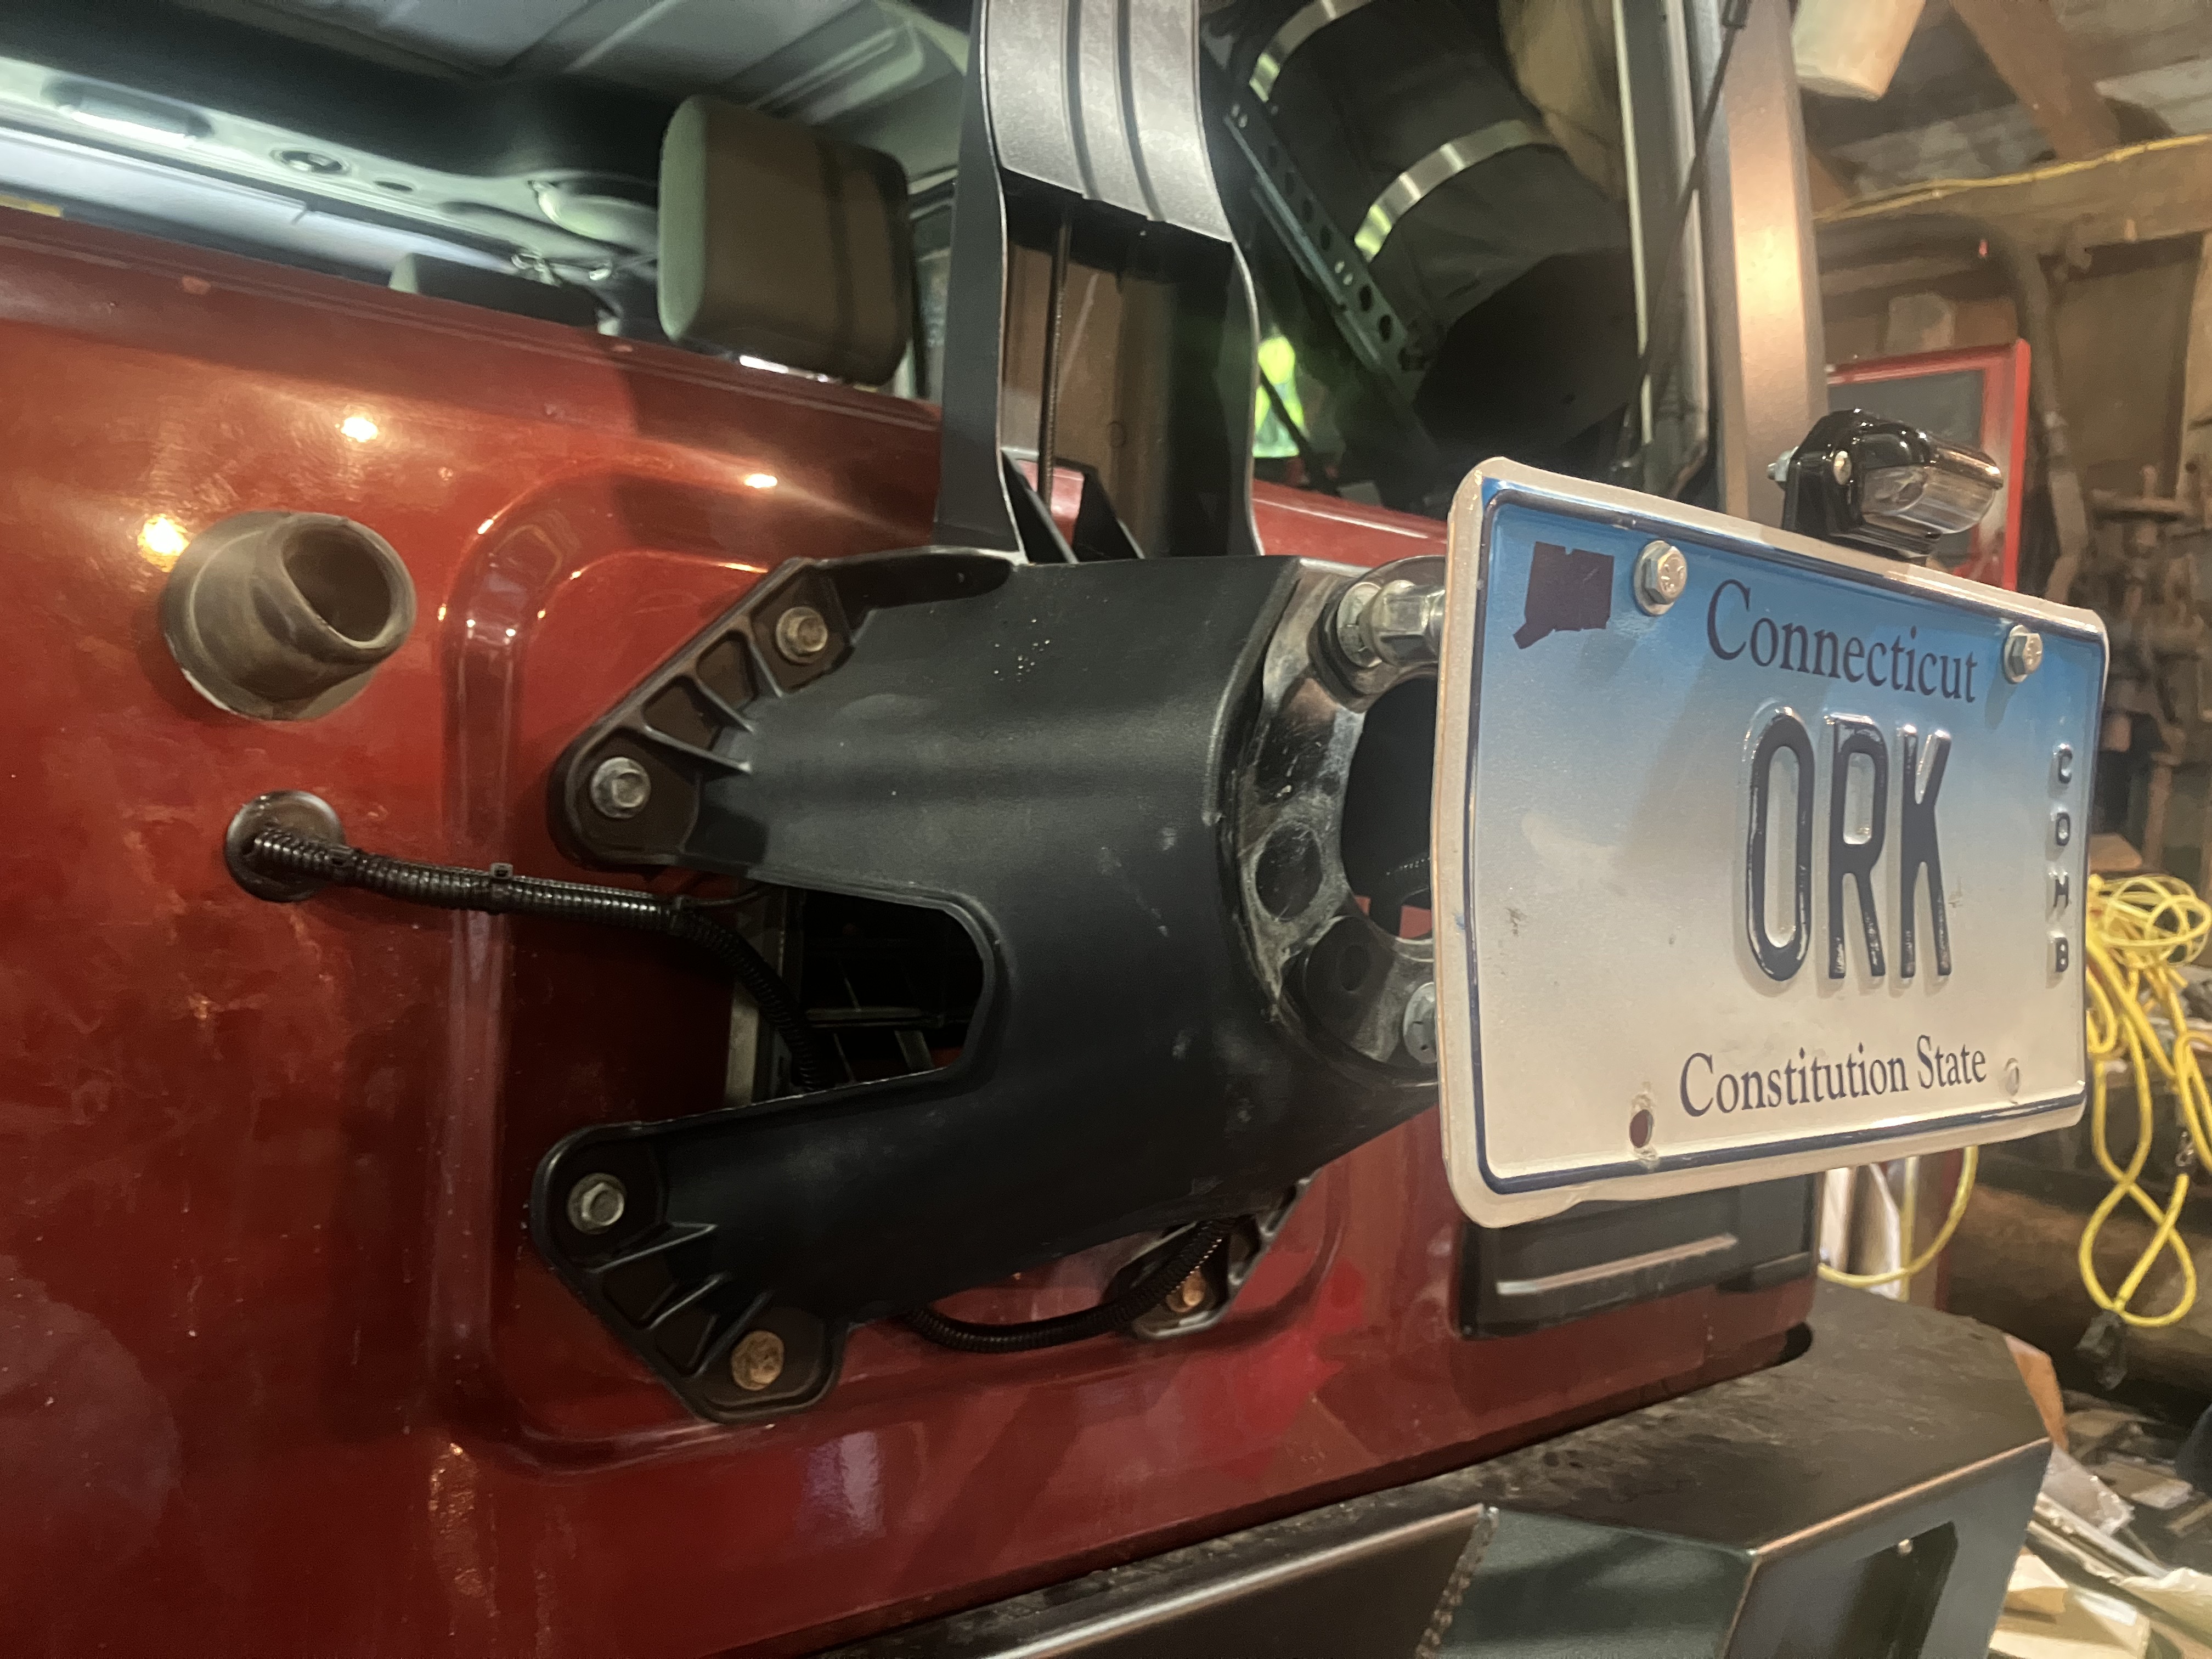
One project almost done is finally hooking up the light for the relocated license plate which took waayyyy too long.
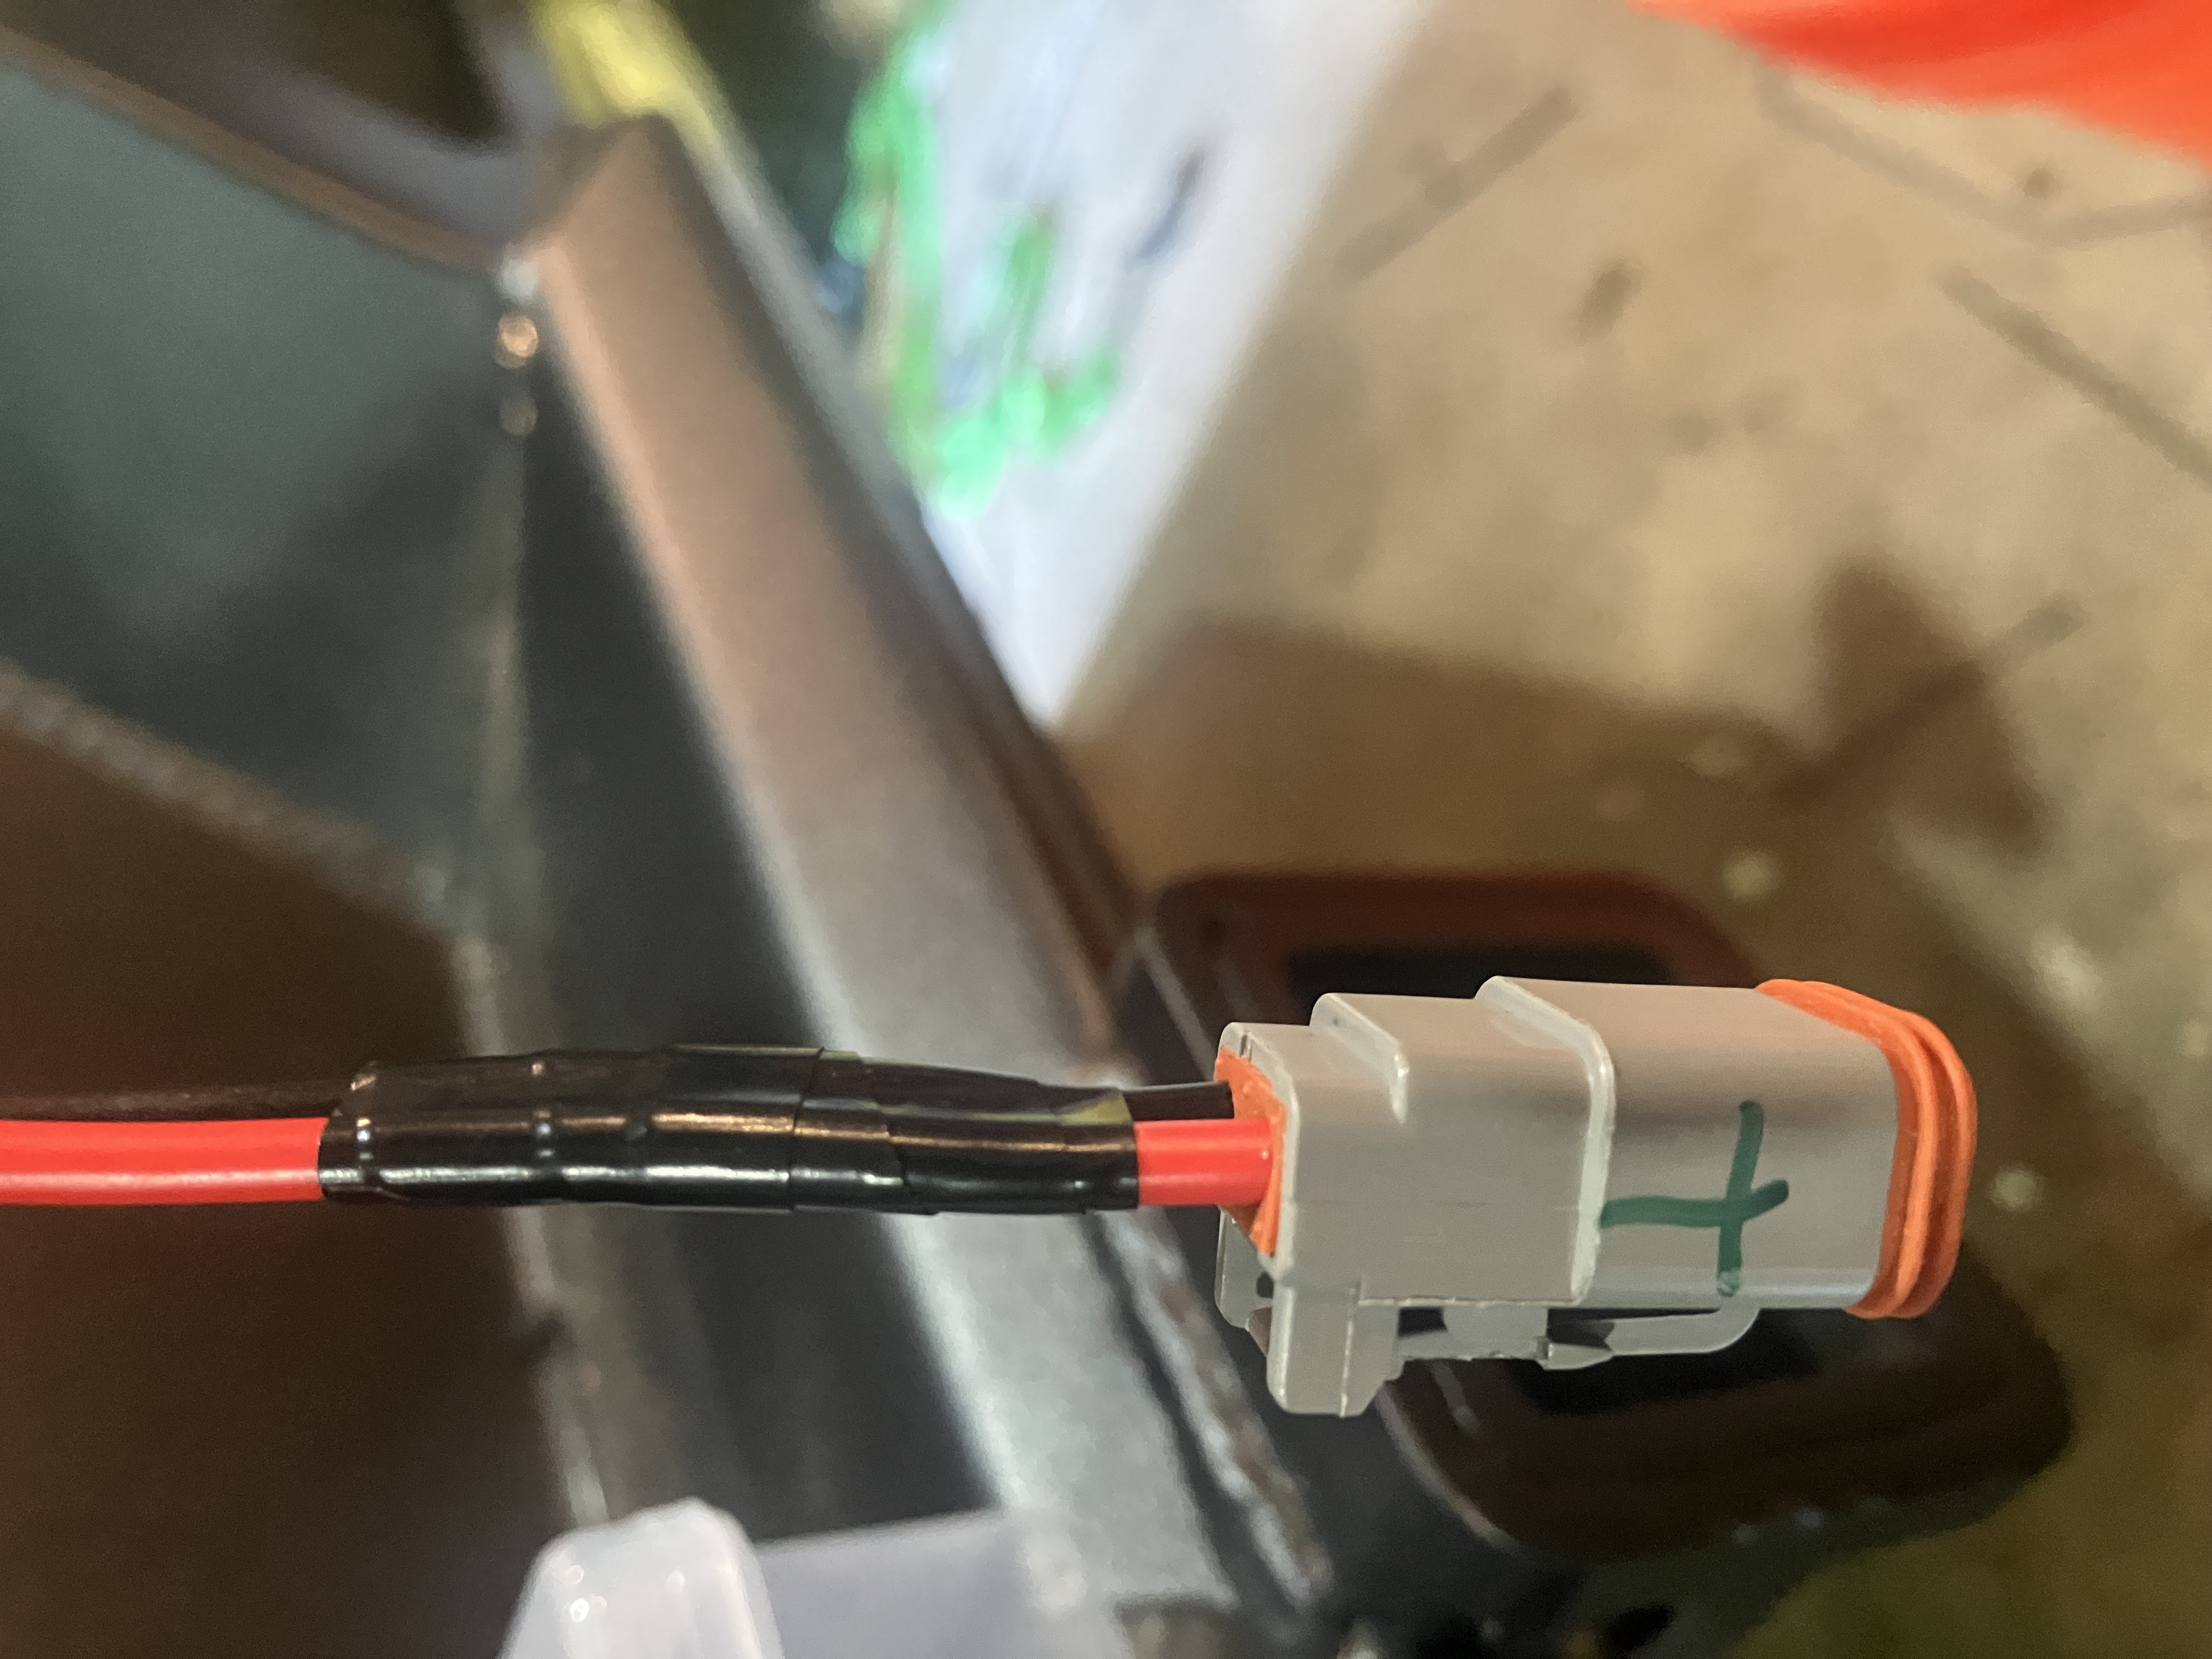
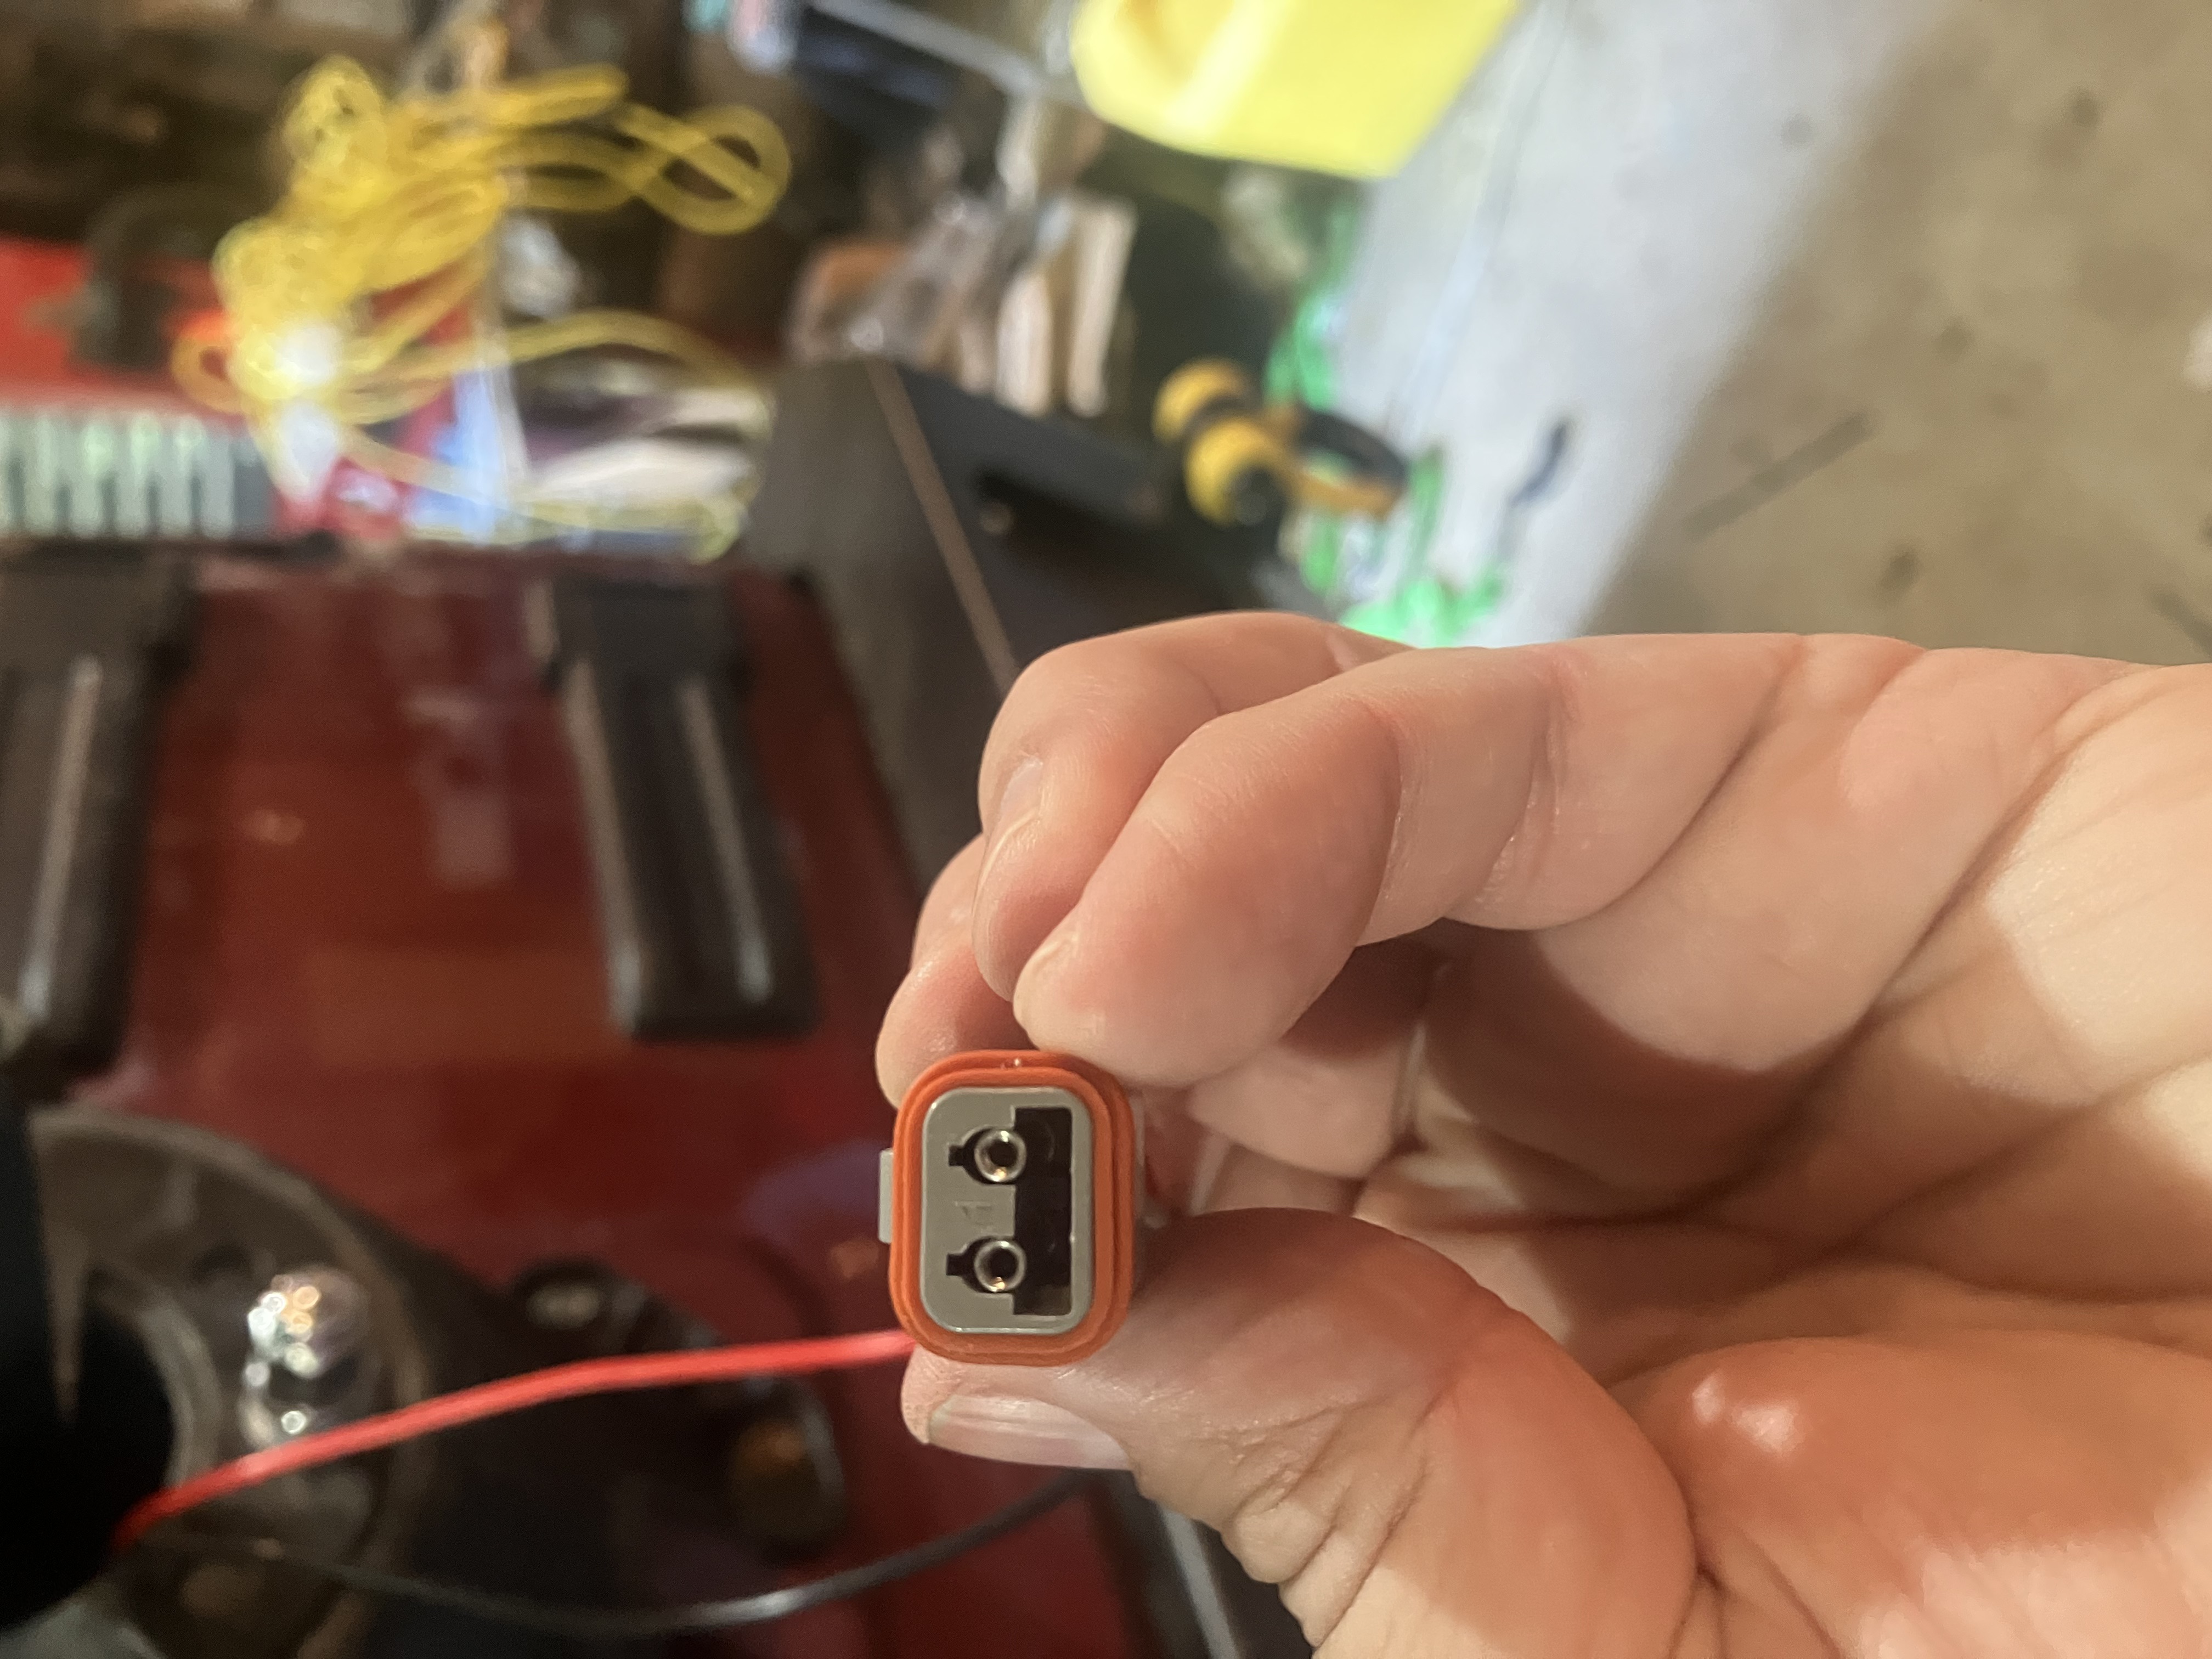
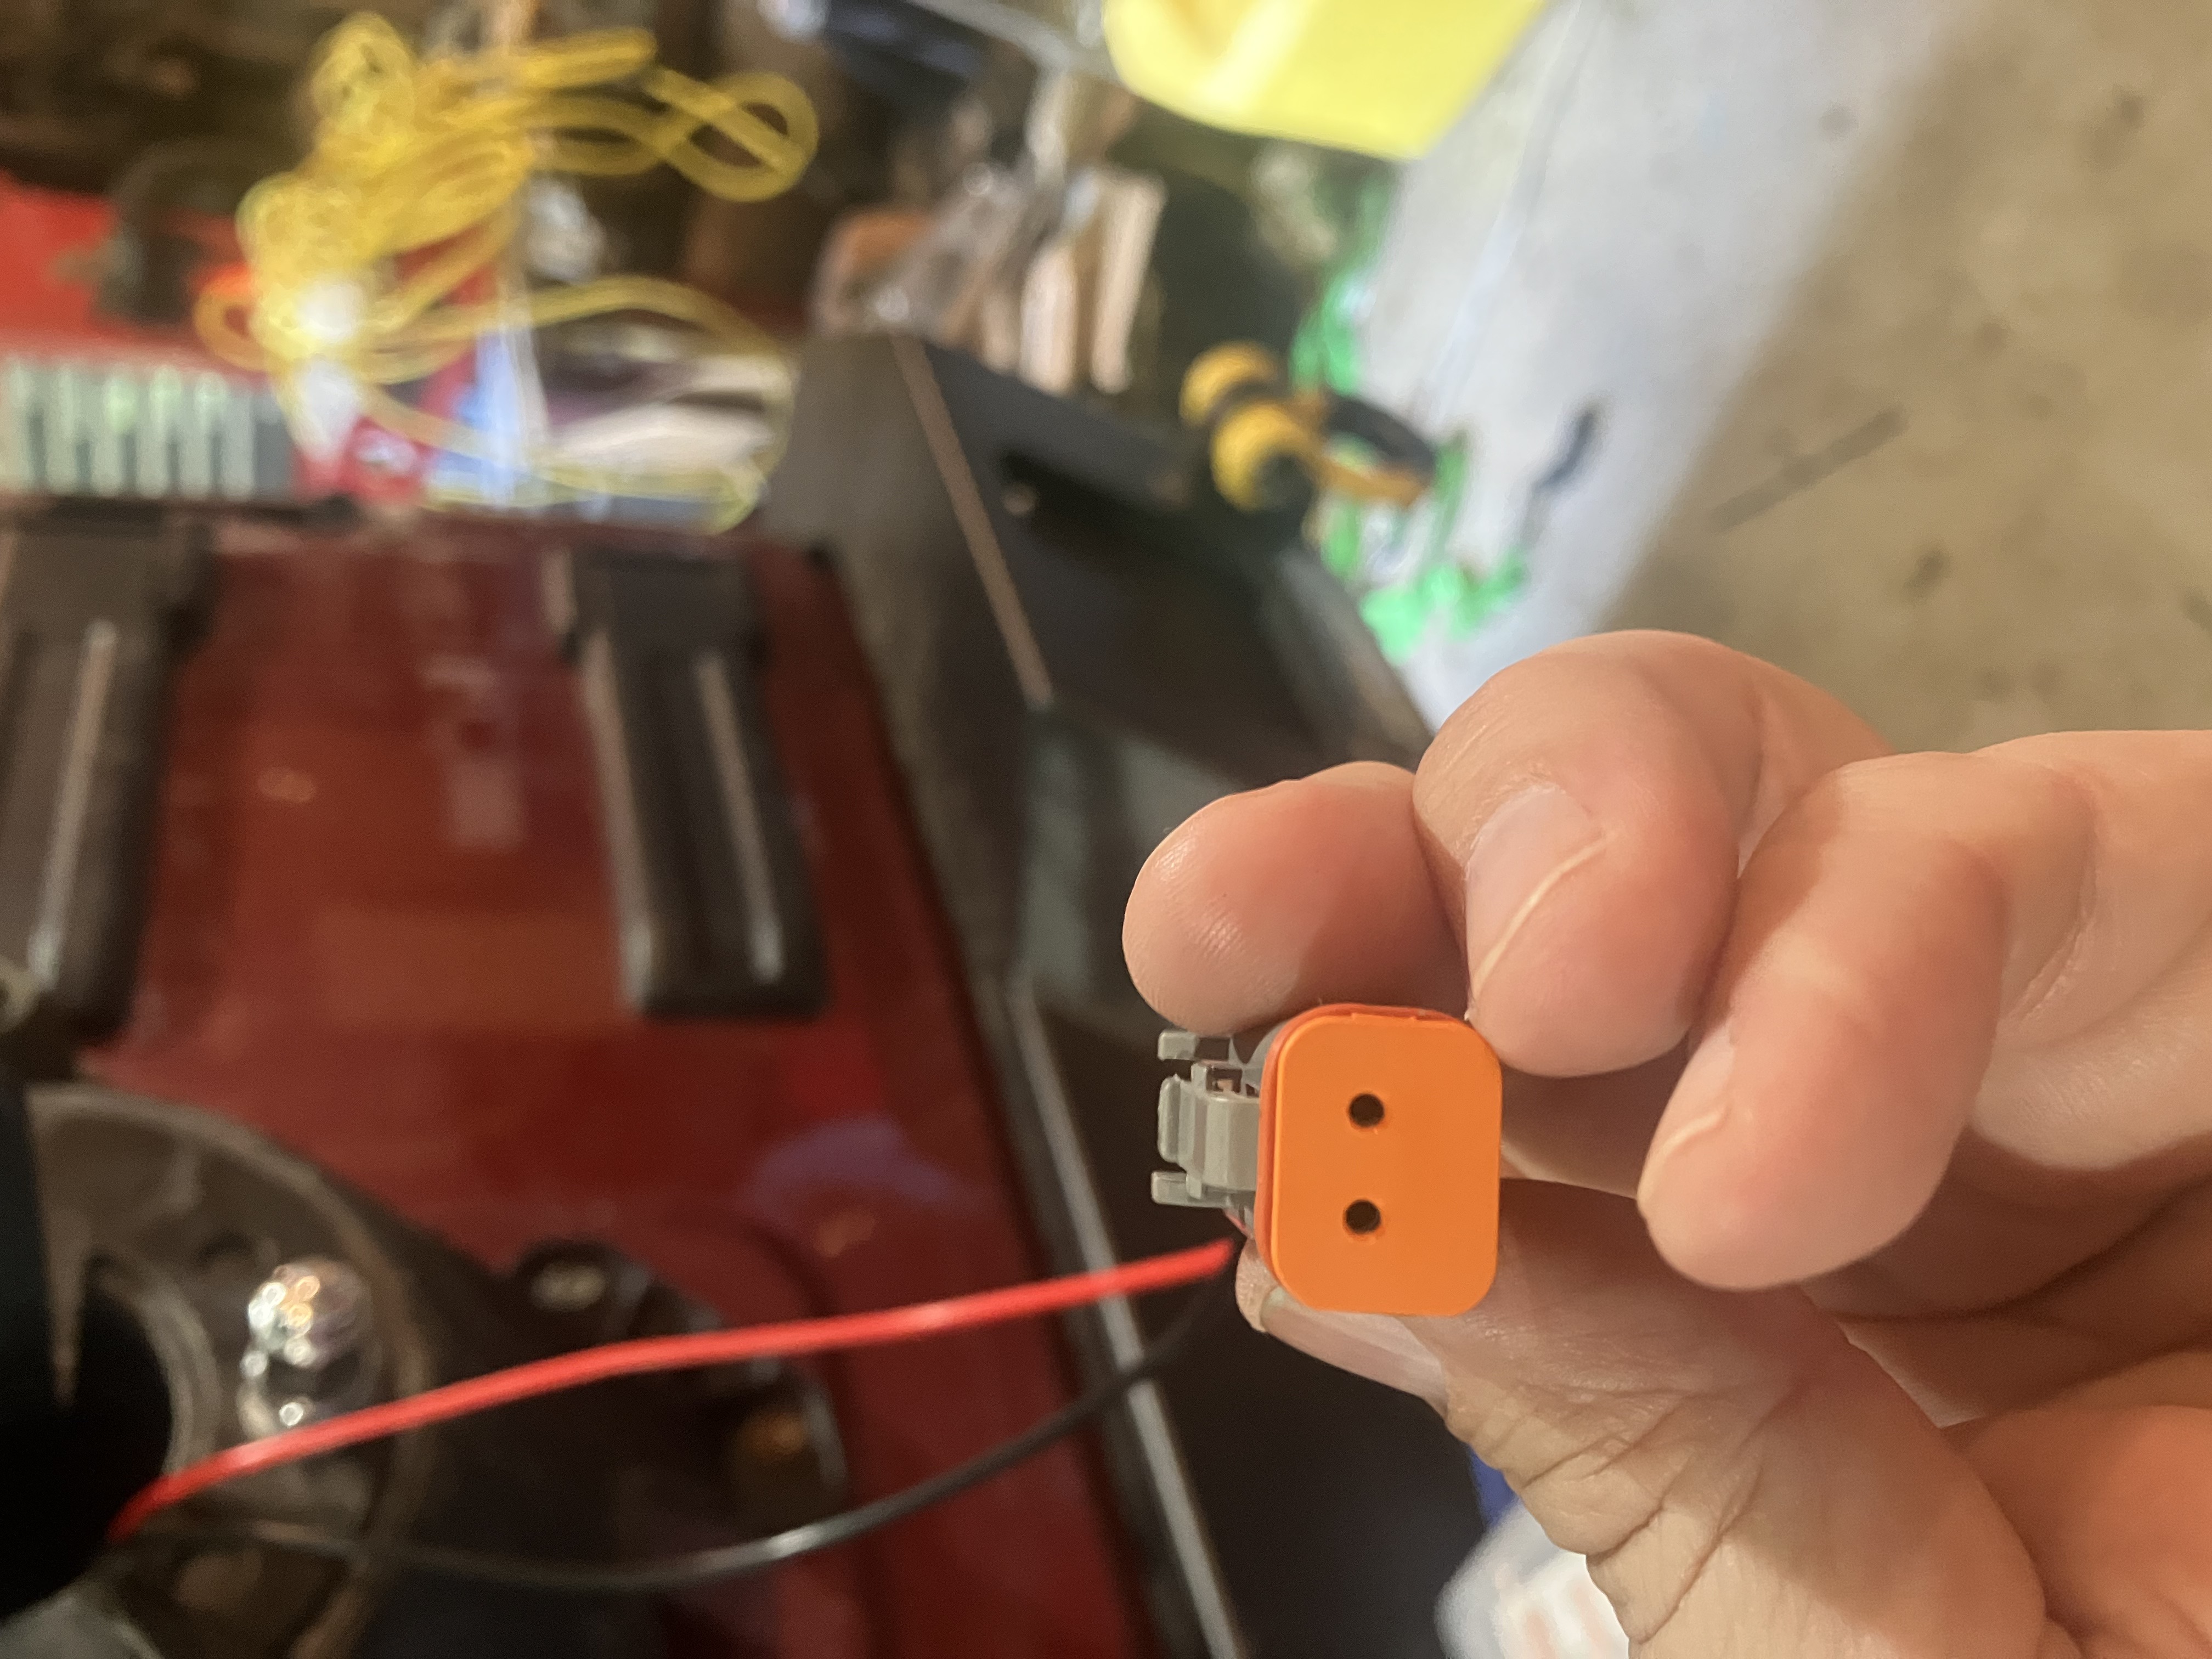
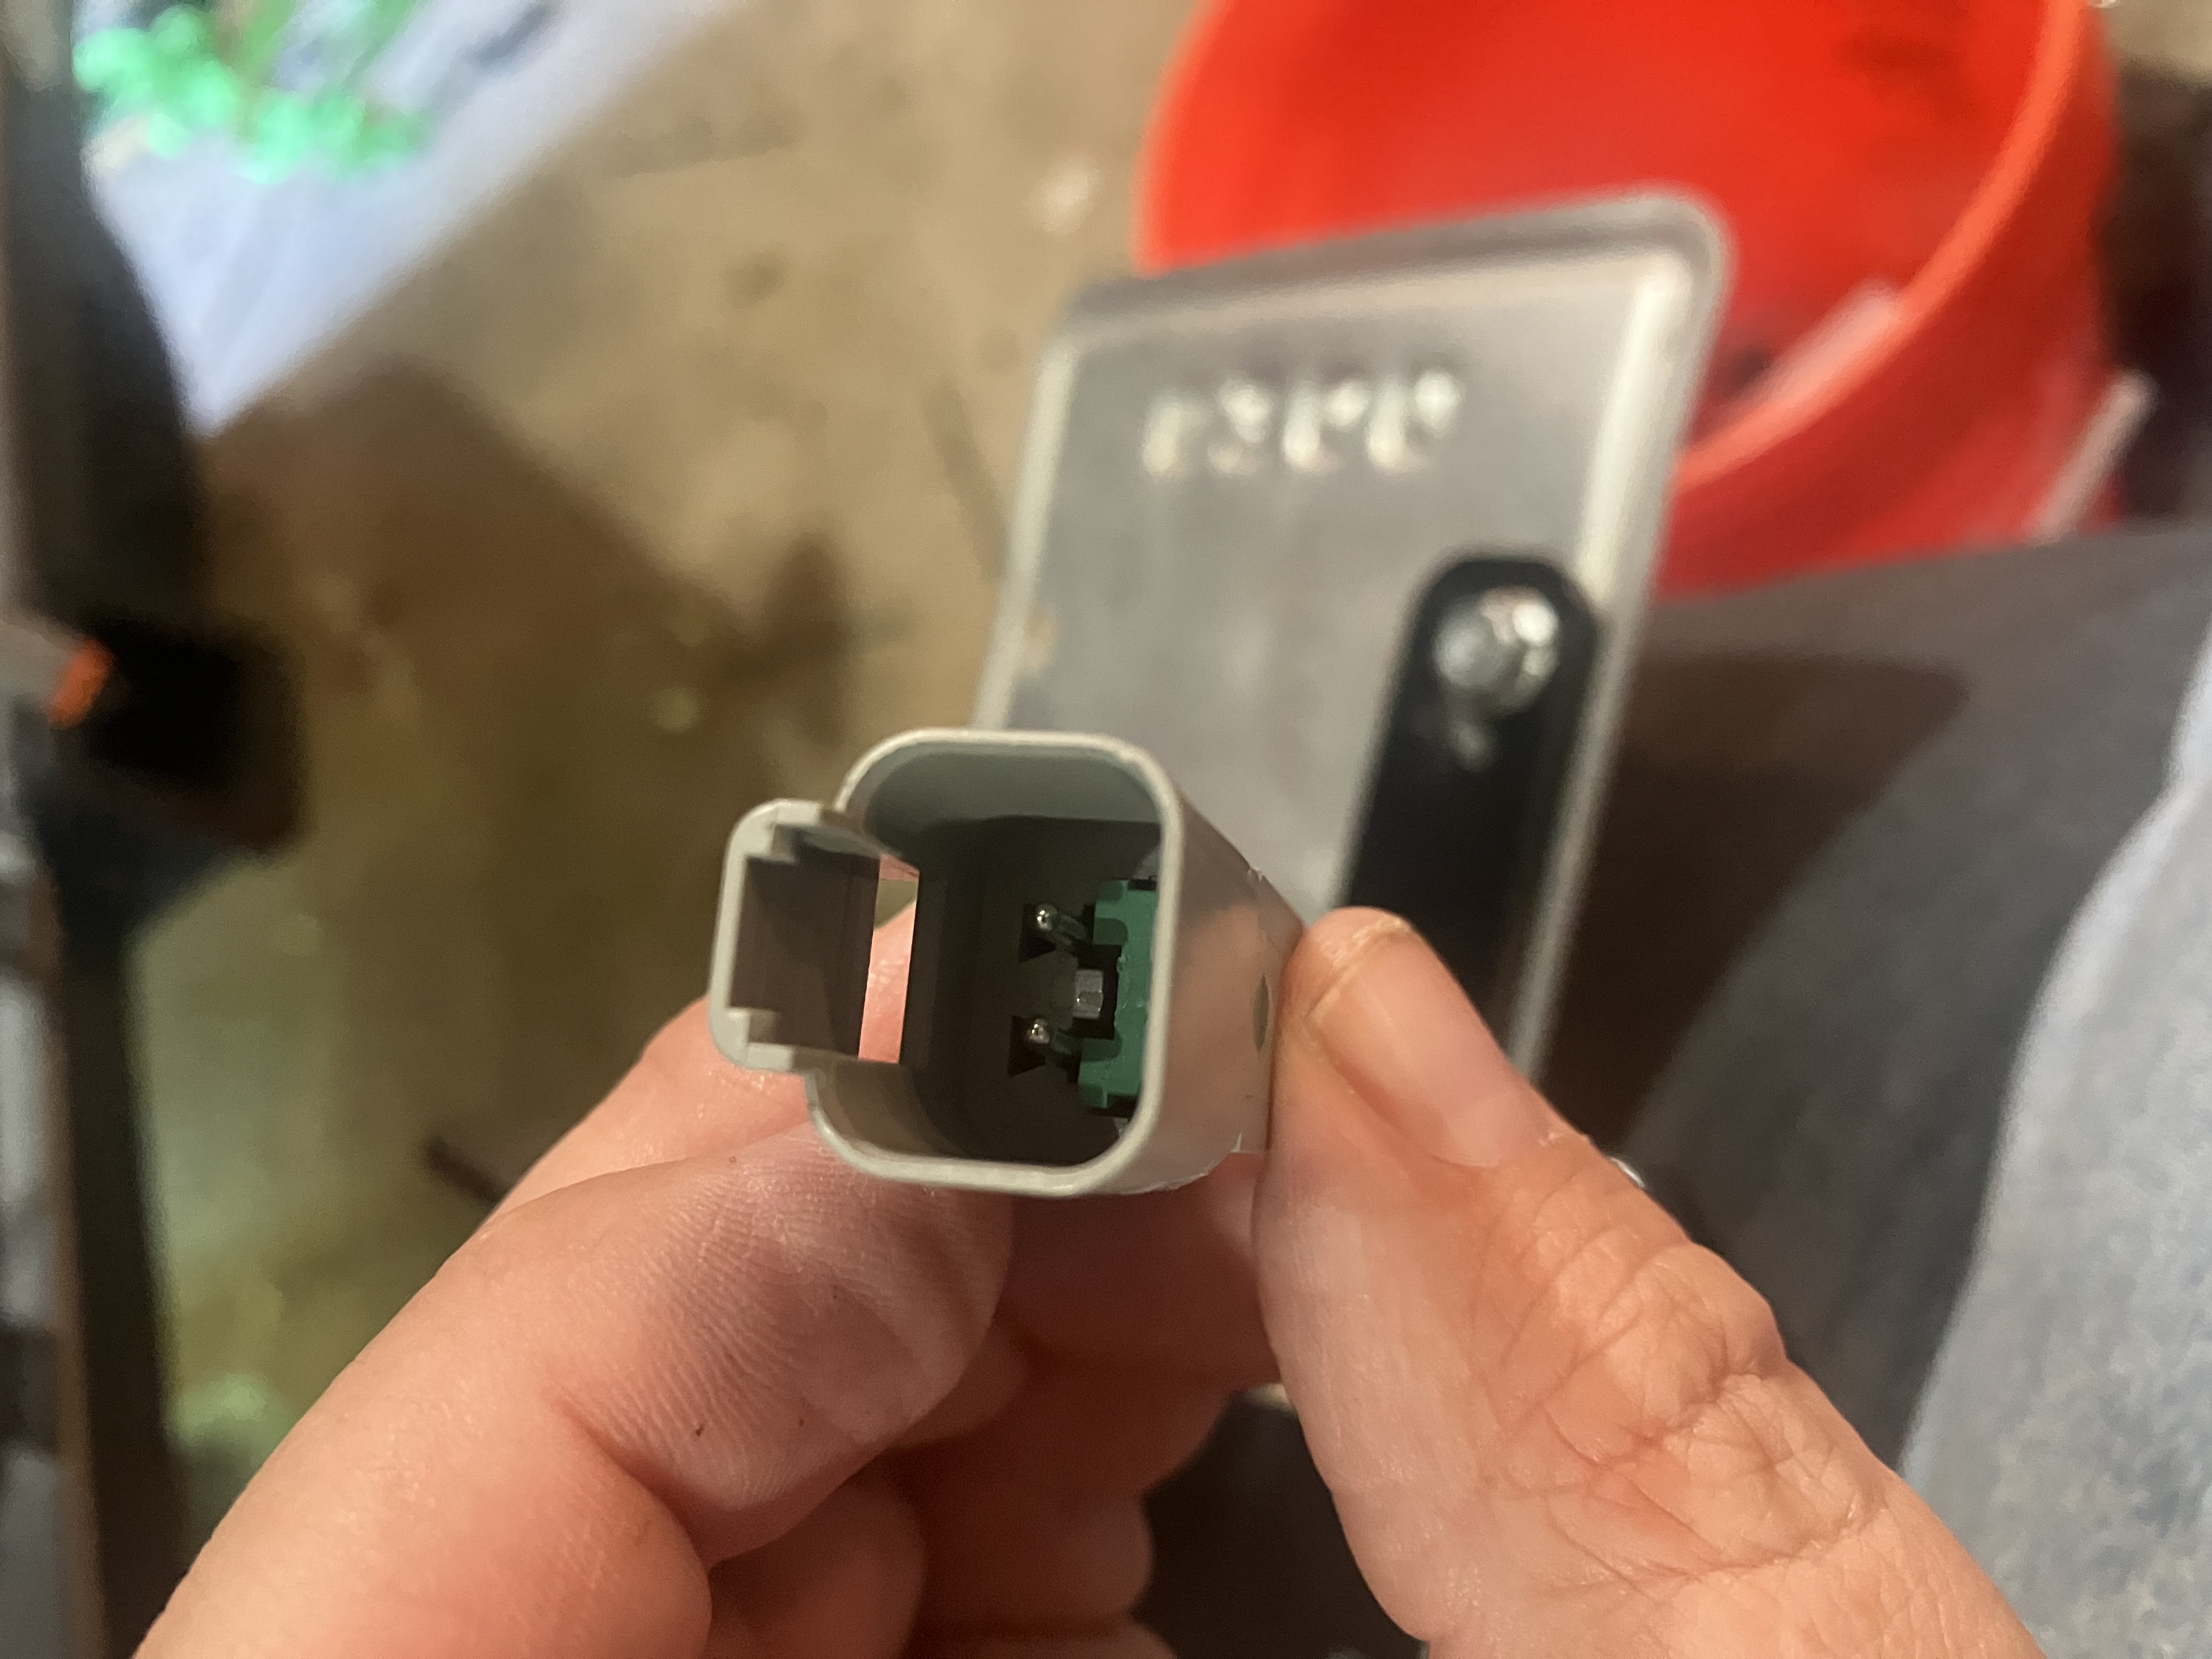
A good part of that was me learning about DT Connectors, and damned if I've figured out how the green wedge for the male plug goes in -- I think there is tabs you need to make sure are out of the way, but mostly it seemed like just randomly all of a sudden in clicked in.
Pulling wire through...
Drilled a hole for each wire through the plug and used Purple Power to lubricate them.
No photos from Saturday when I was working on it while visiting with Cindy. Decided I needed to lengthen the outside and pulled even more wire; more on this later but I had already cut the wires inside.
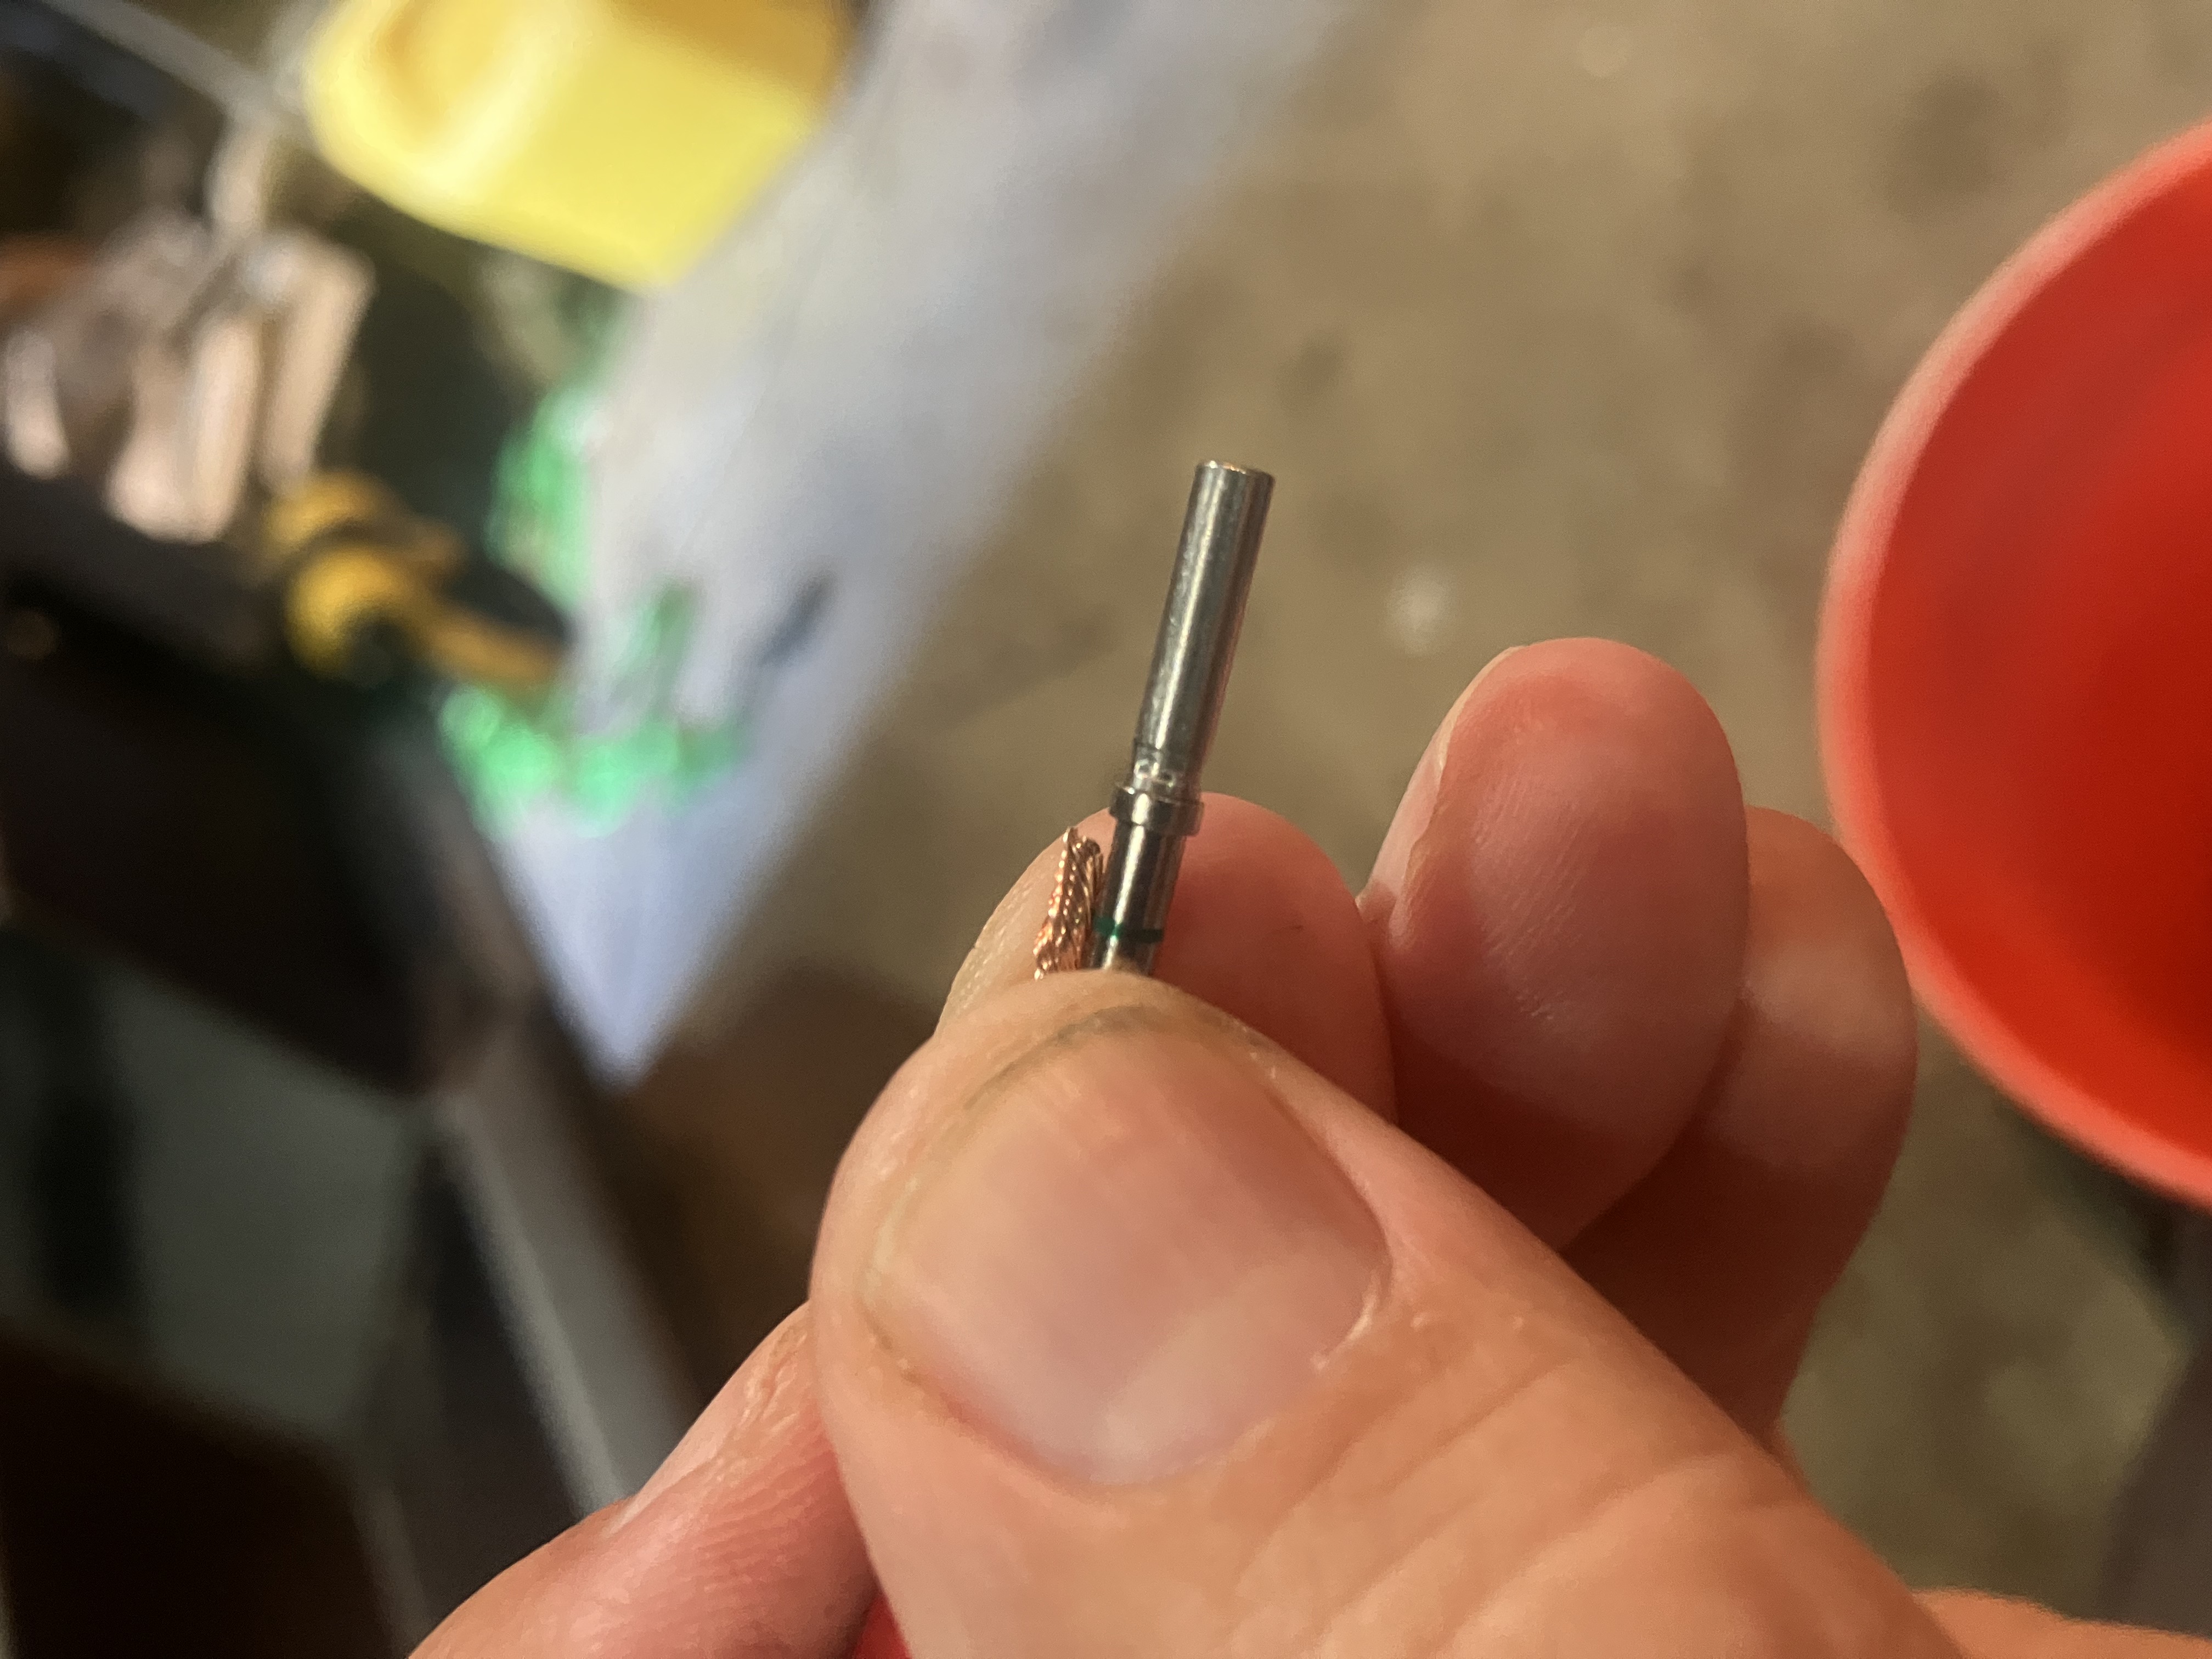
The connectors on at this point where "Stamped" ones which...don't work. You want "Solid" connectors and the special crimping tool. Don't really know why they sell kits with the stamped connectors, at least a typical hardware store crimp tool isn't going to do a good job. Ordered some on Amazon so it was Tuesday before I got back on it.

The solid connector will slide in flush in the crimp tool:
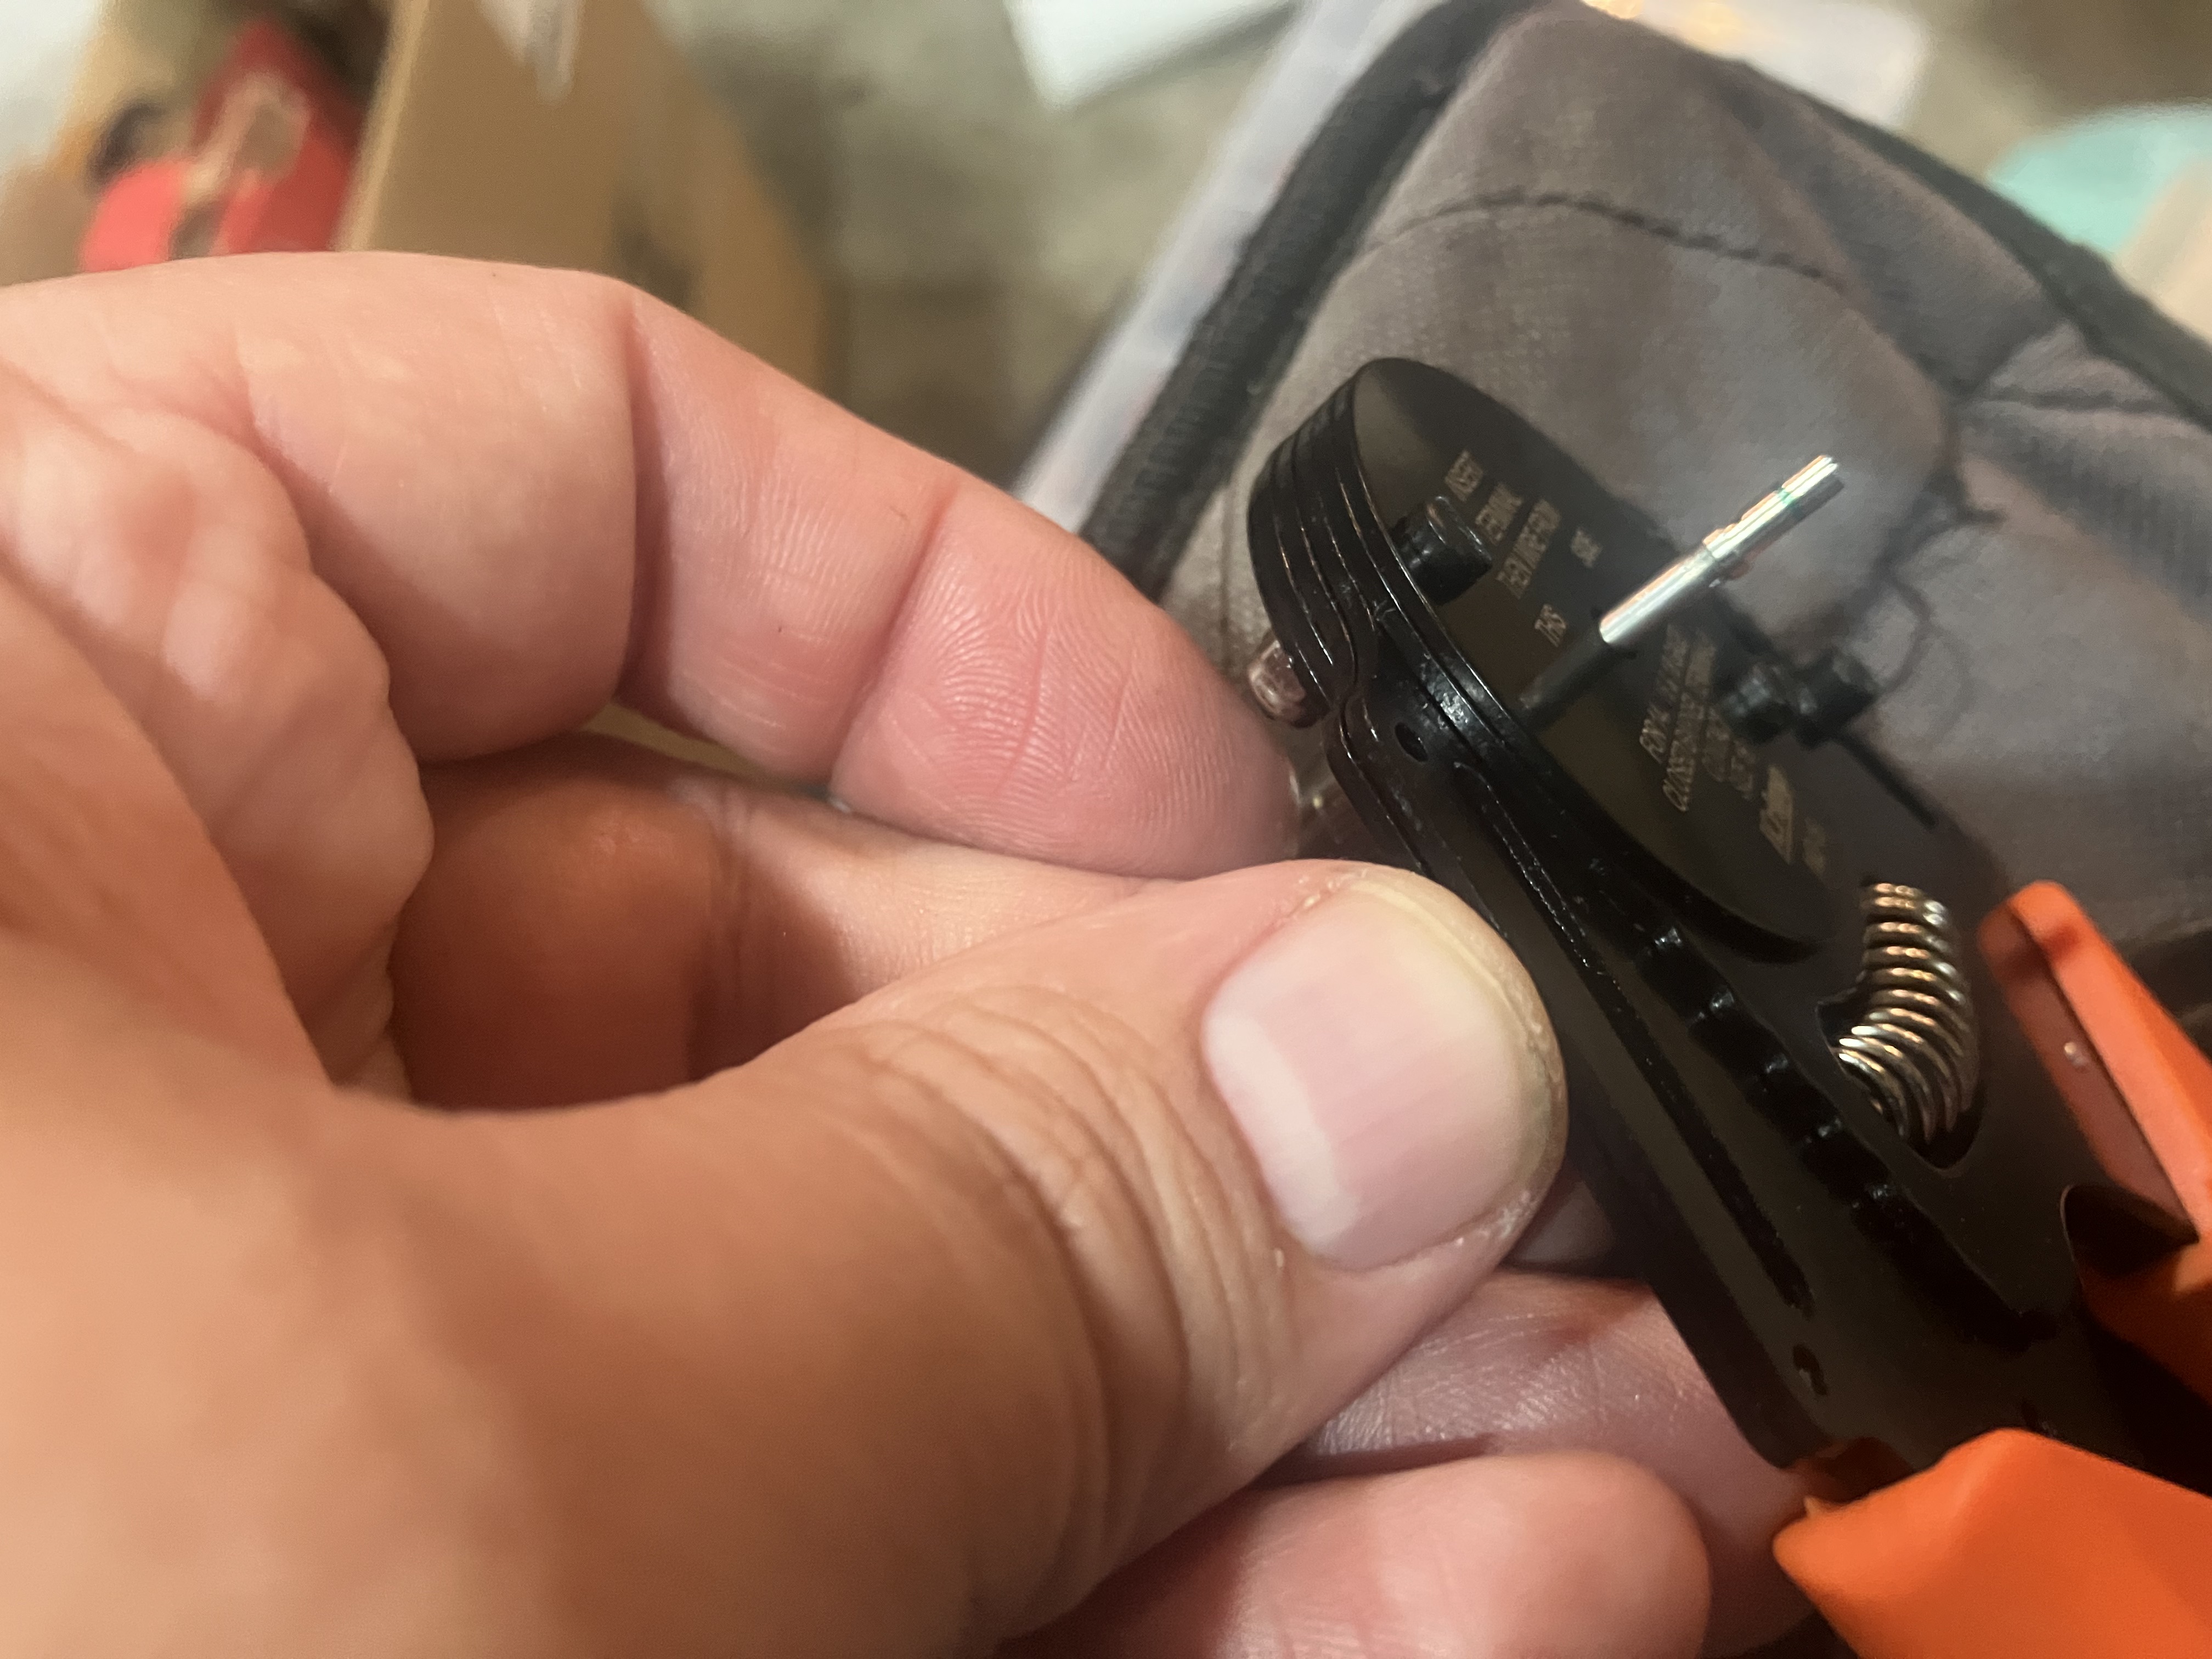
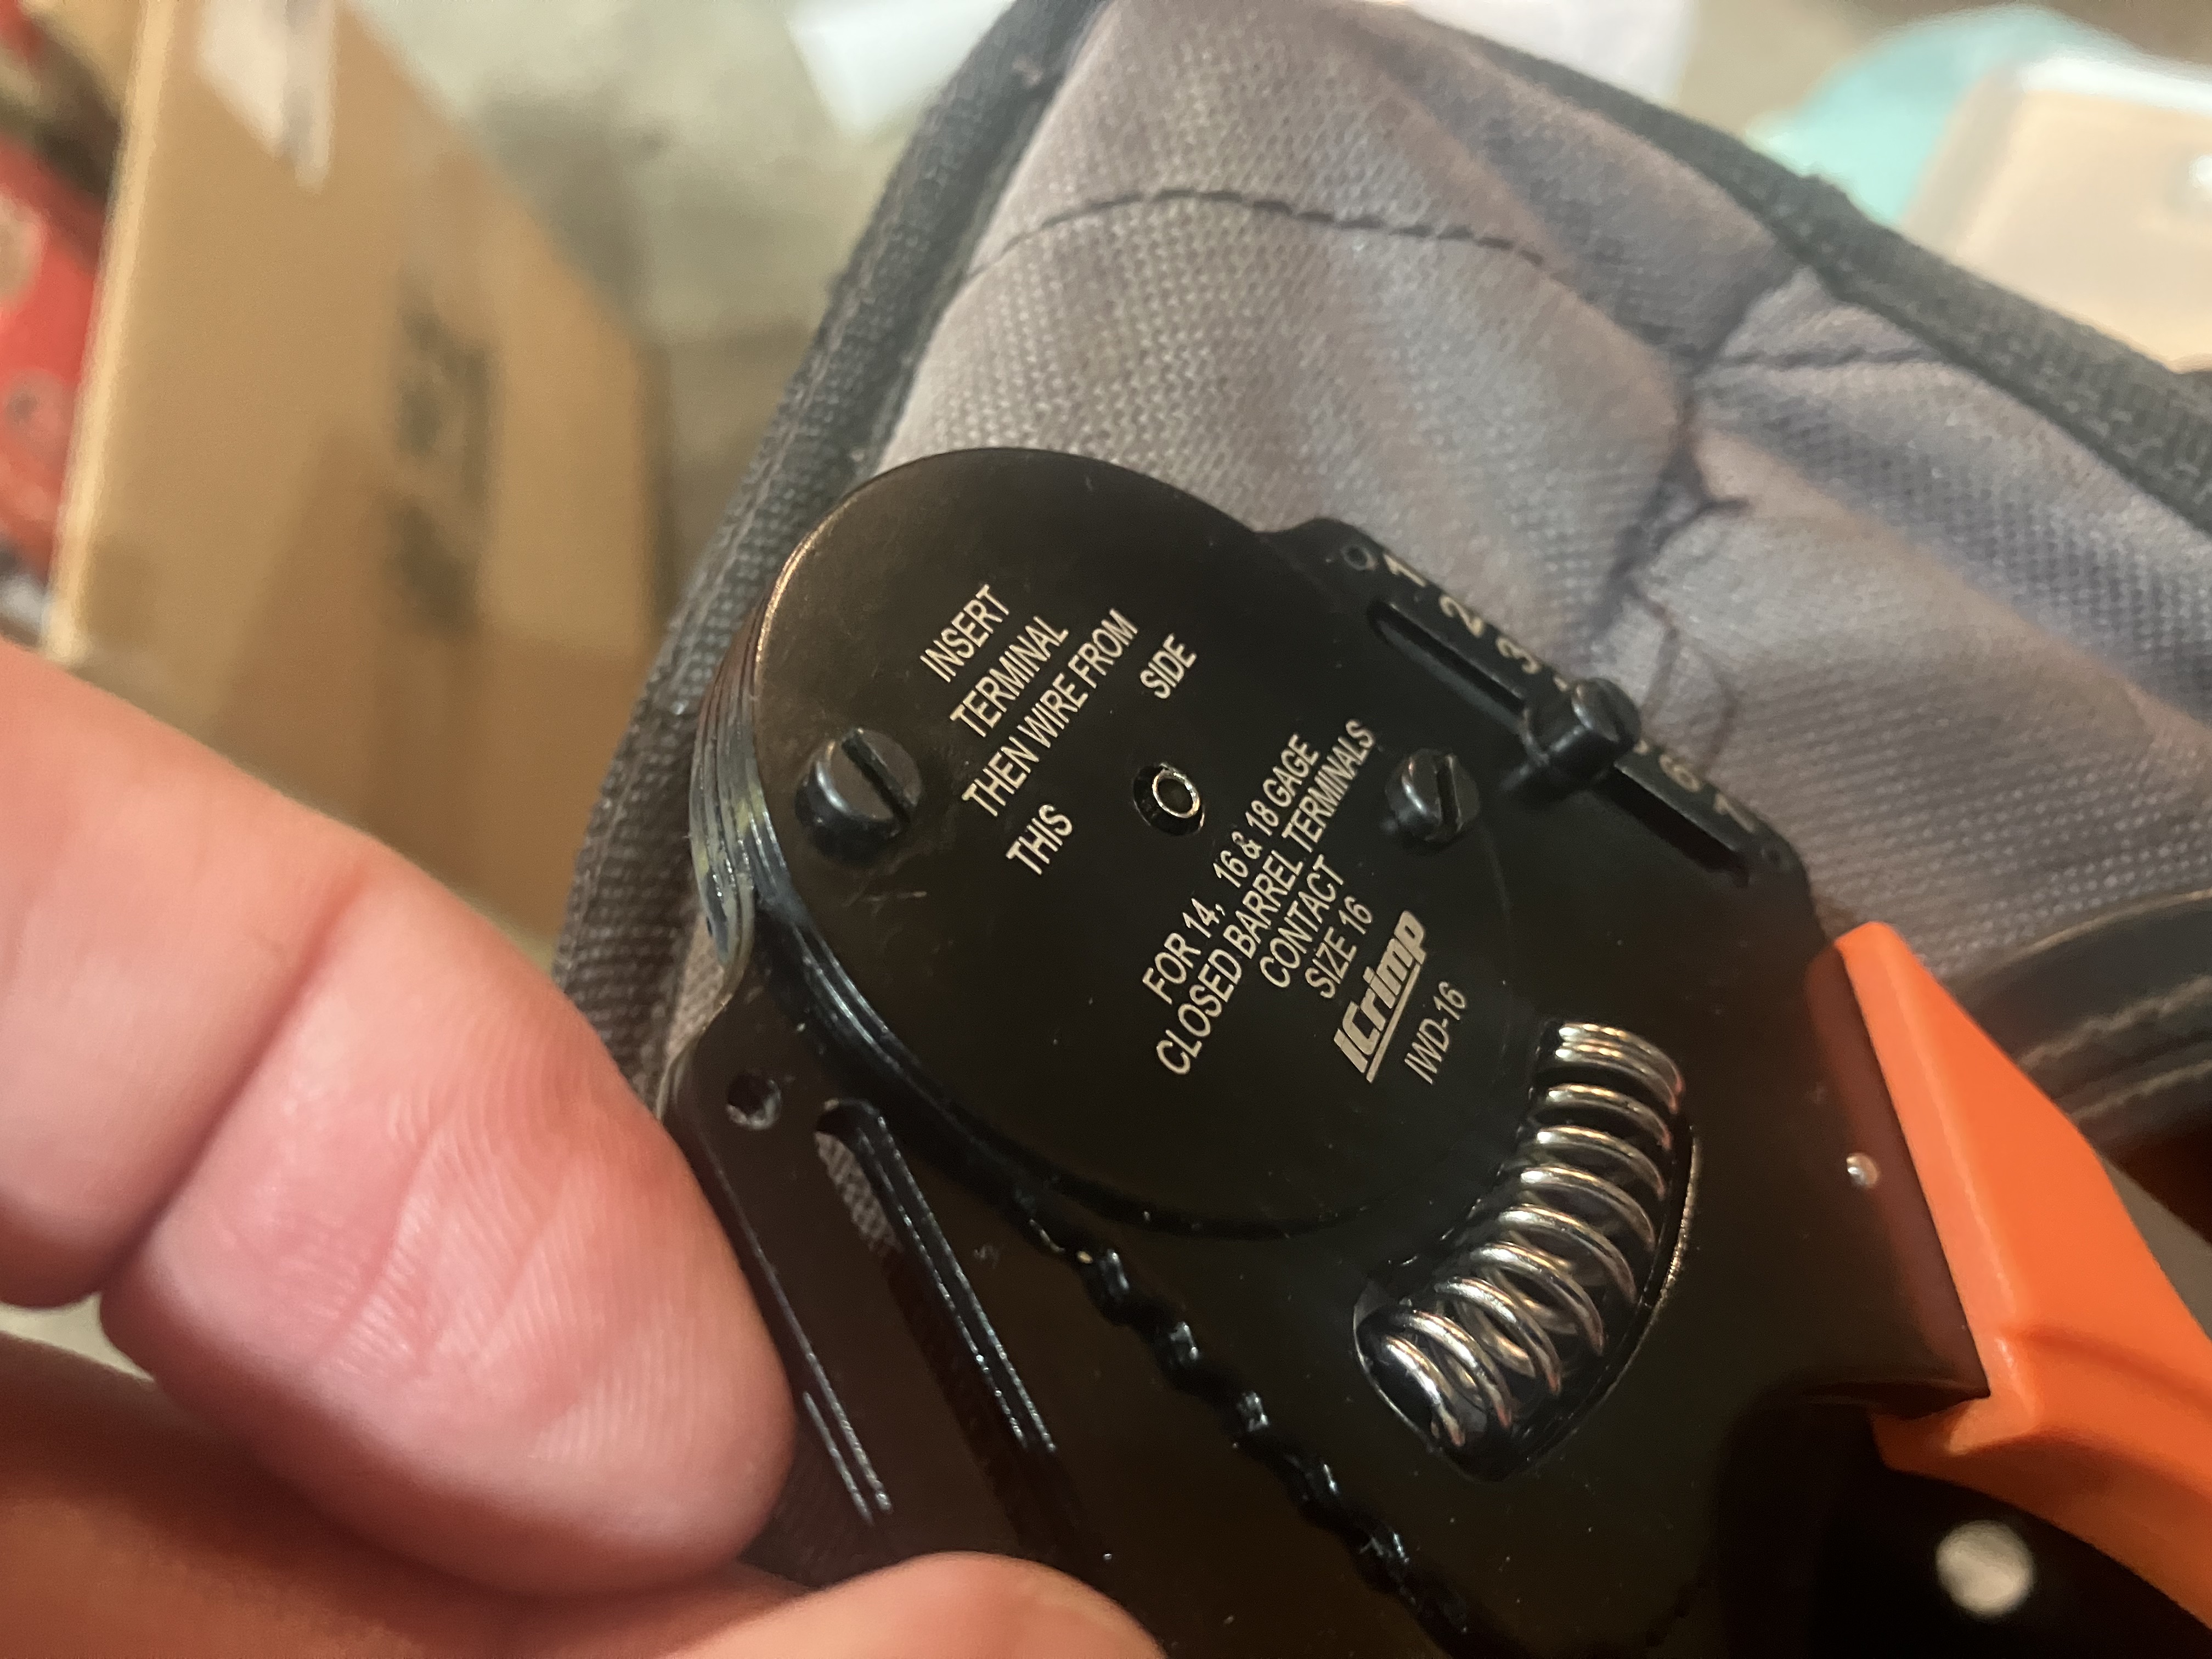
Trim the stripped wire to the length of the top of the connector, insert and crimp:
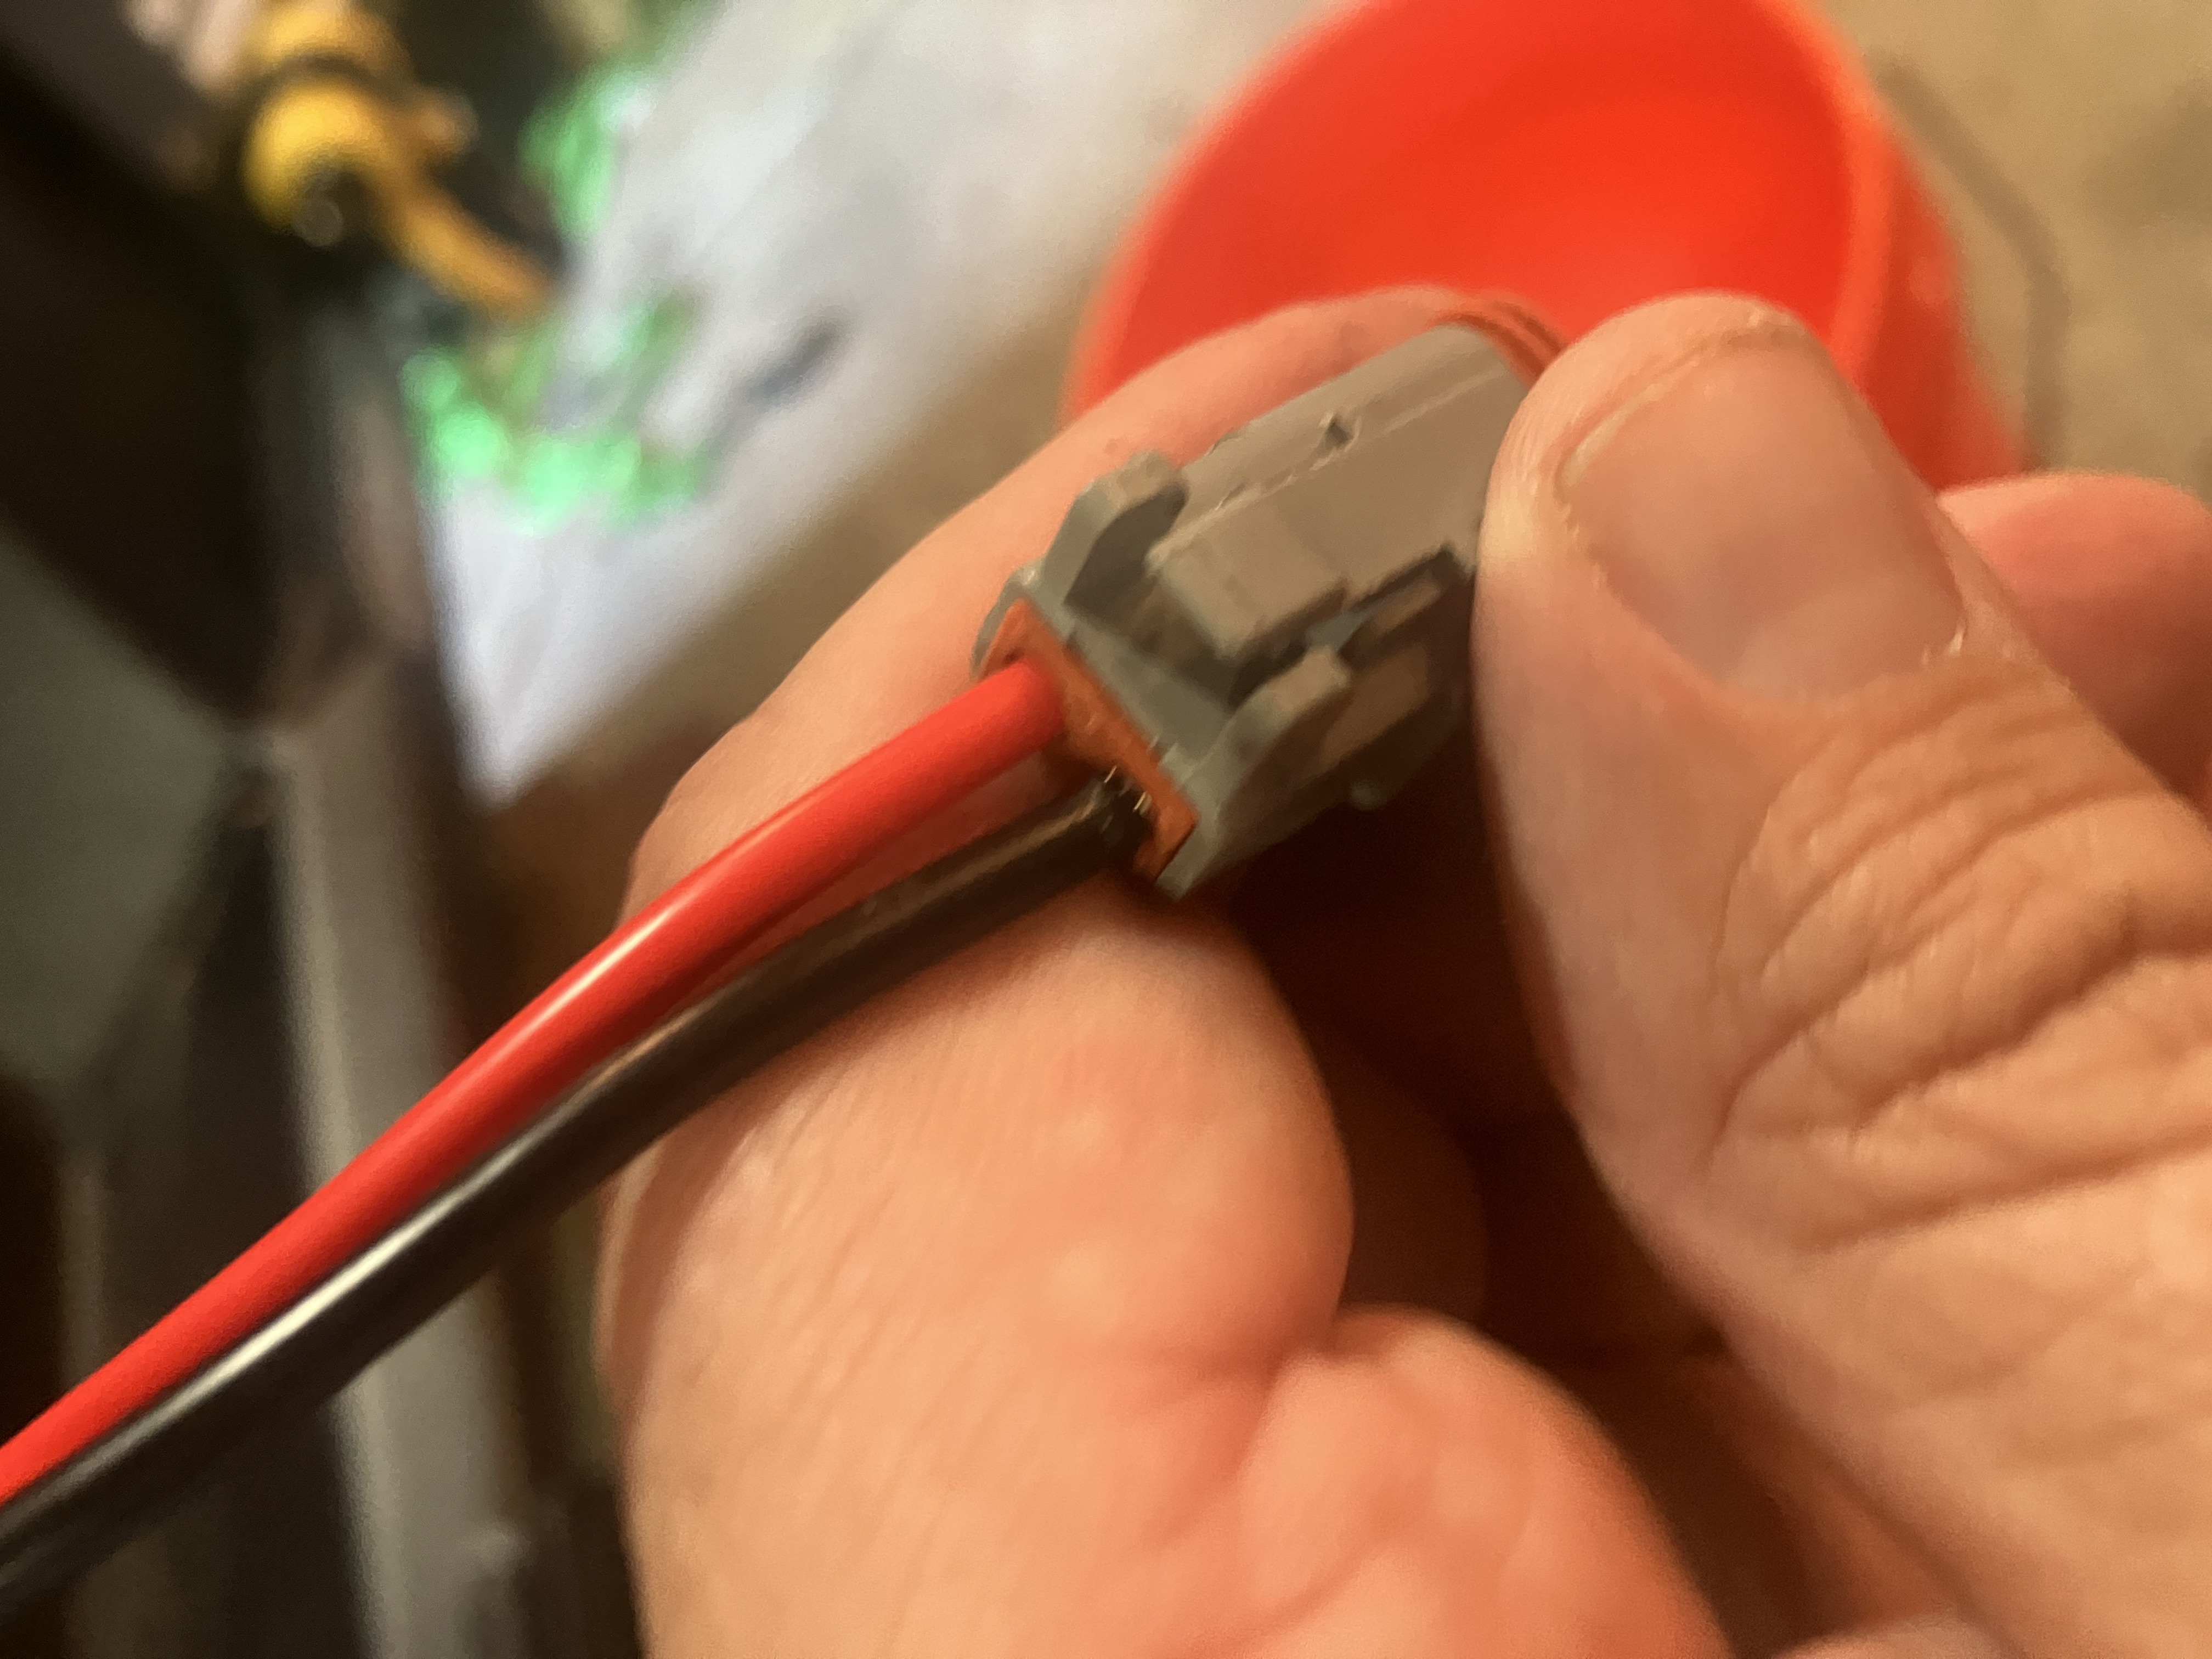
Debated using shrink tube, but chose to use electrical tape -- just a little reinforcement so the wires are flopping as much:

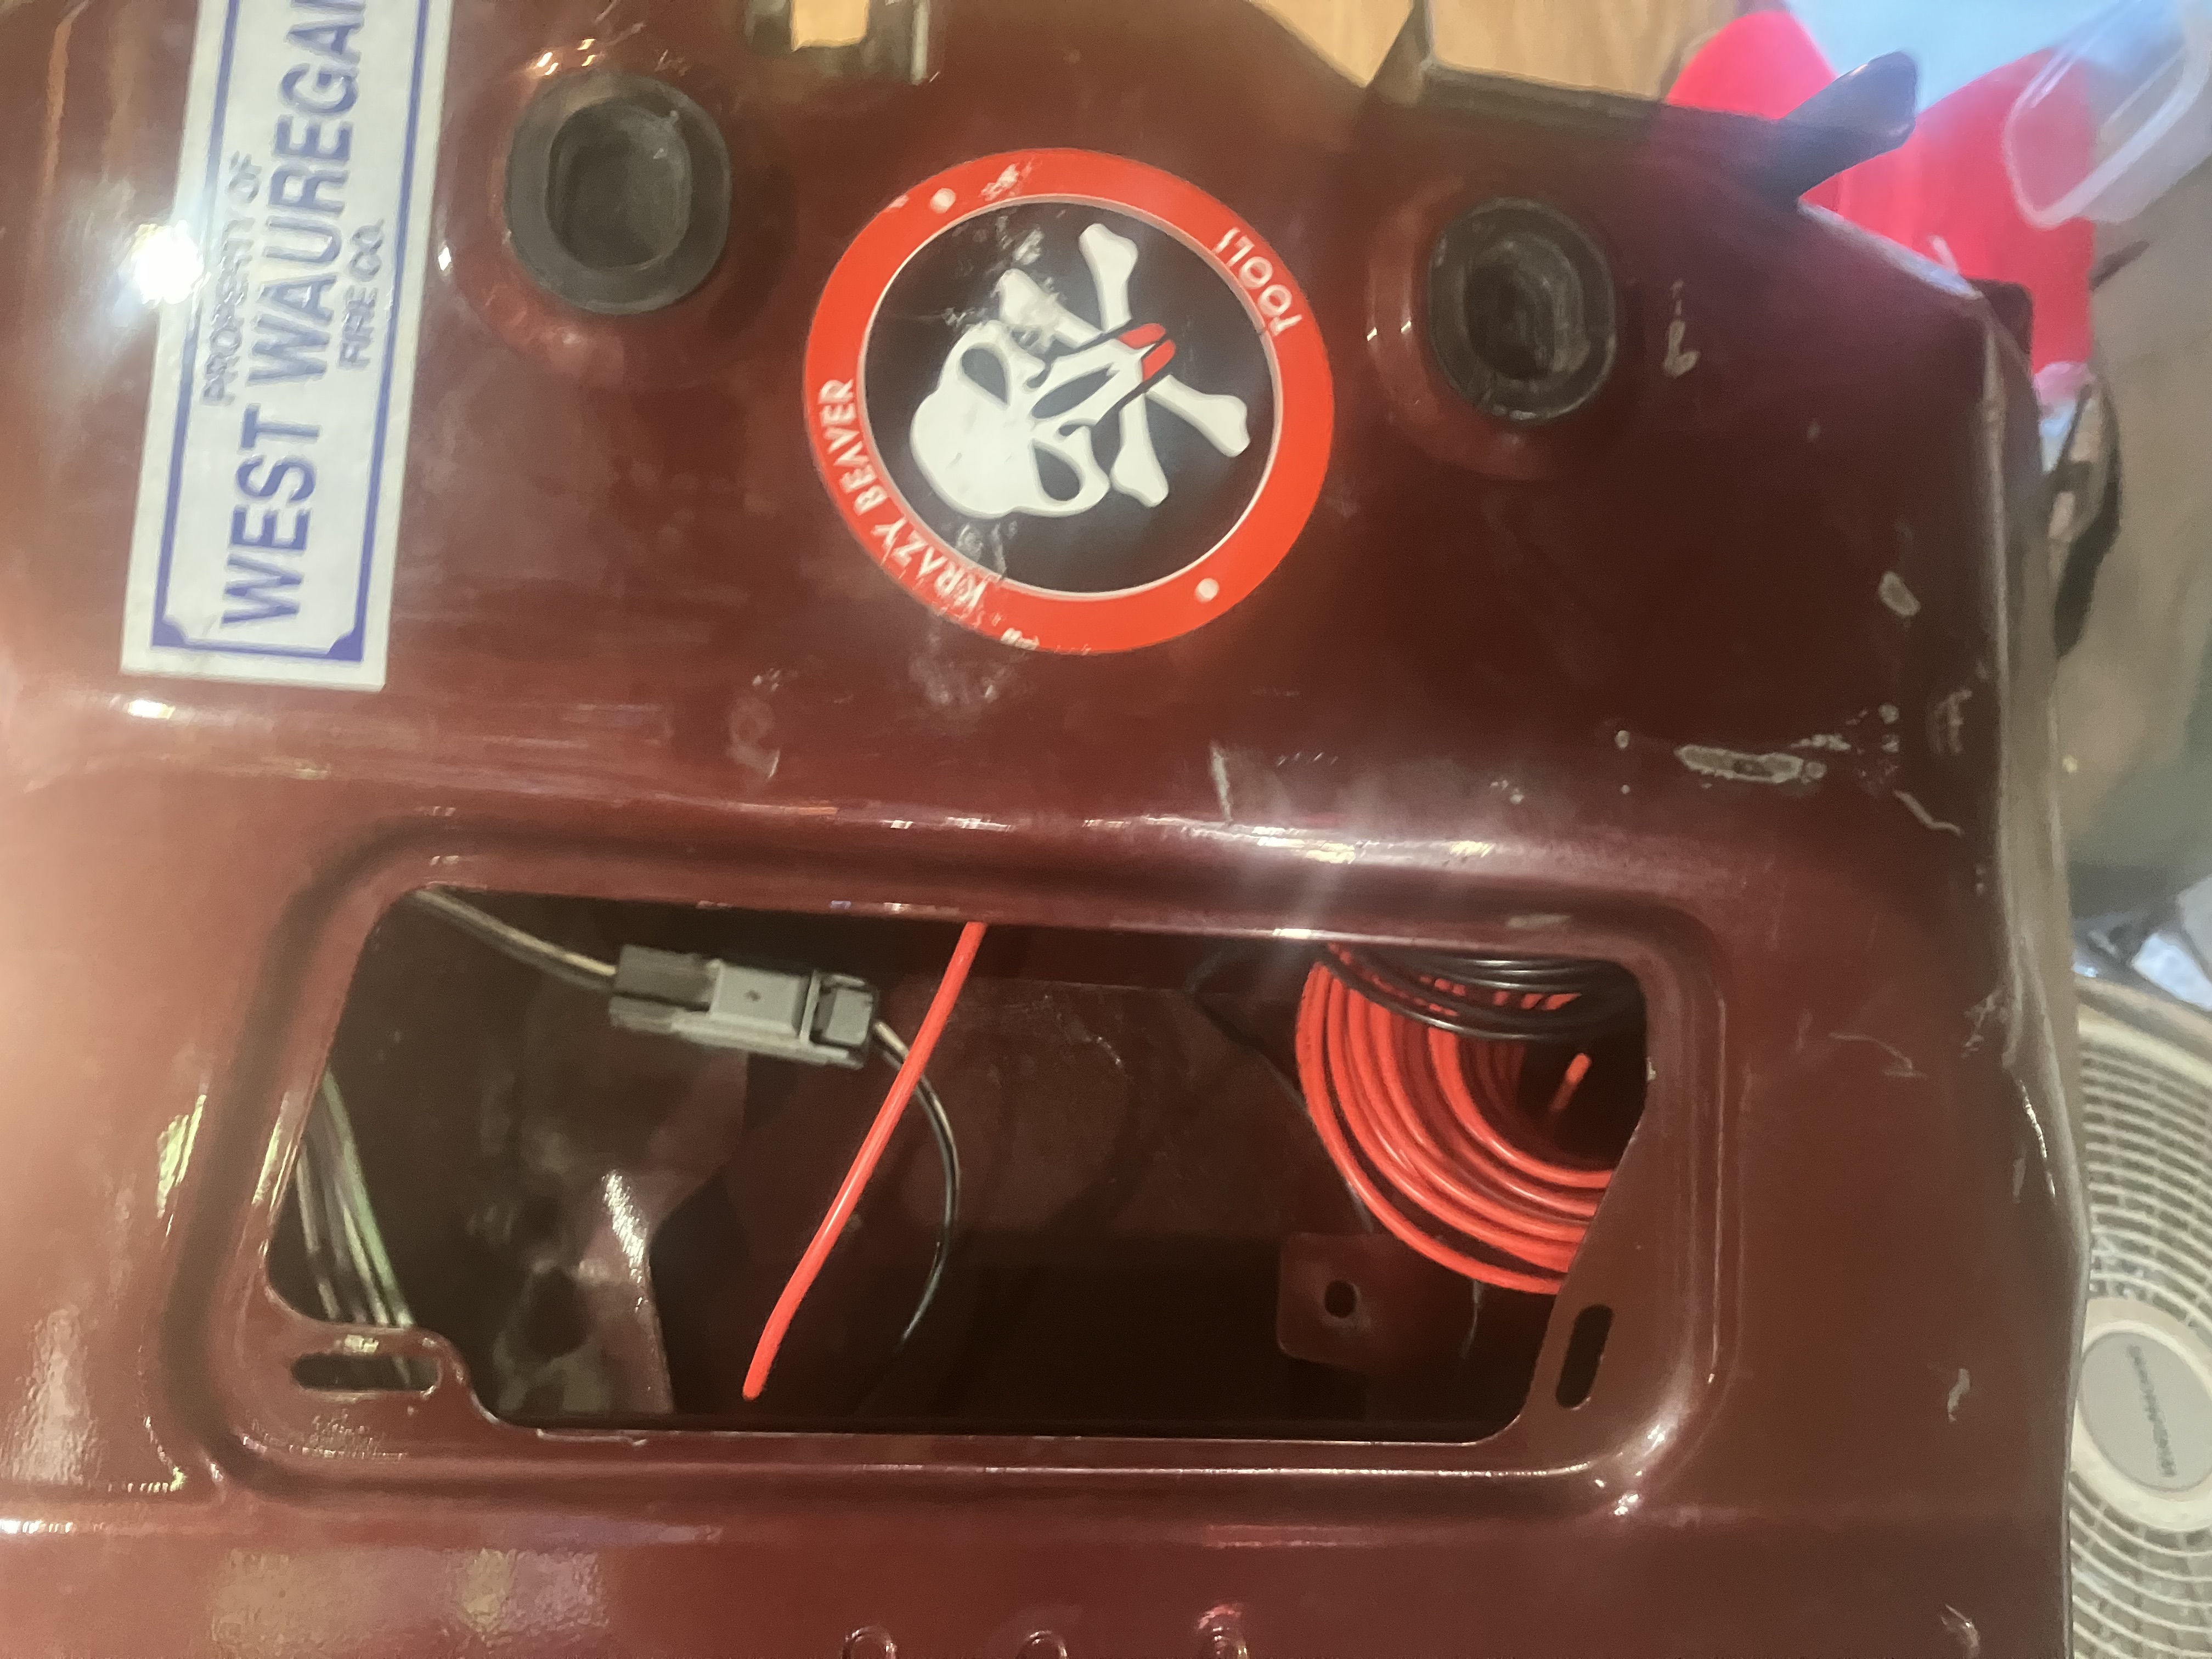
Ok, outside is done (well, not really...more to come) so we move inside:
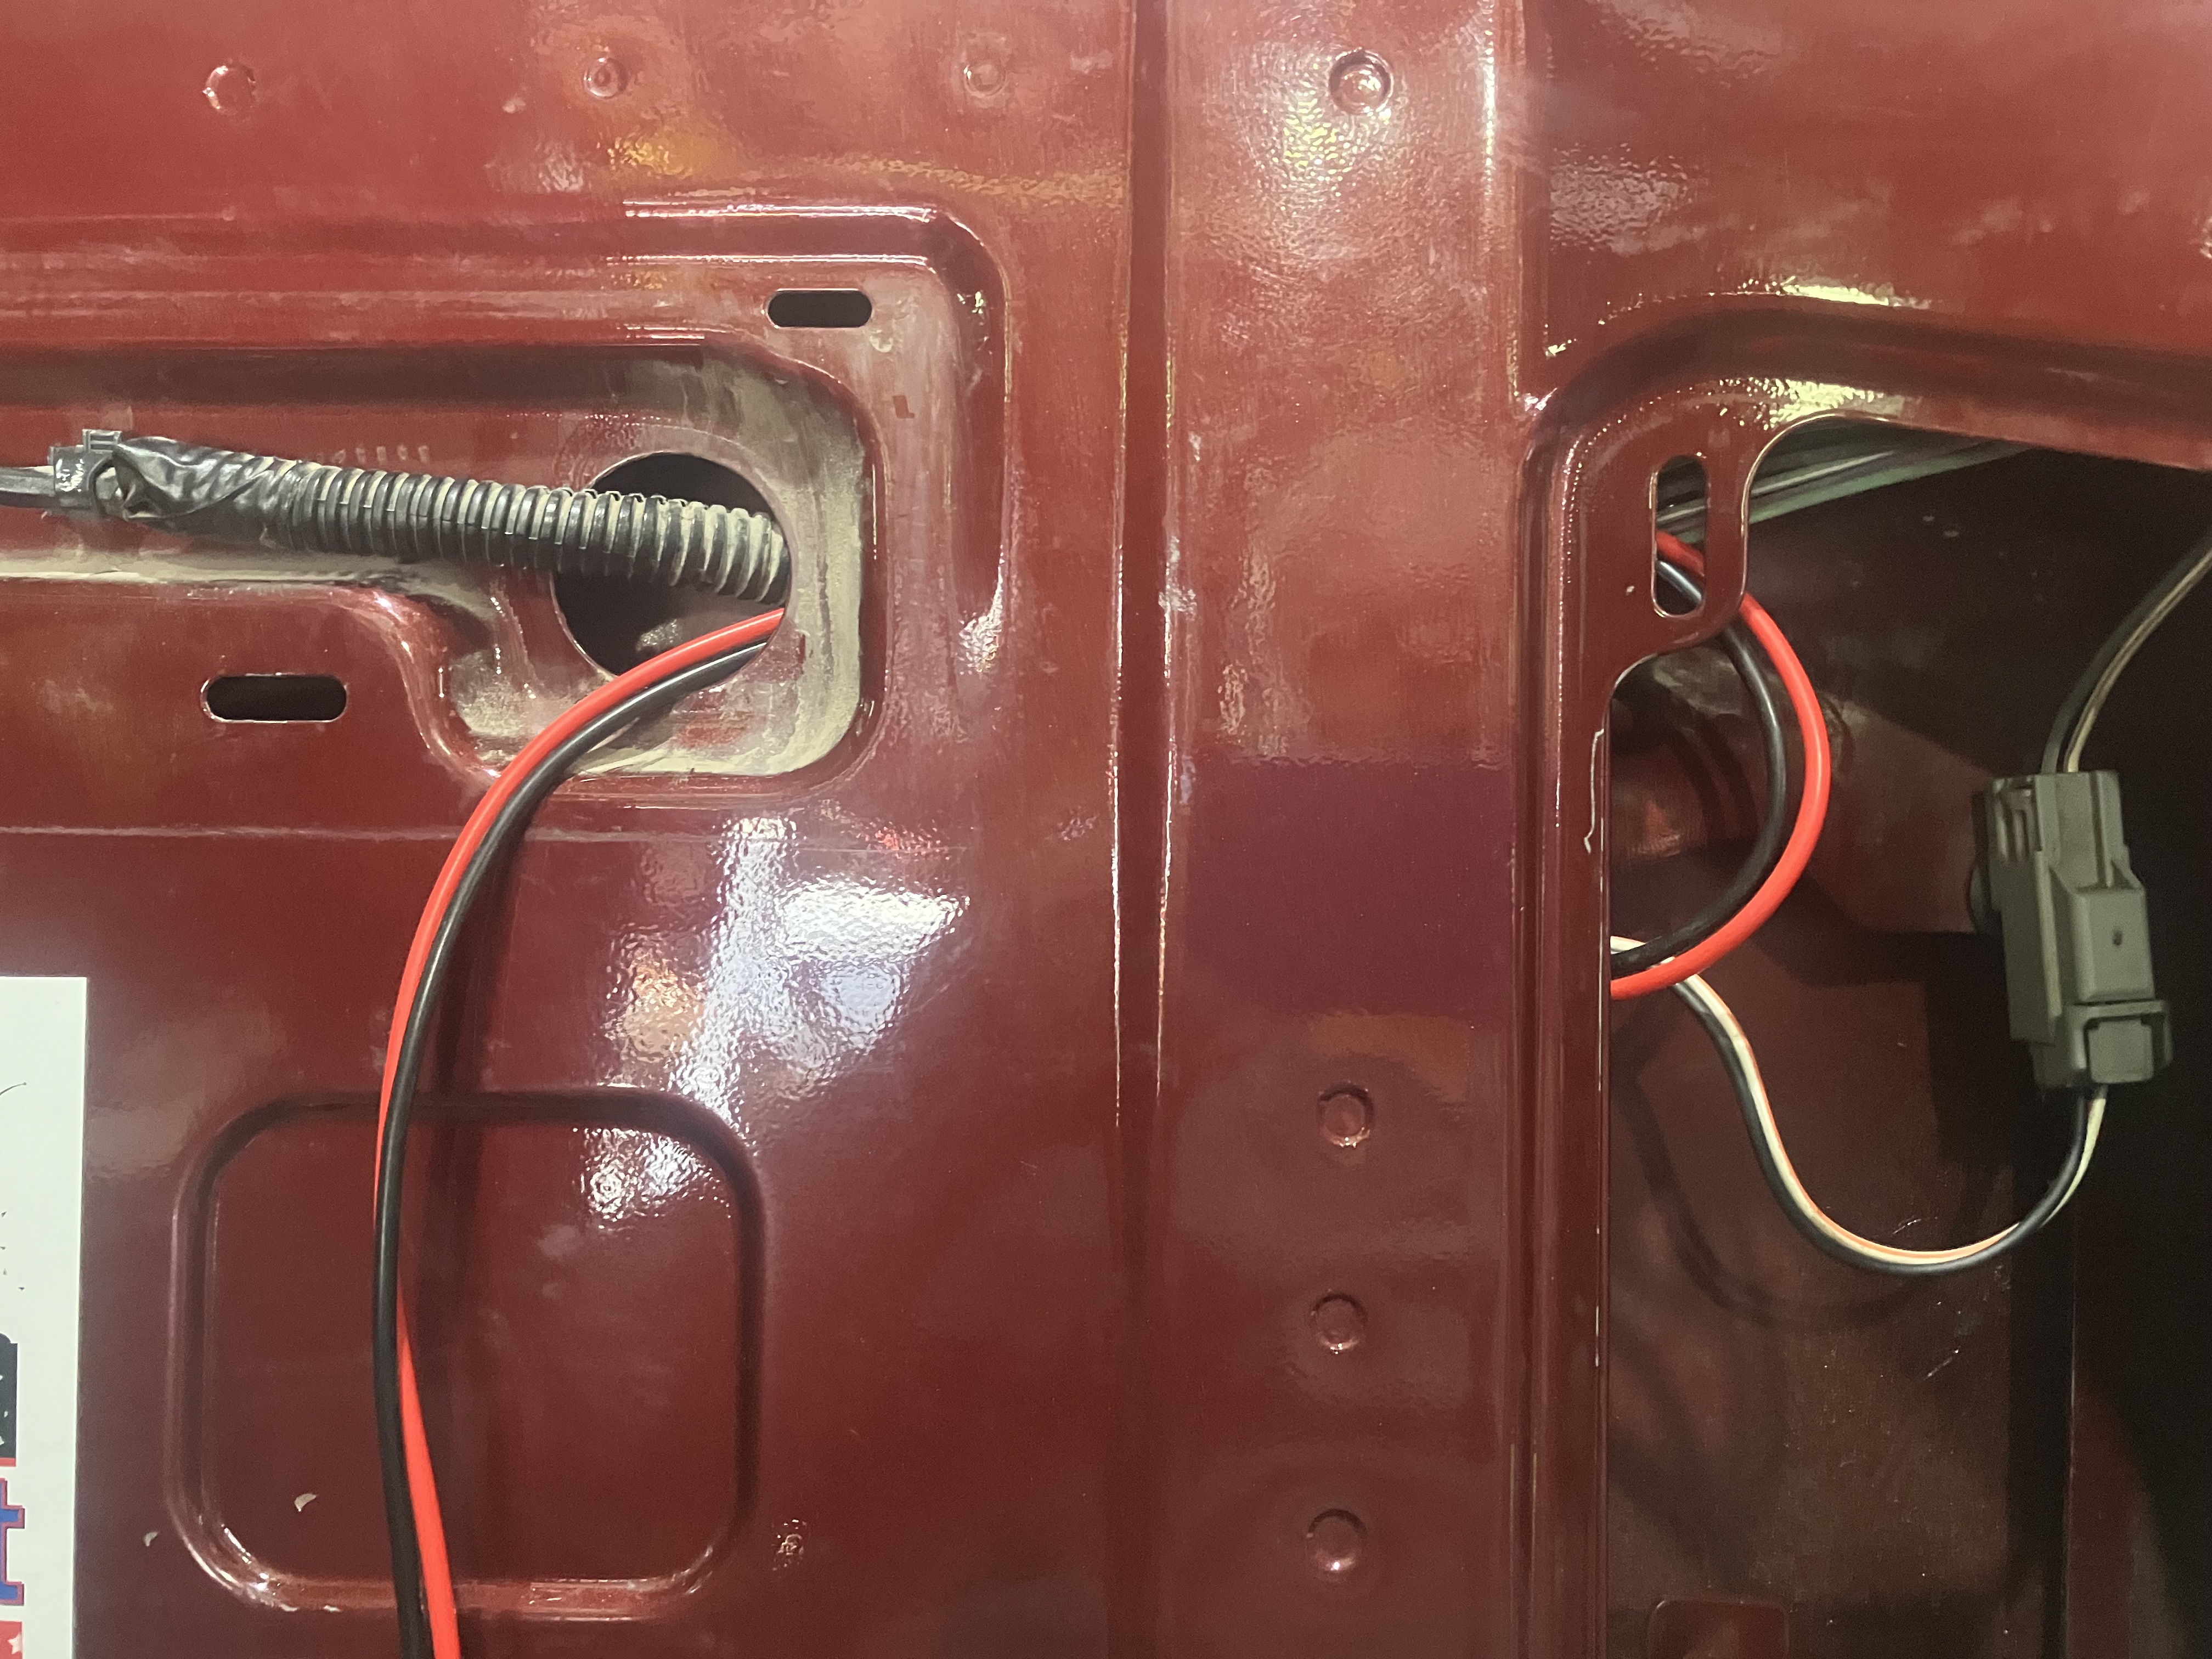
Had to pull this sleeve off, cut off the tape on the ends and middle, kind of work it back into shape, and push the wires through.

Did order some fir tree (xmas tree) wire tires to replace the three I had to pull for this. I could replace the rest along the tailgate, but I'll probably just leave the wires zip tied in.
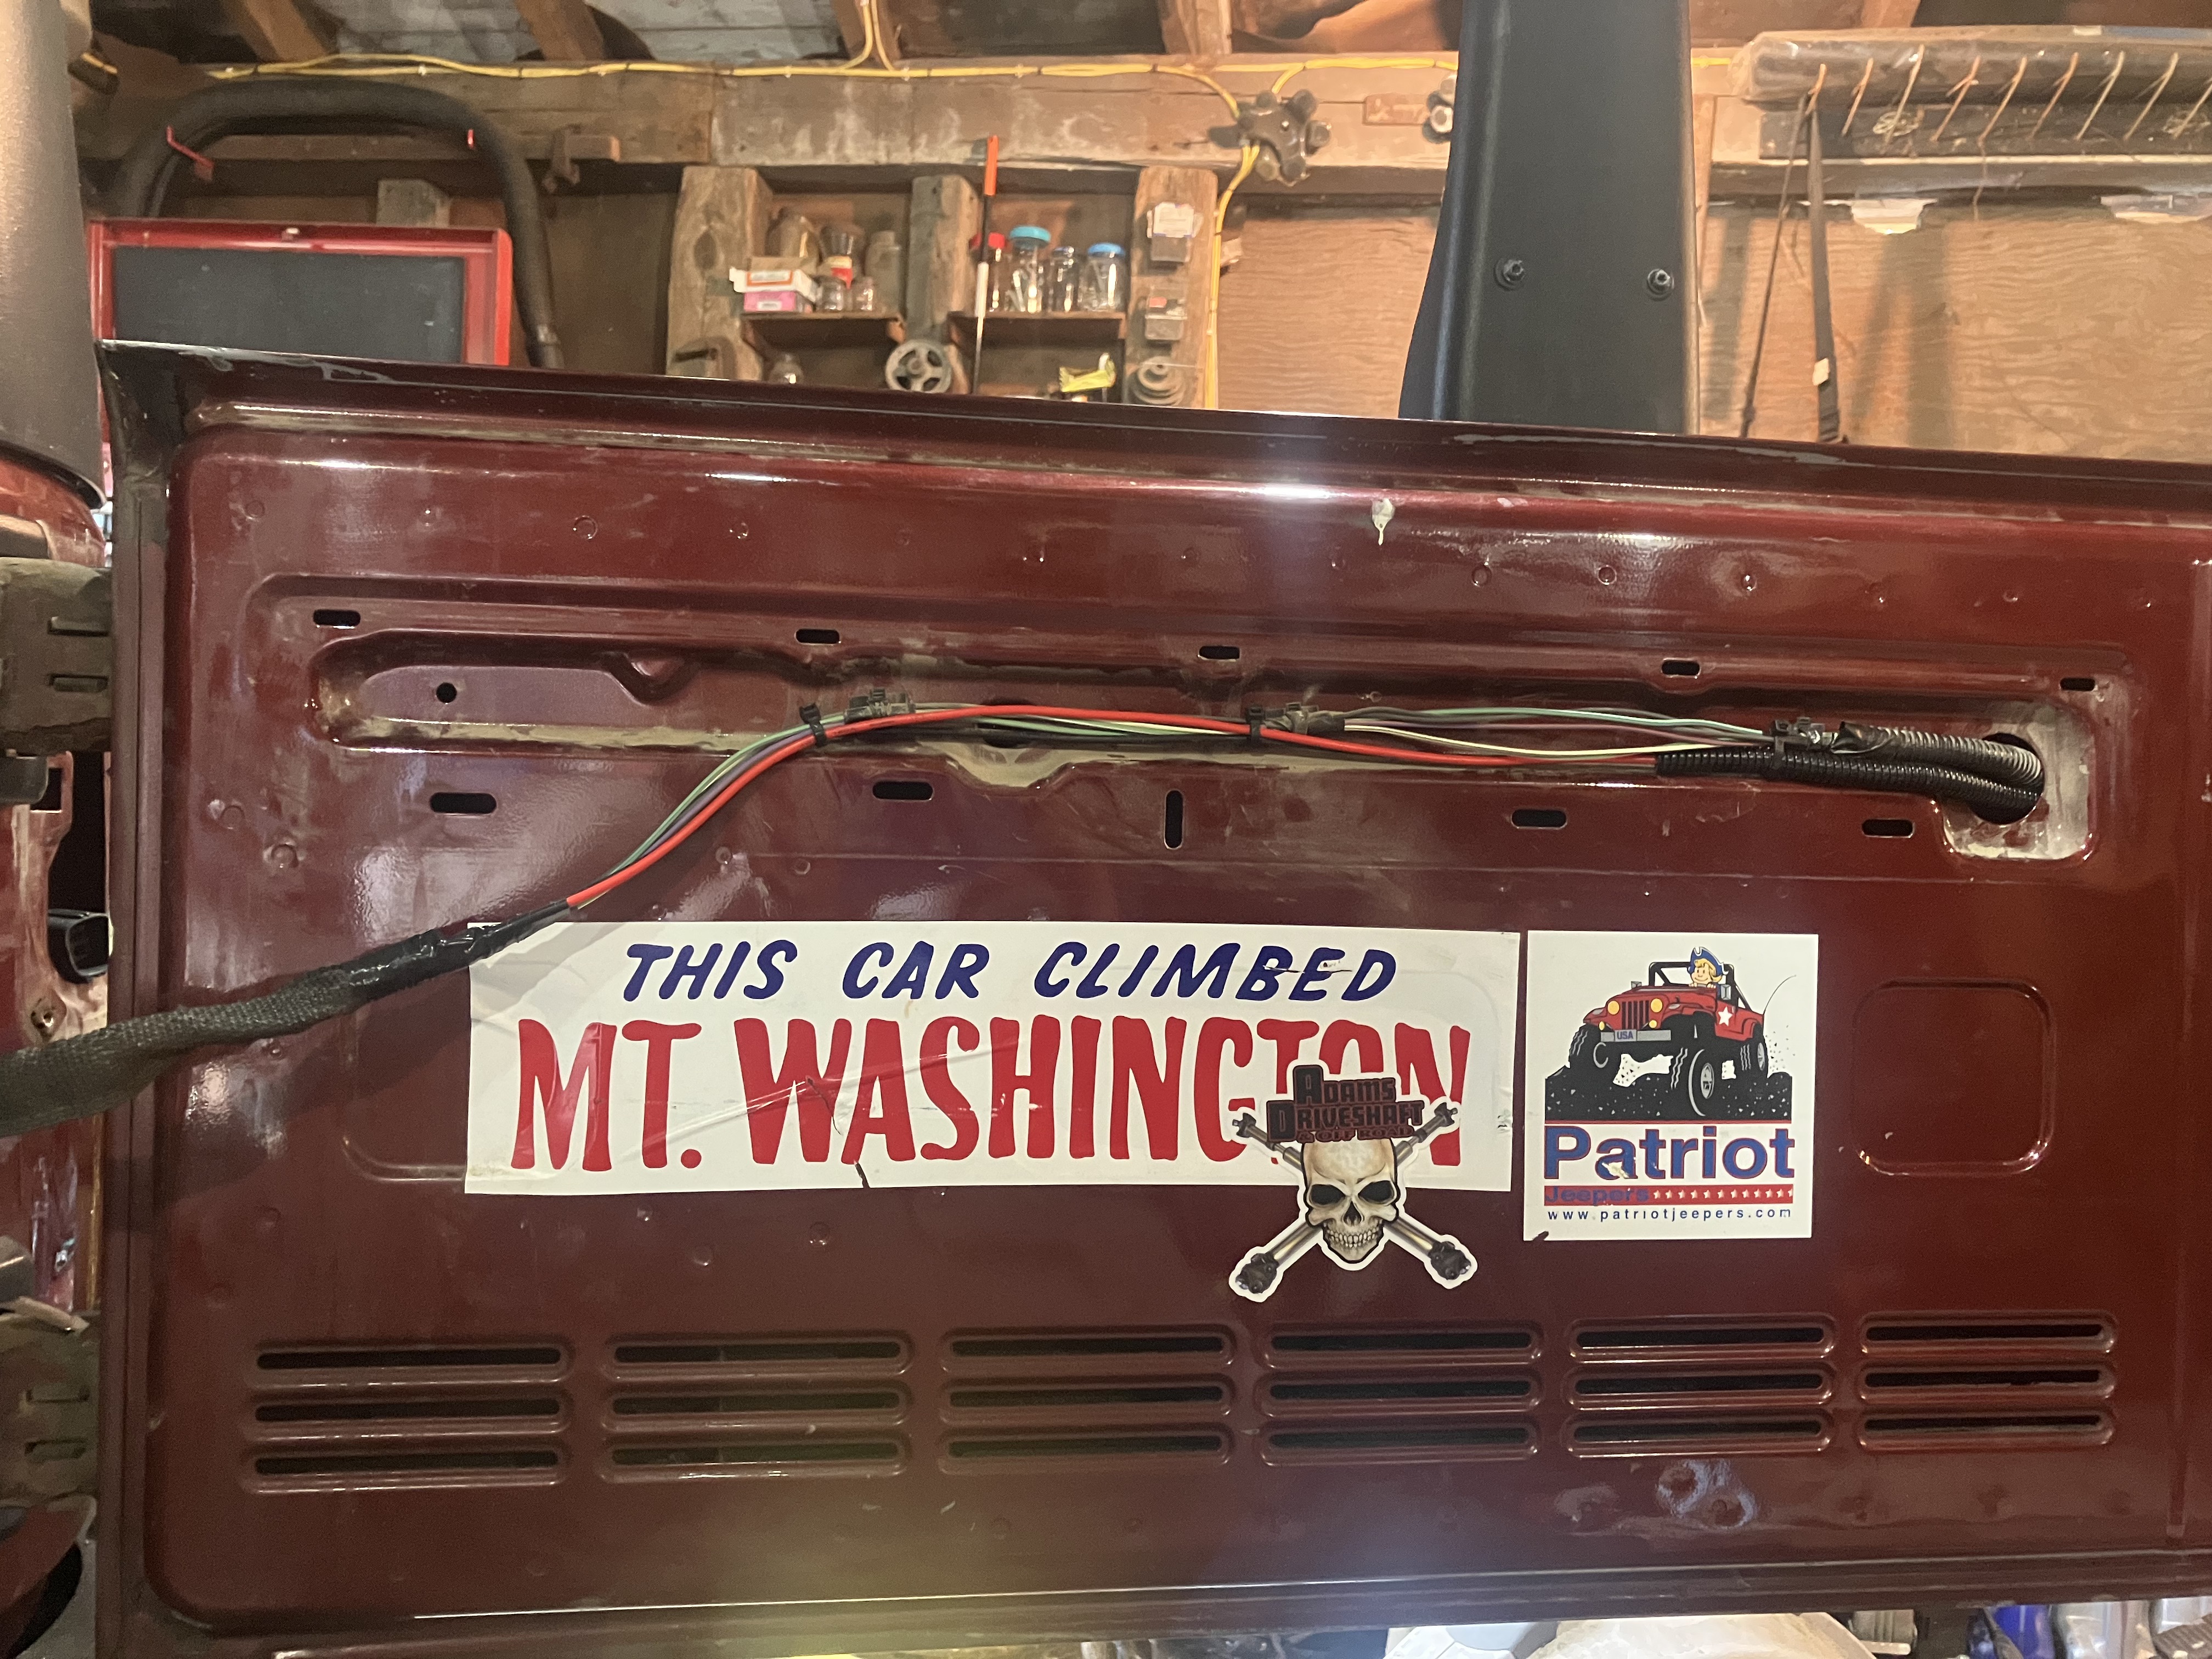
So once I decided I wanted a lot more slack on the outside and pulled wire outside, I decided it made it uncomfortably short for the part that needs to reach the tail lamps. I could have worked, but I had no reason to worry about some extra wire in that area and it made things easier.
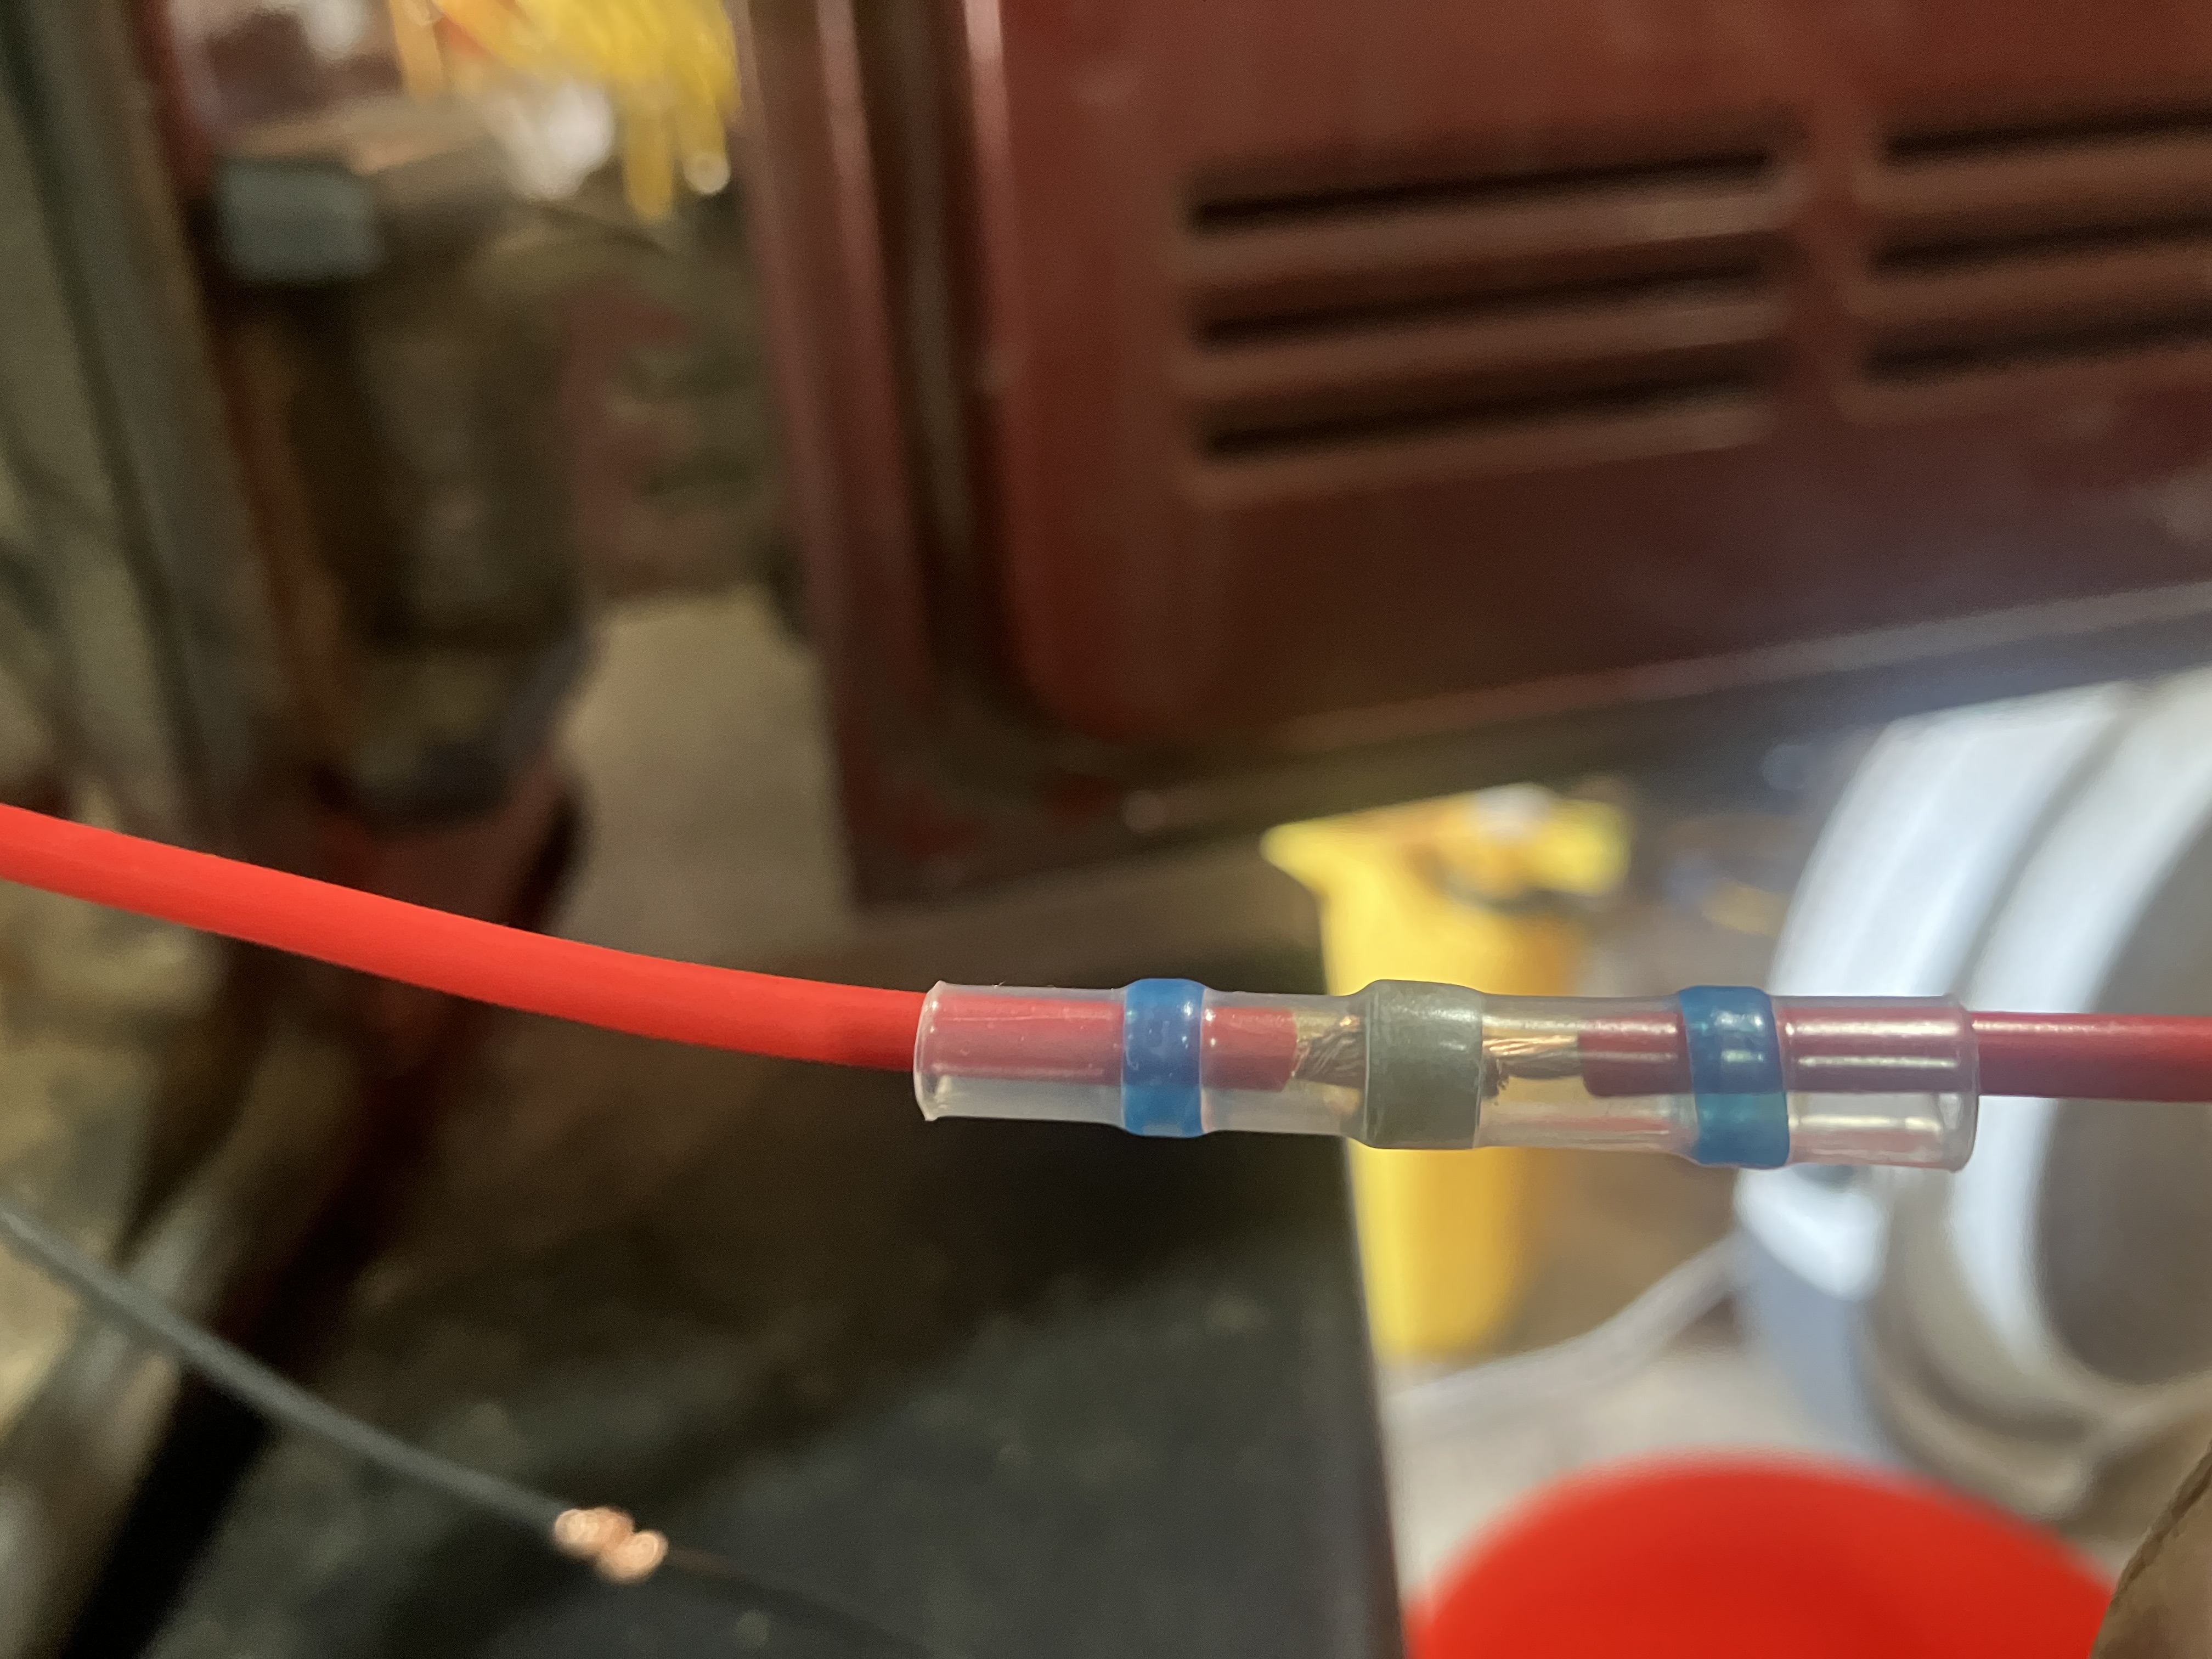
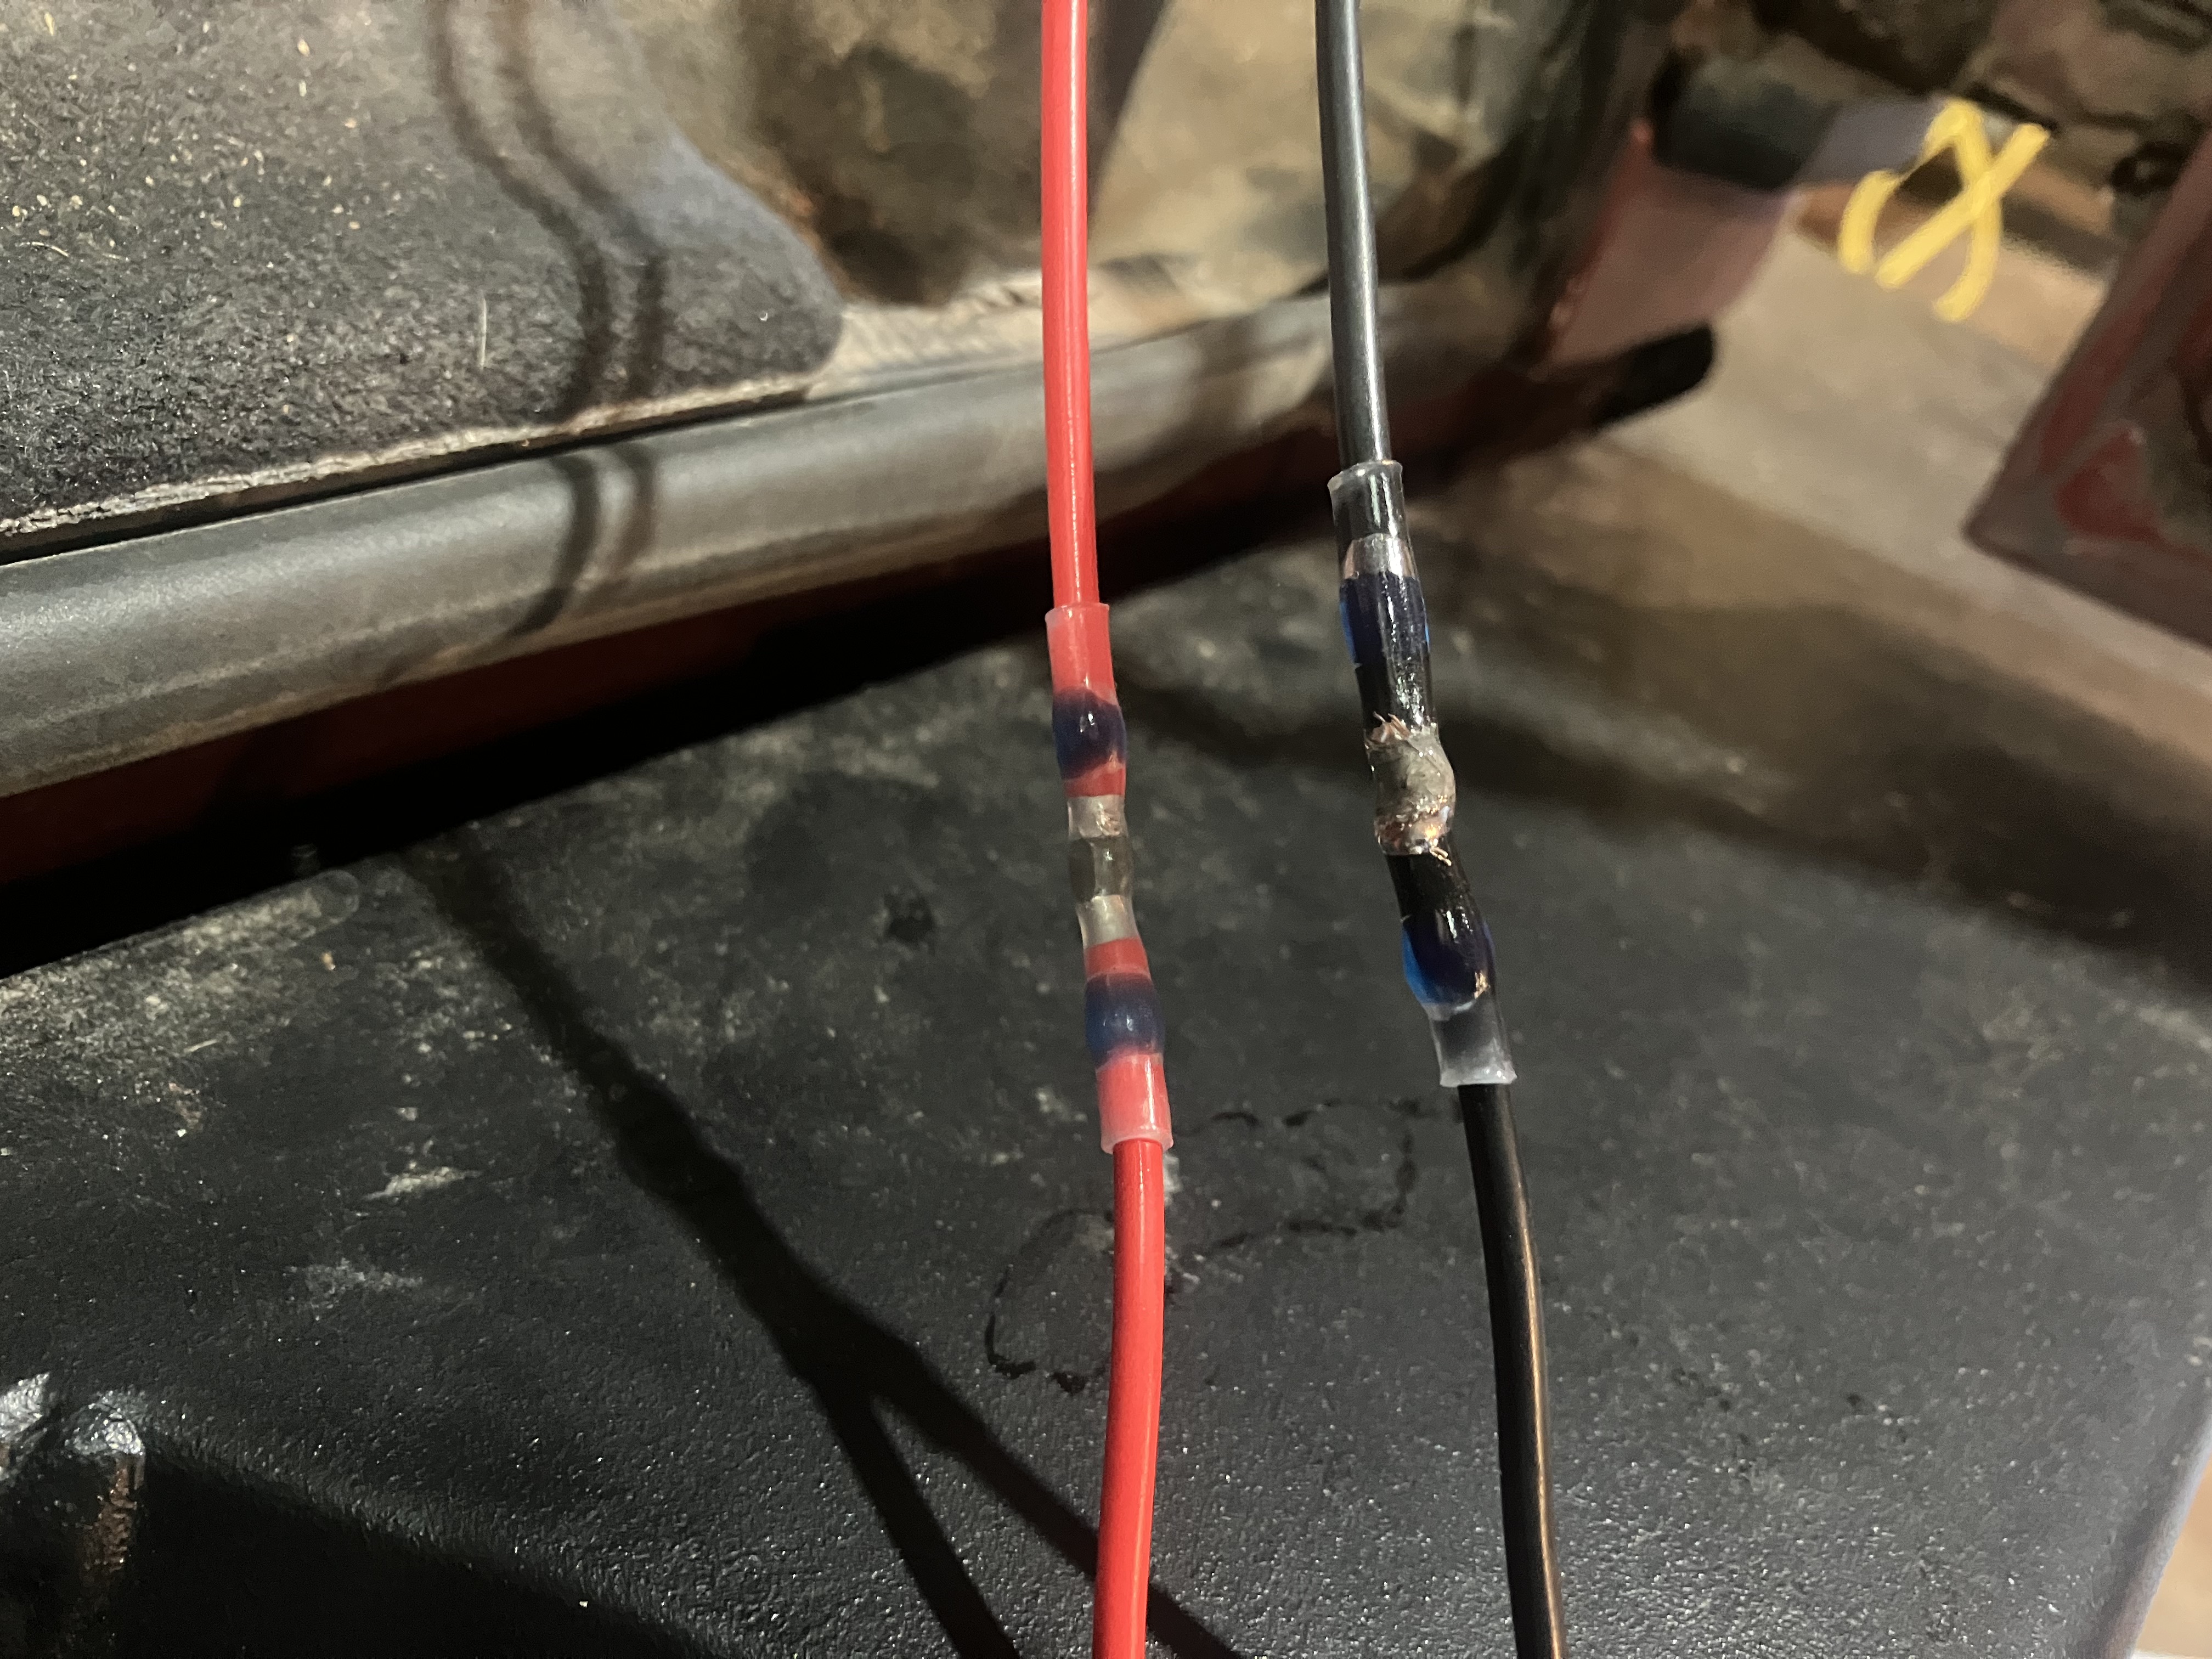
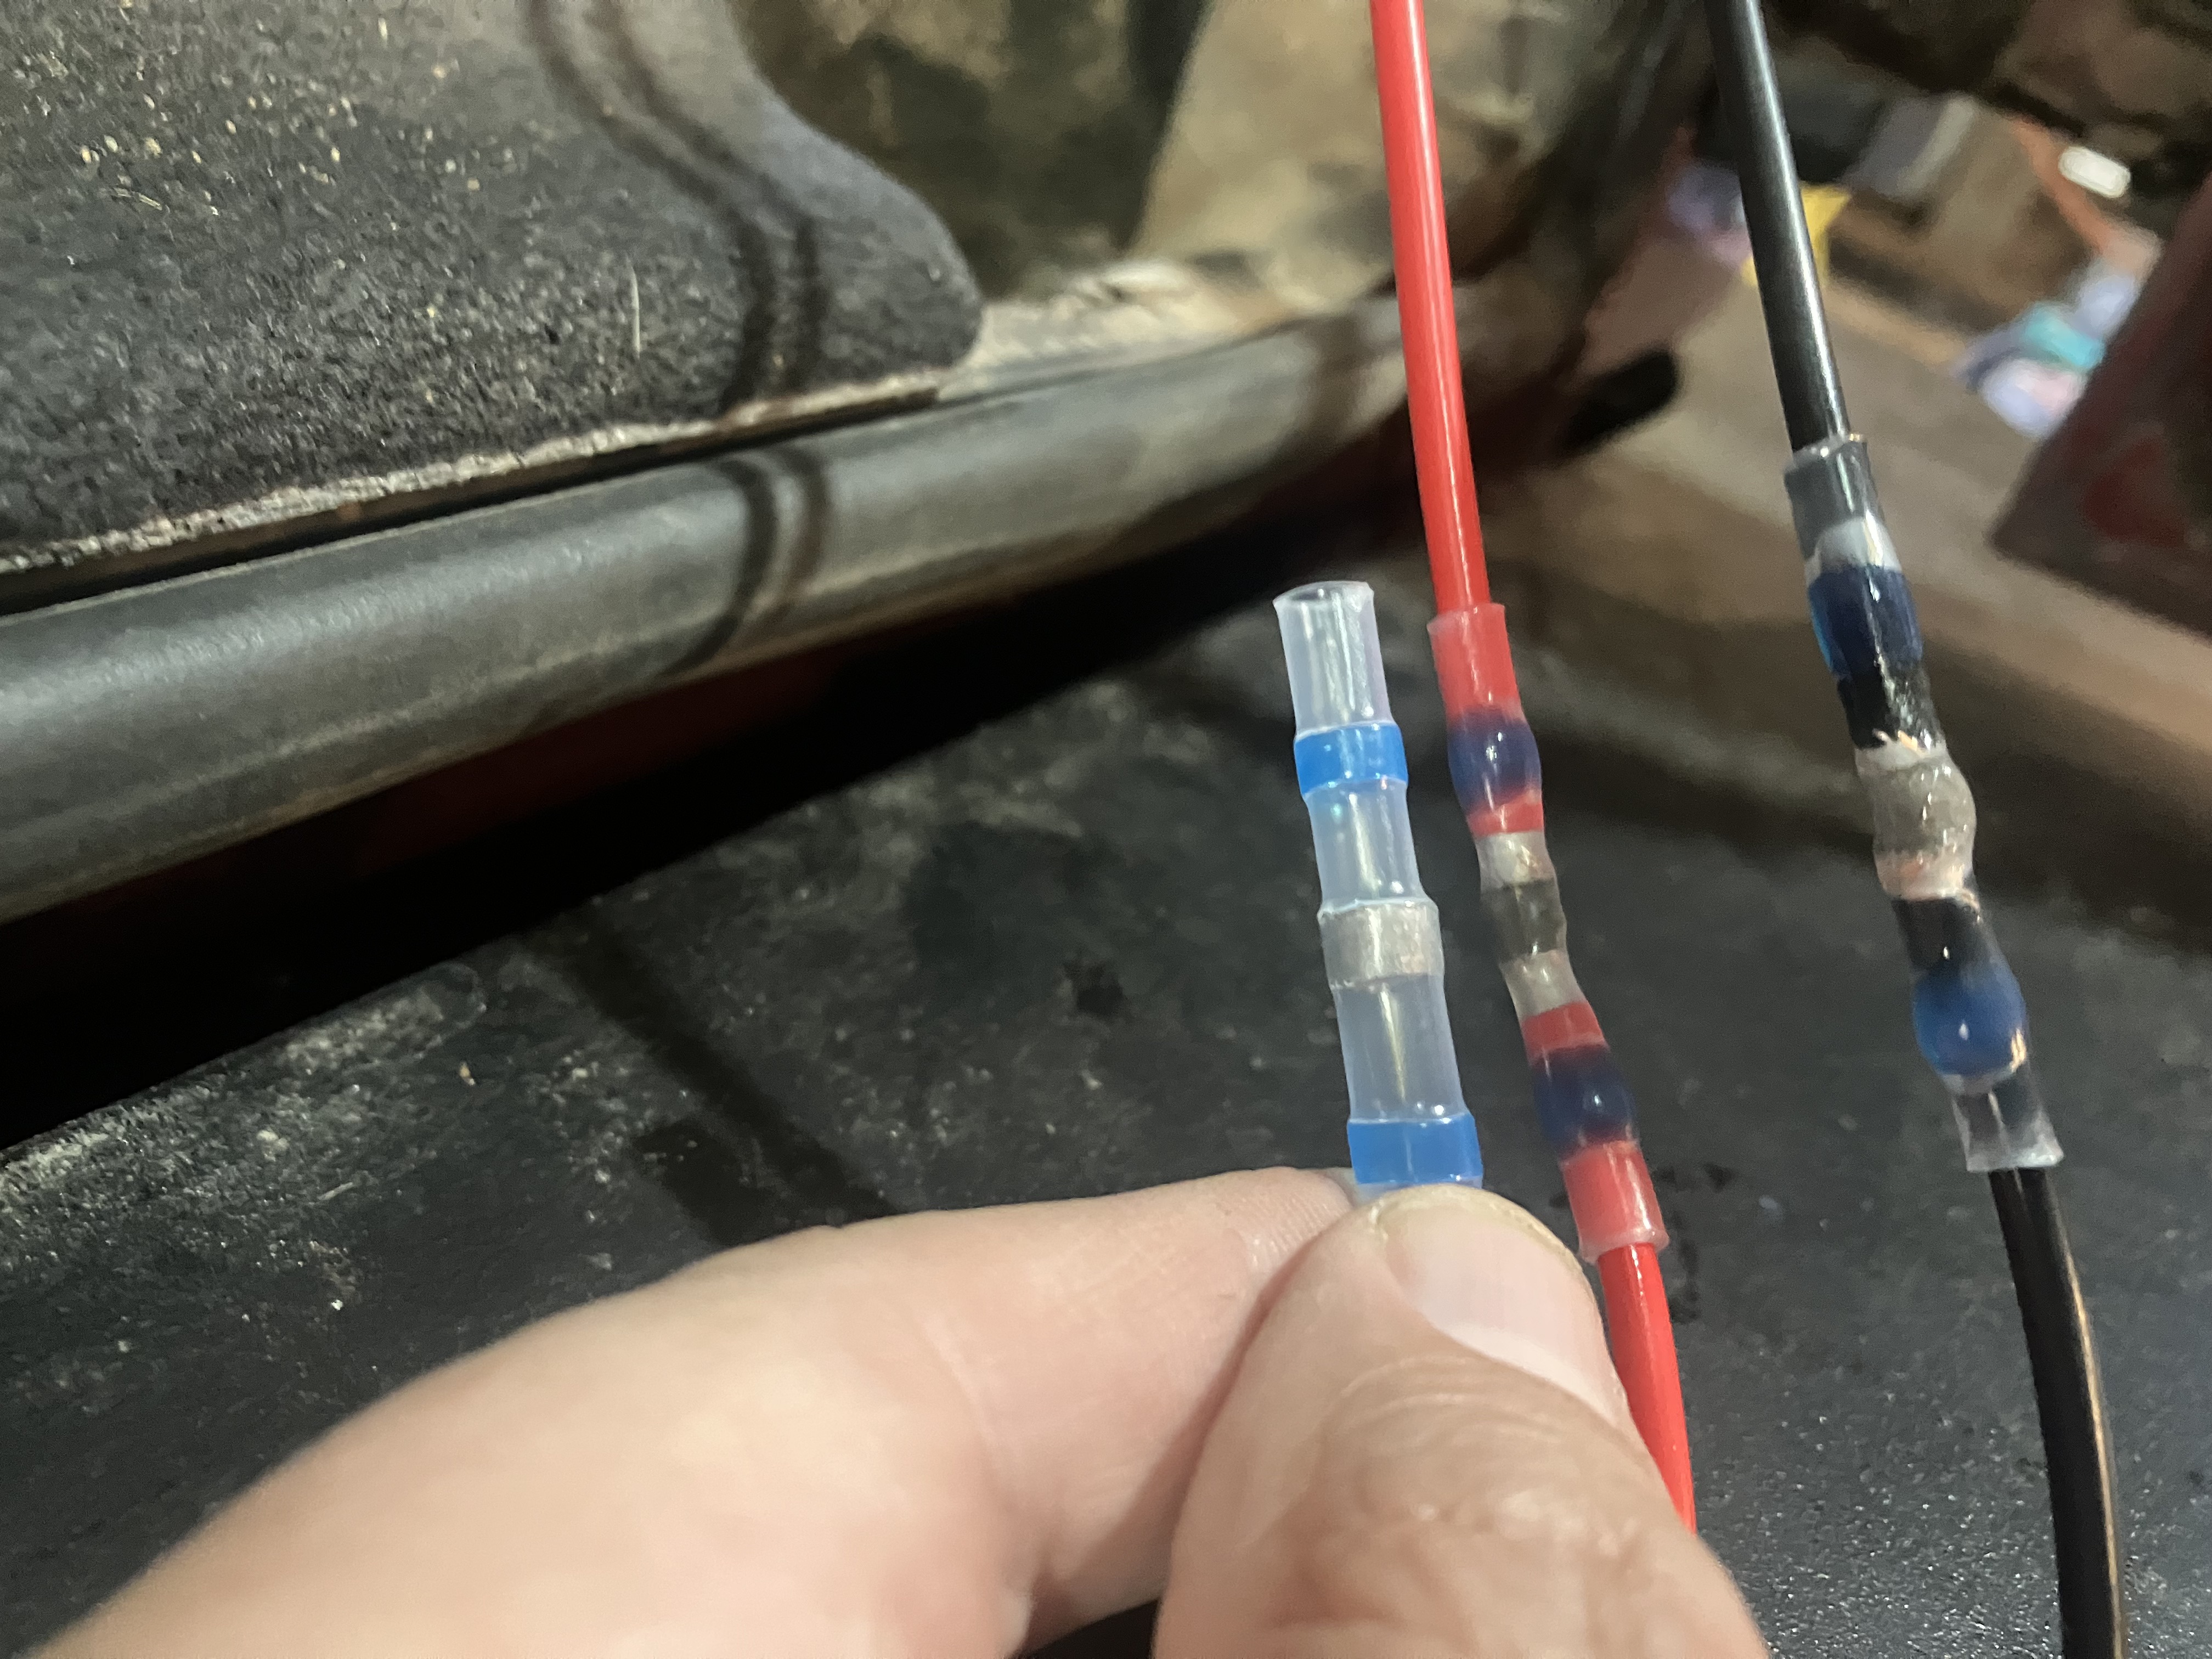
So an extension splice it is!
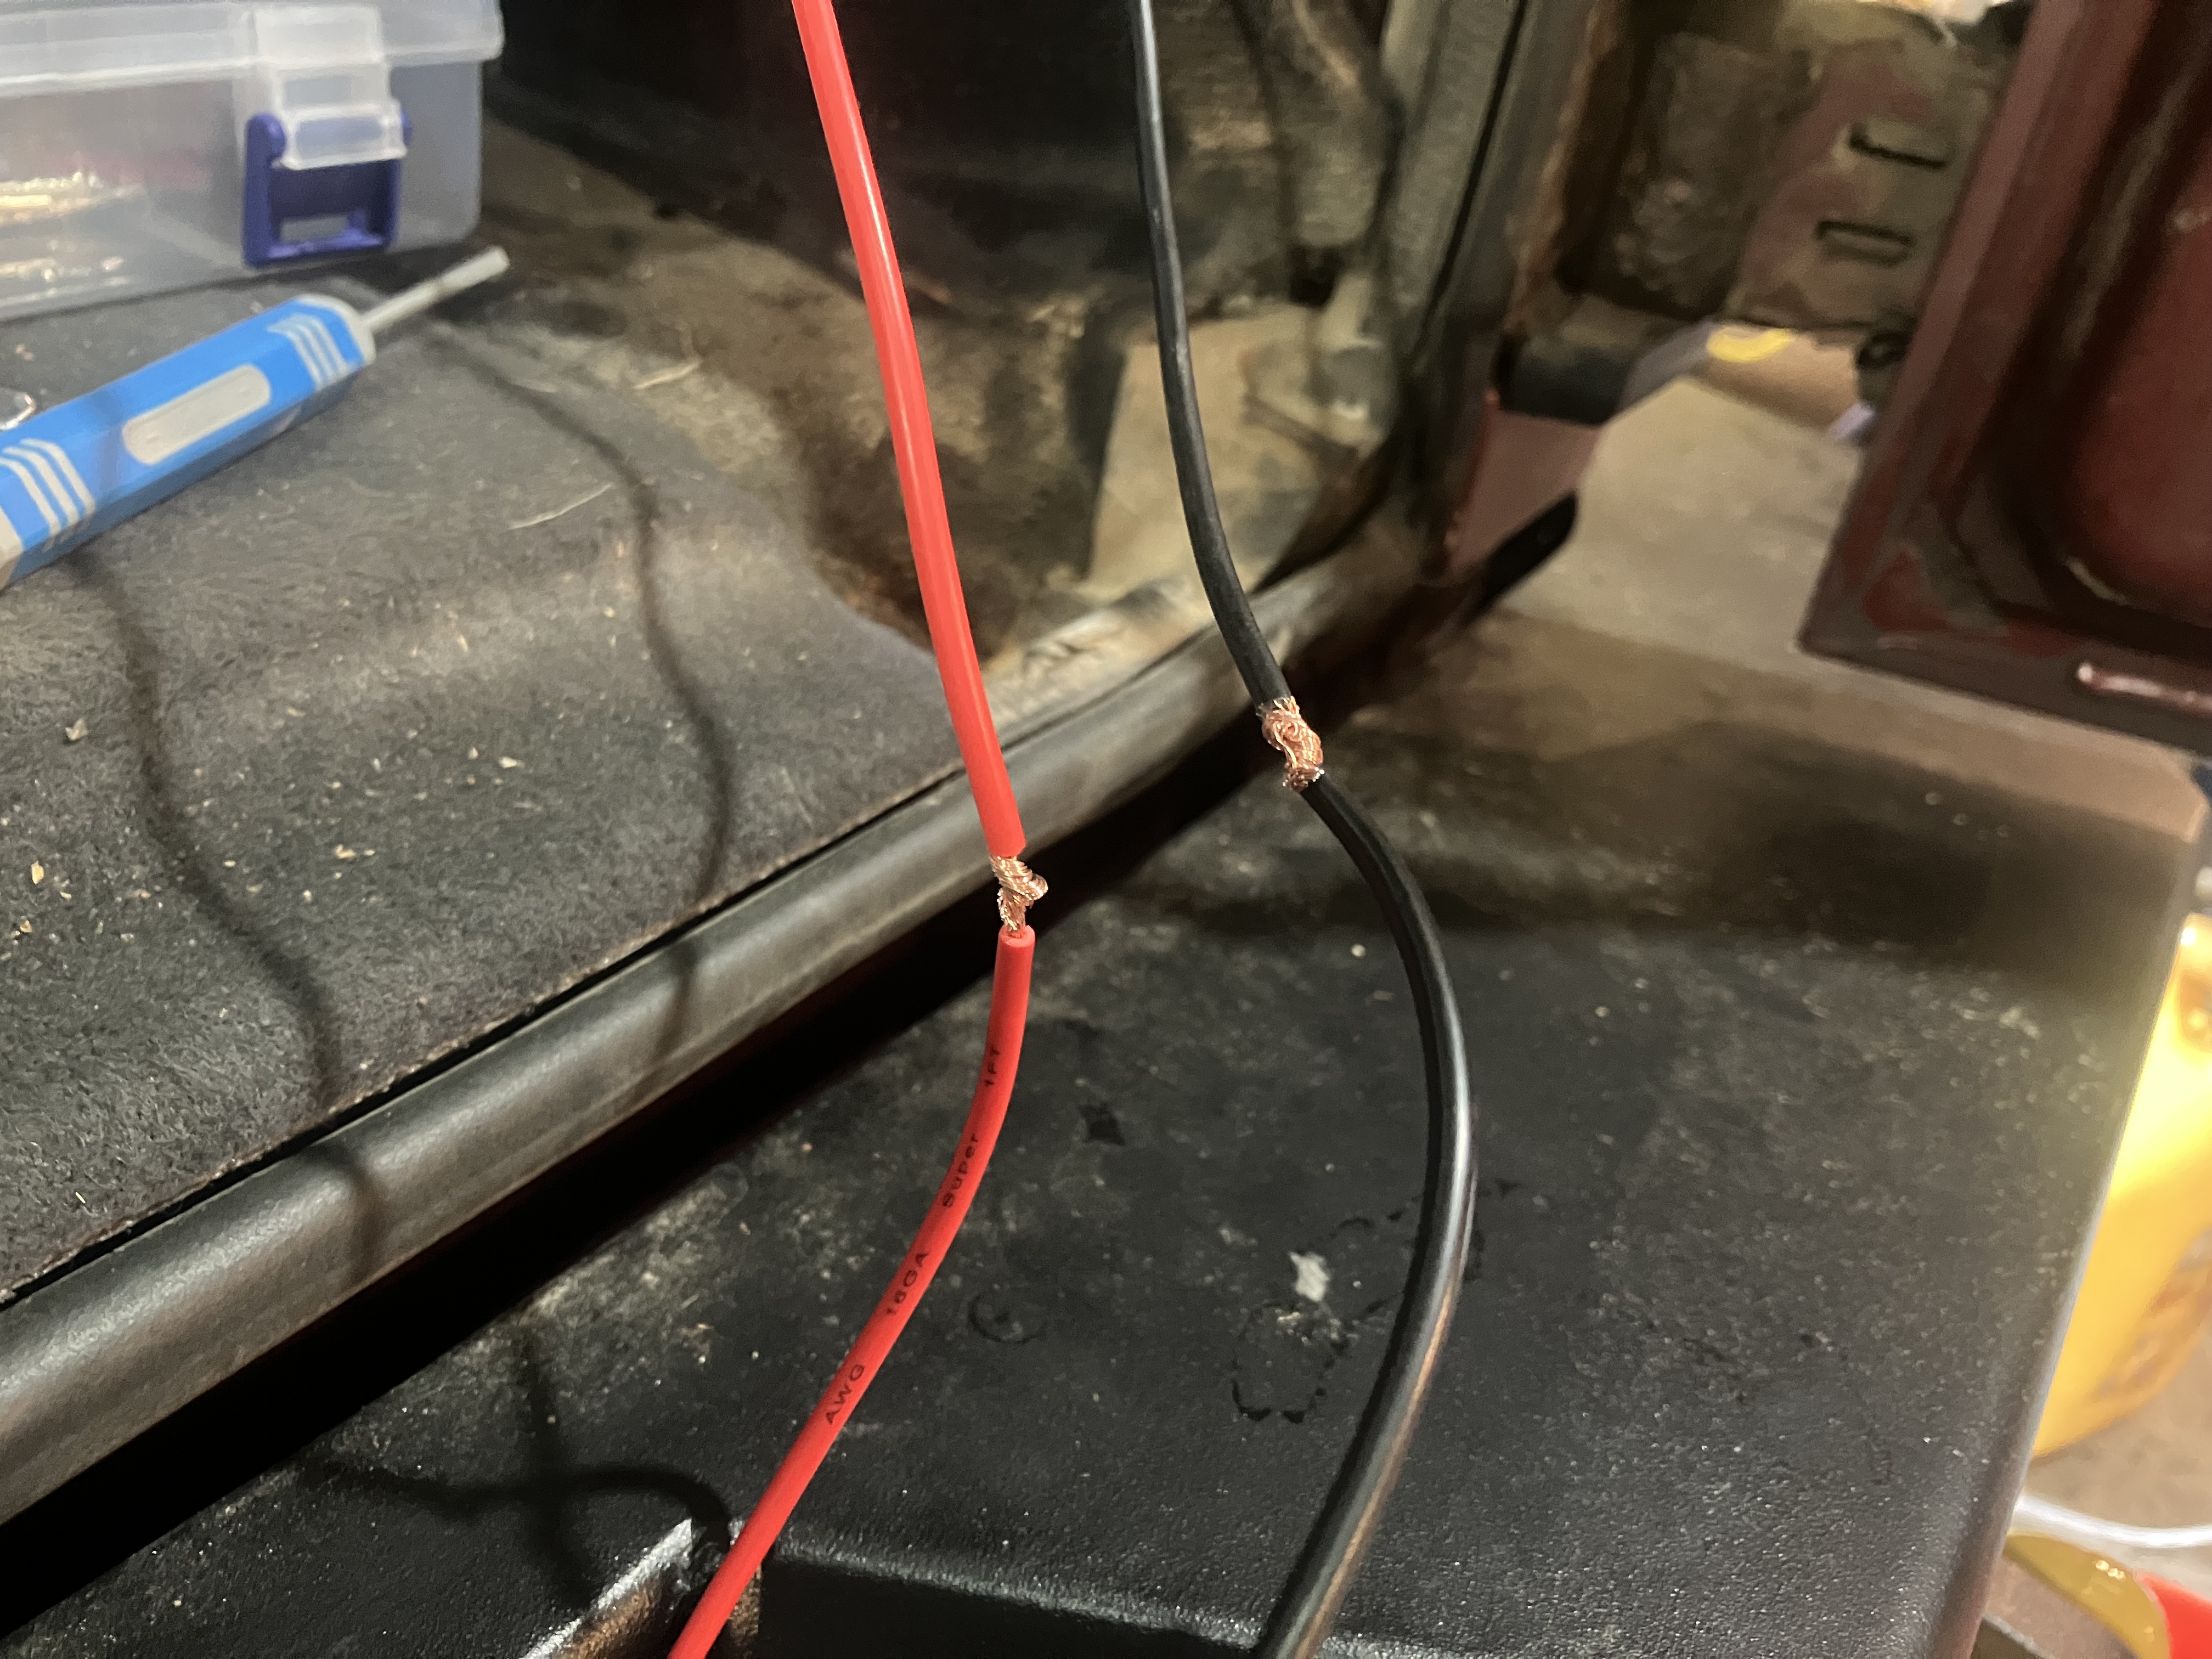
Welcome Solder Seals -- solder and shrink tube in one, applied with a heat gun. I'm sure it's not as good as a real solder job but far better than just a crimp connector.
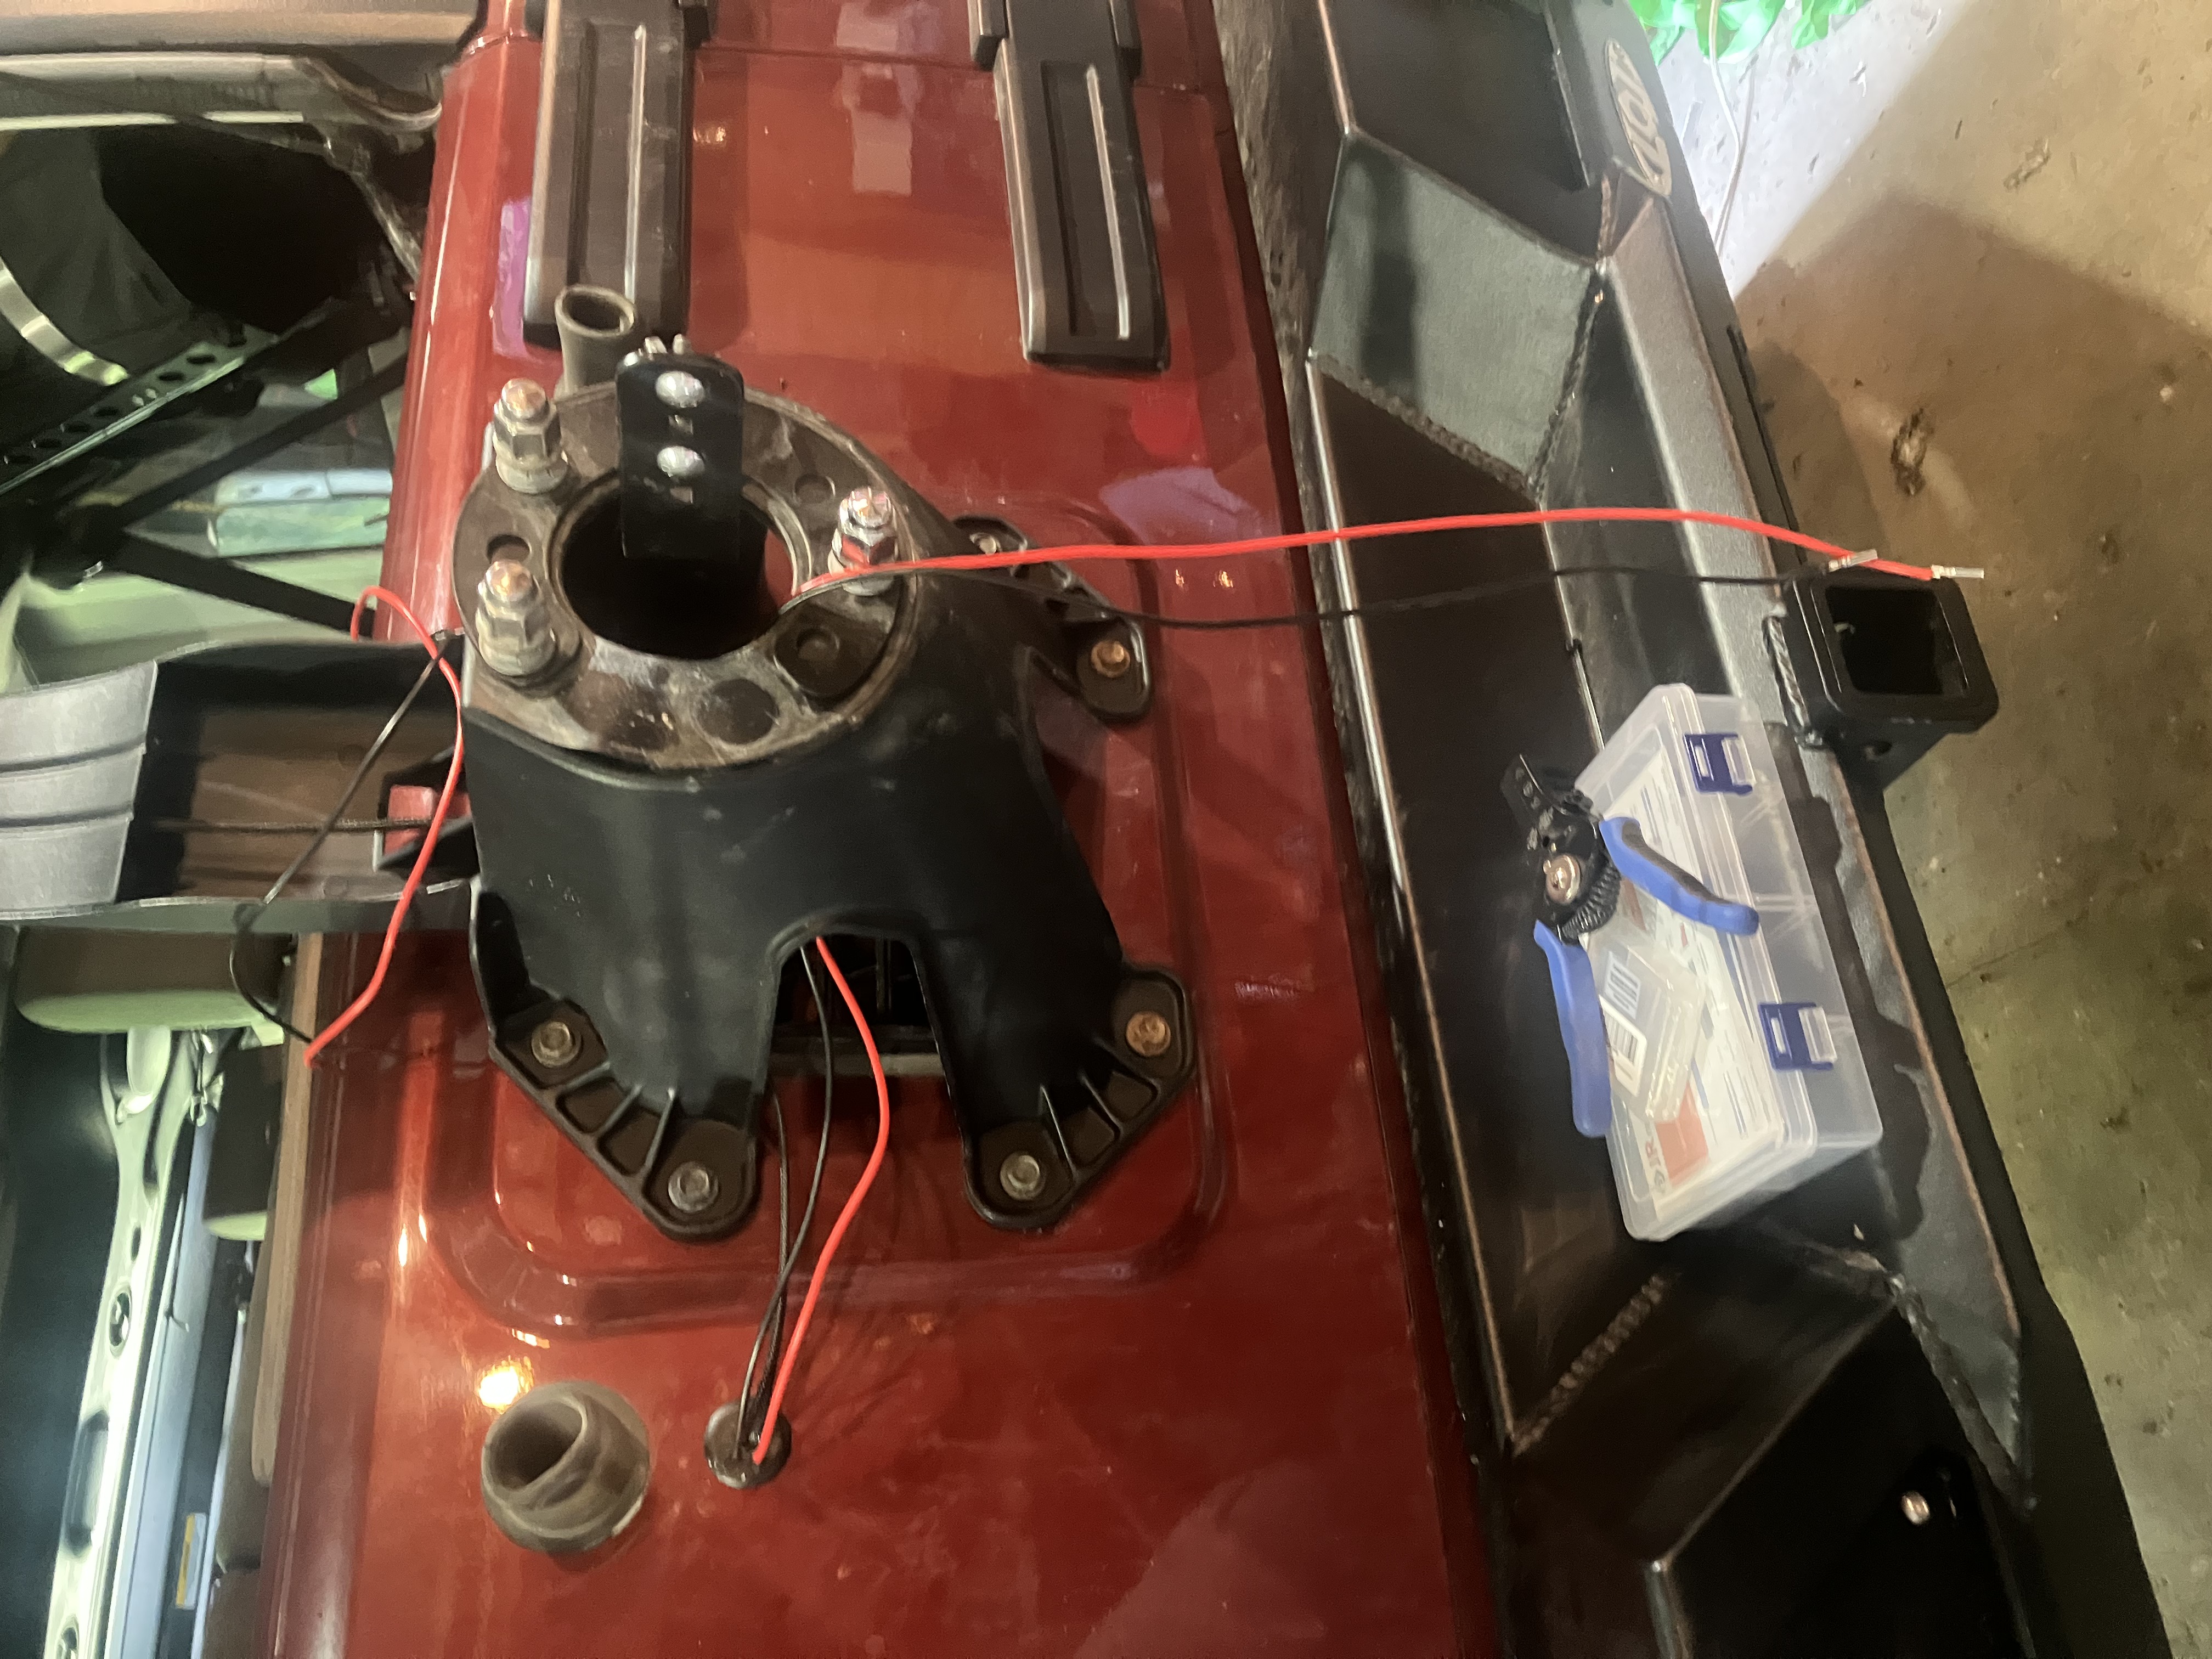
And time to modify the harness -- to avoid cutting factory wiring, bought a trailer light kit to plug in line with the tail lights.
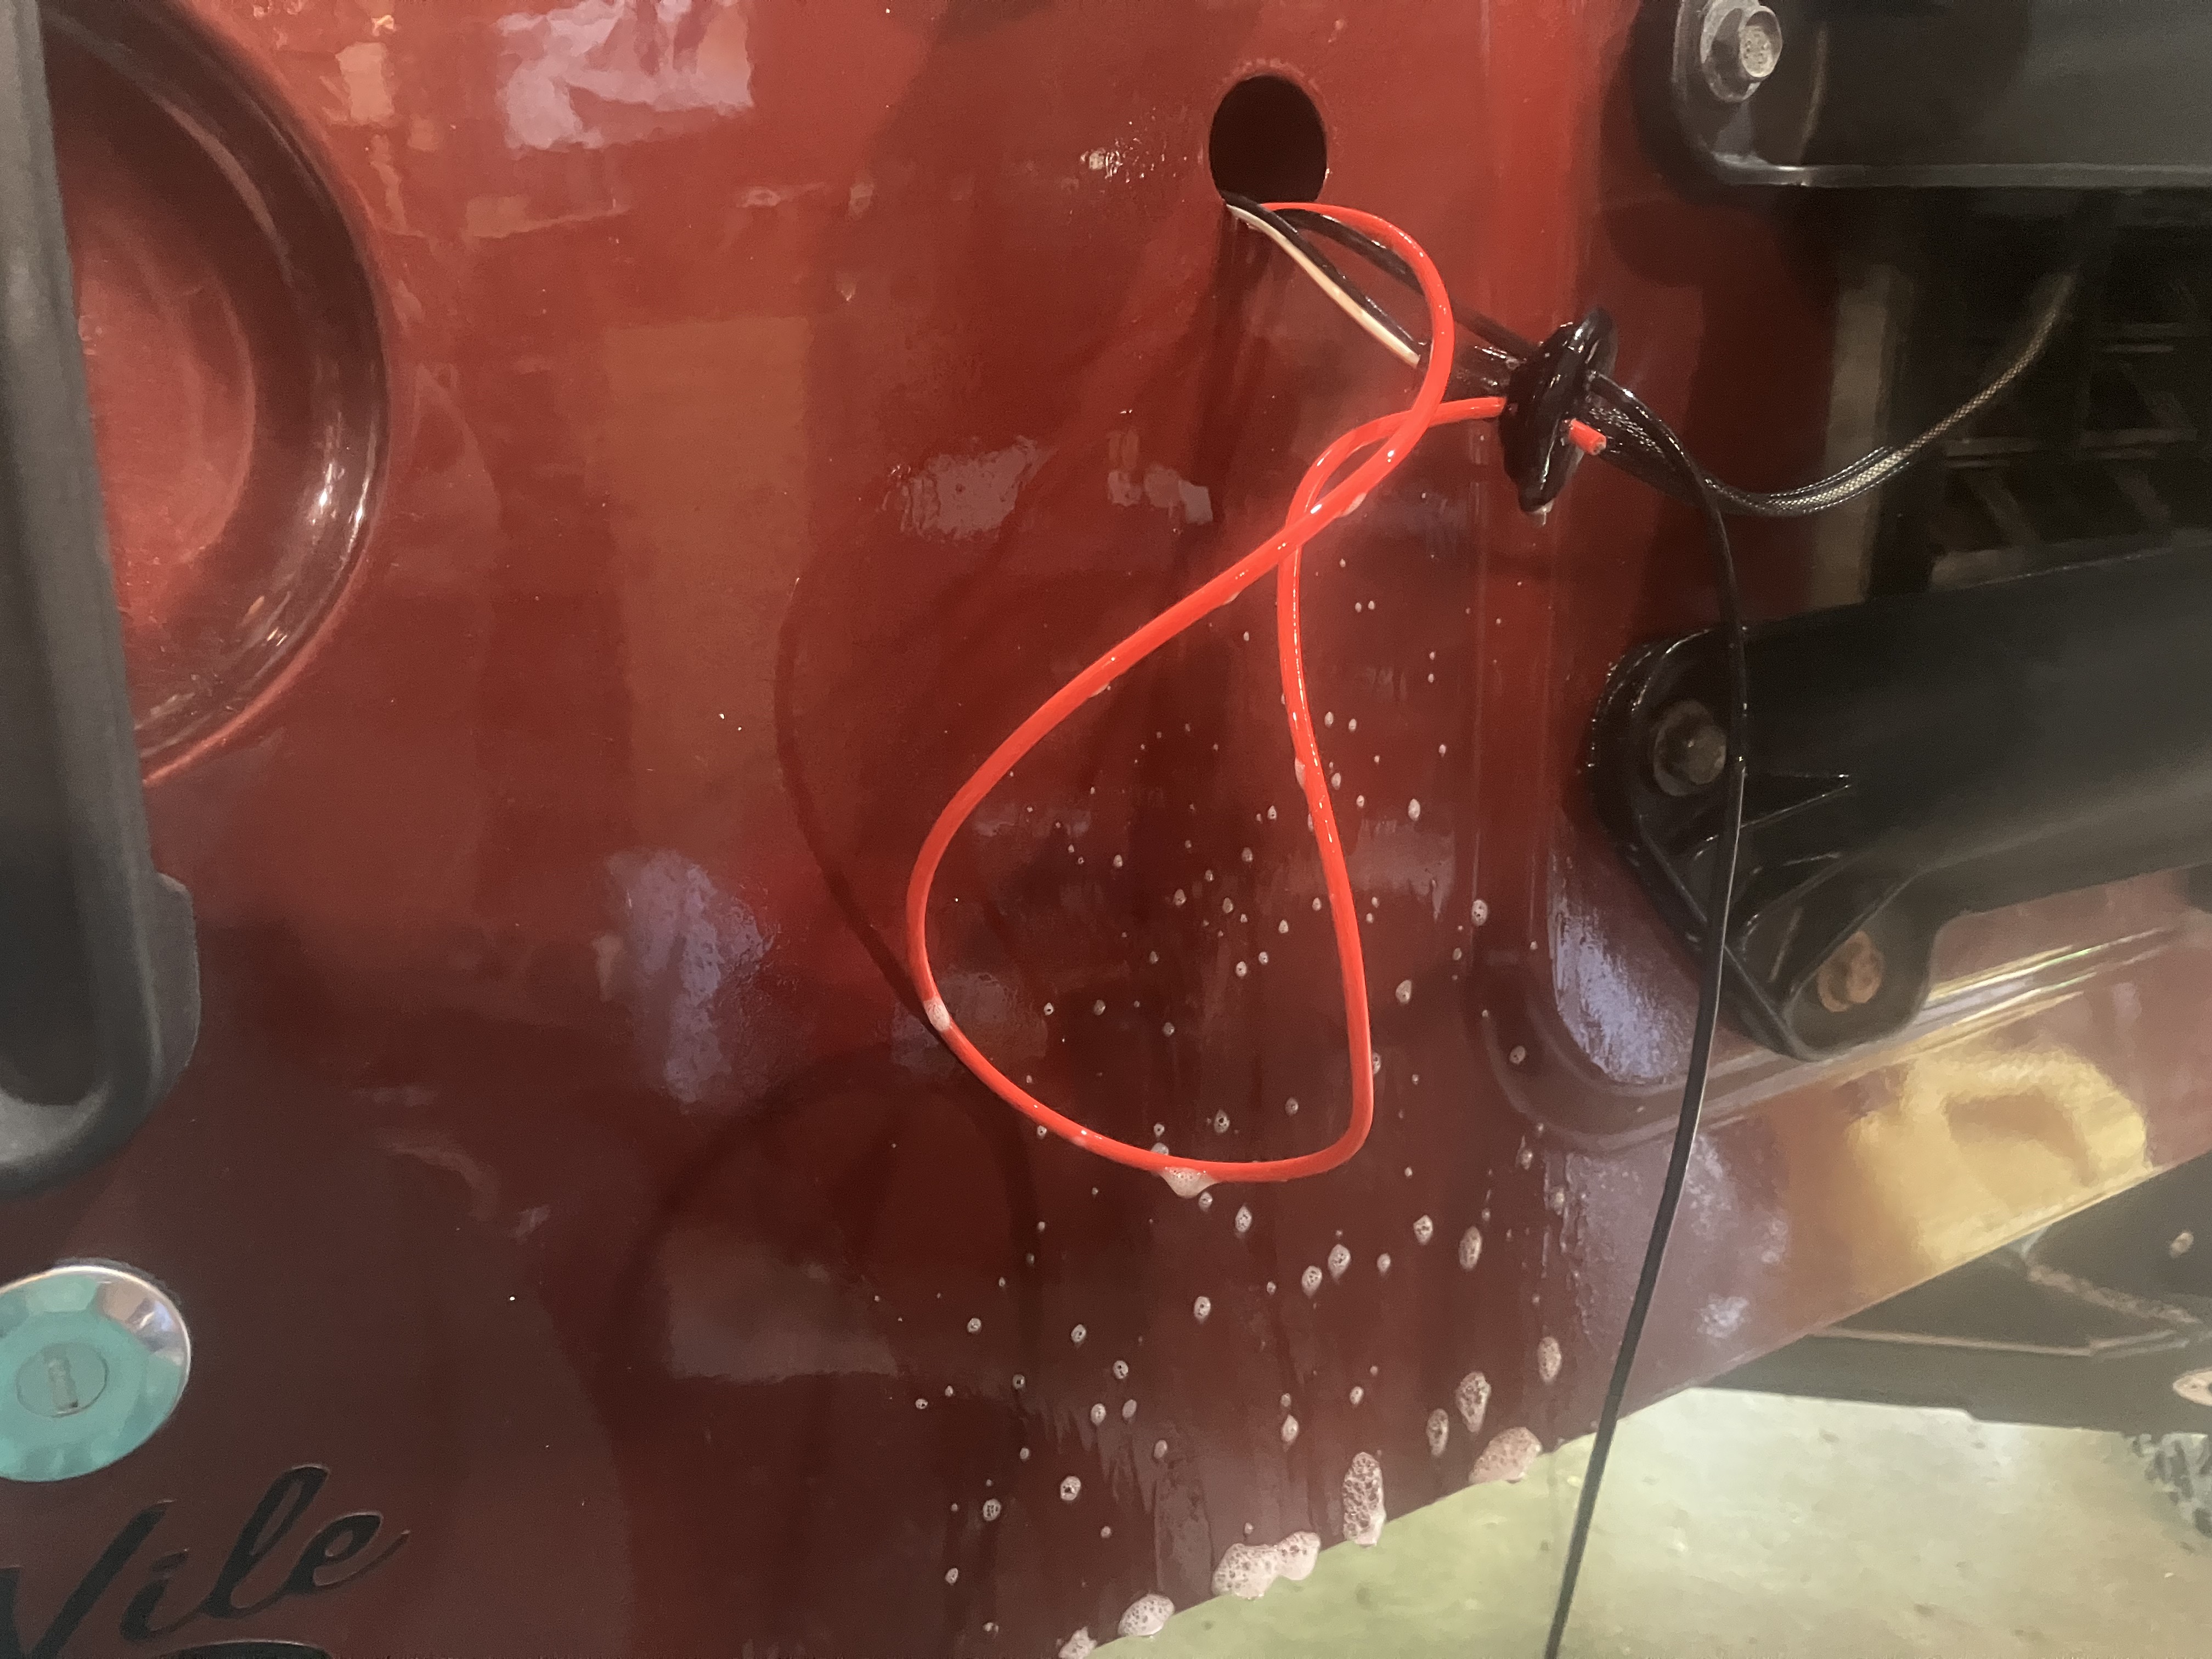
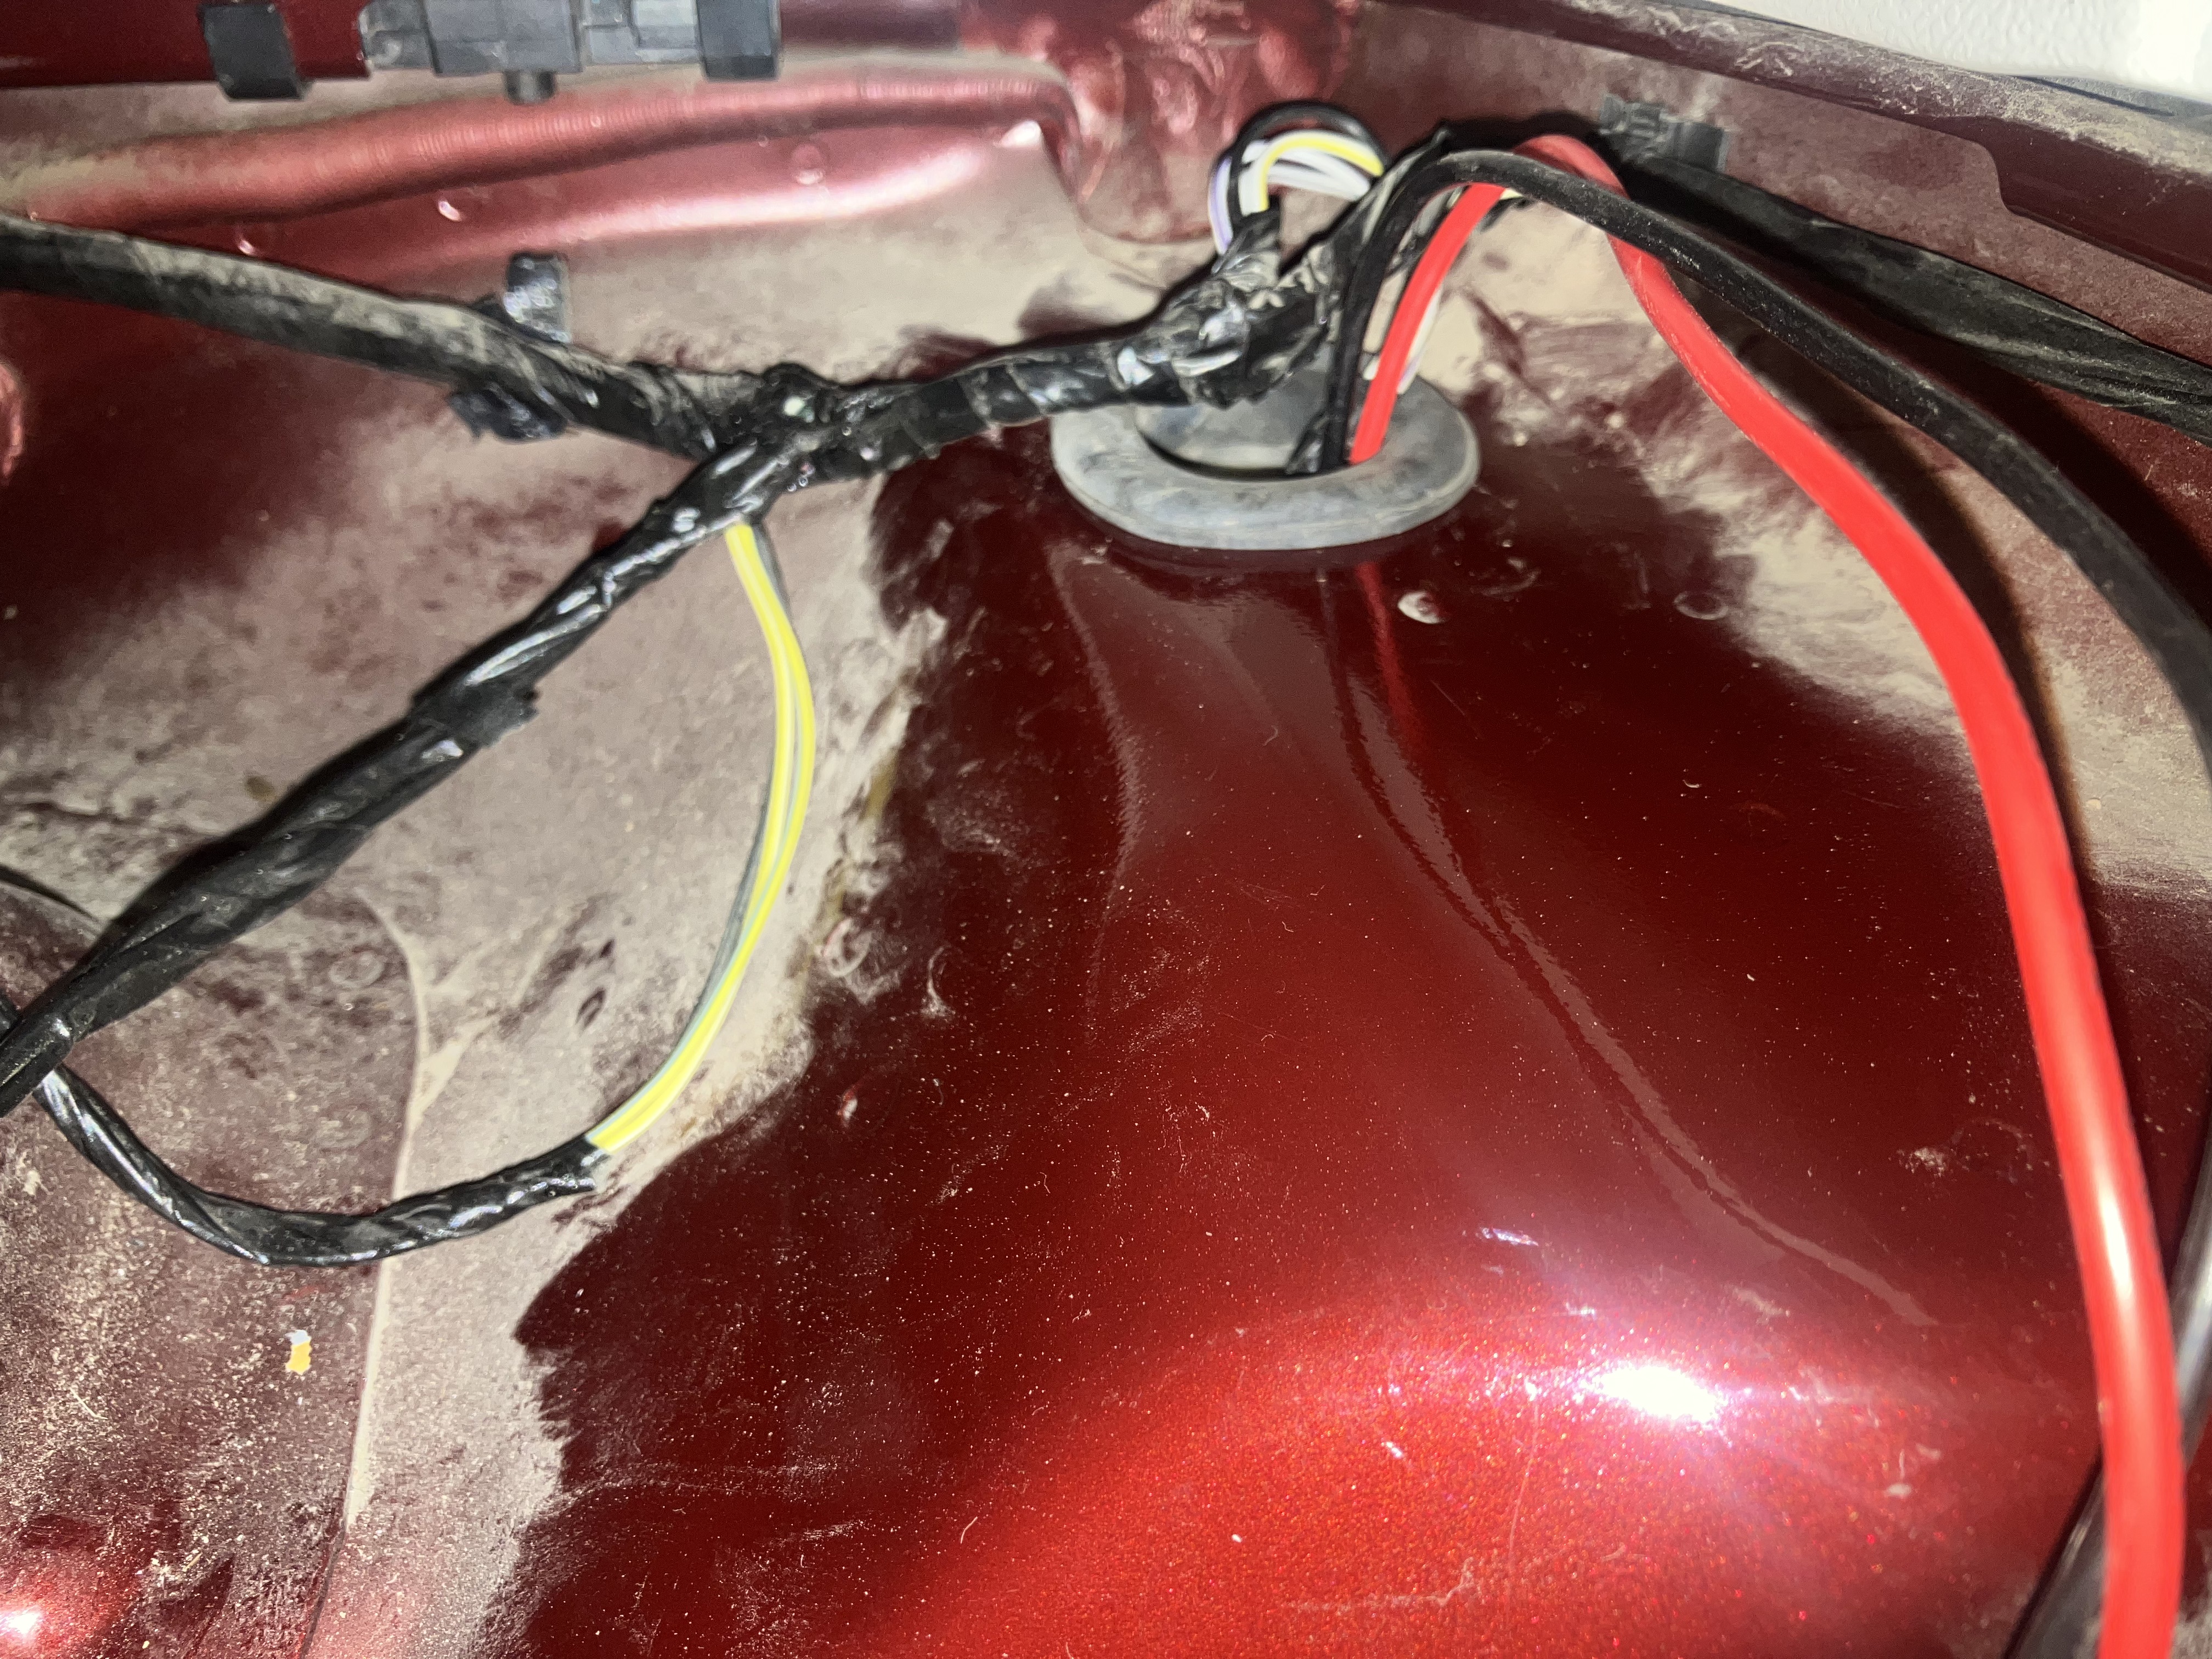
The green and yellow wires for the turn signals I cut short and taped off to keep moisture out. There was no ground from the wiring harness in the kit (it assumed the ground from the trailer socket would be screwed to the frame), so I had to cut into ground and make a T.
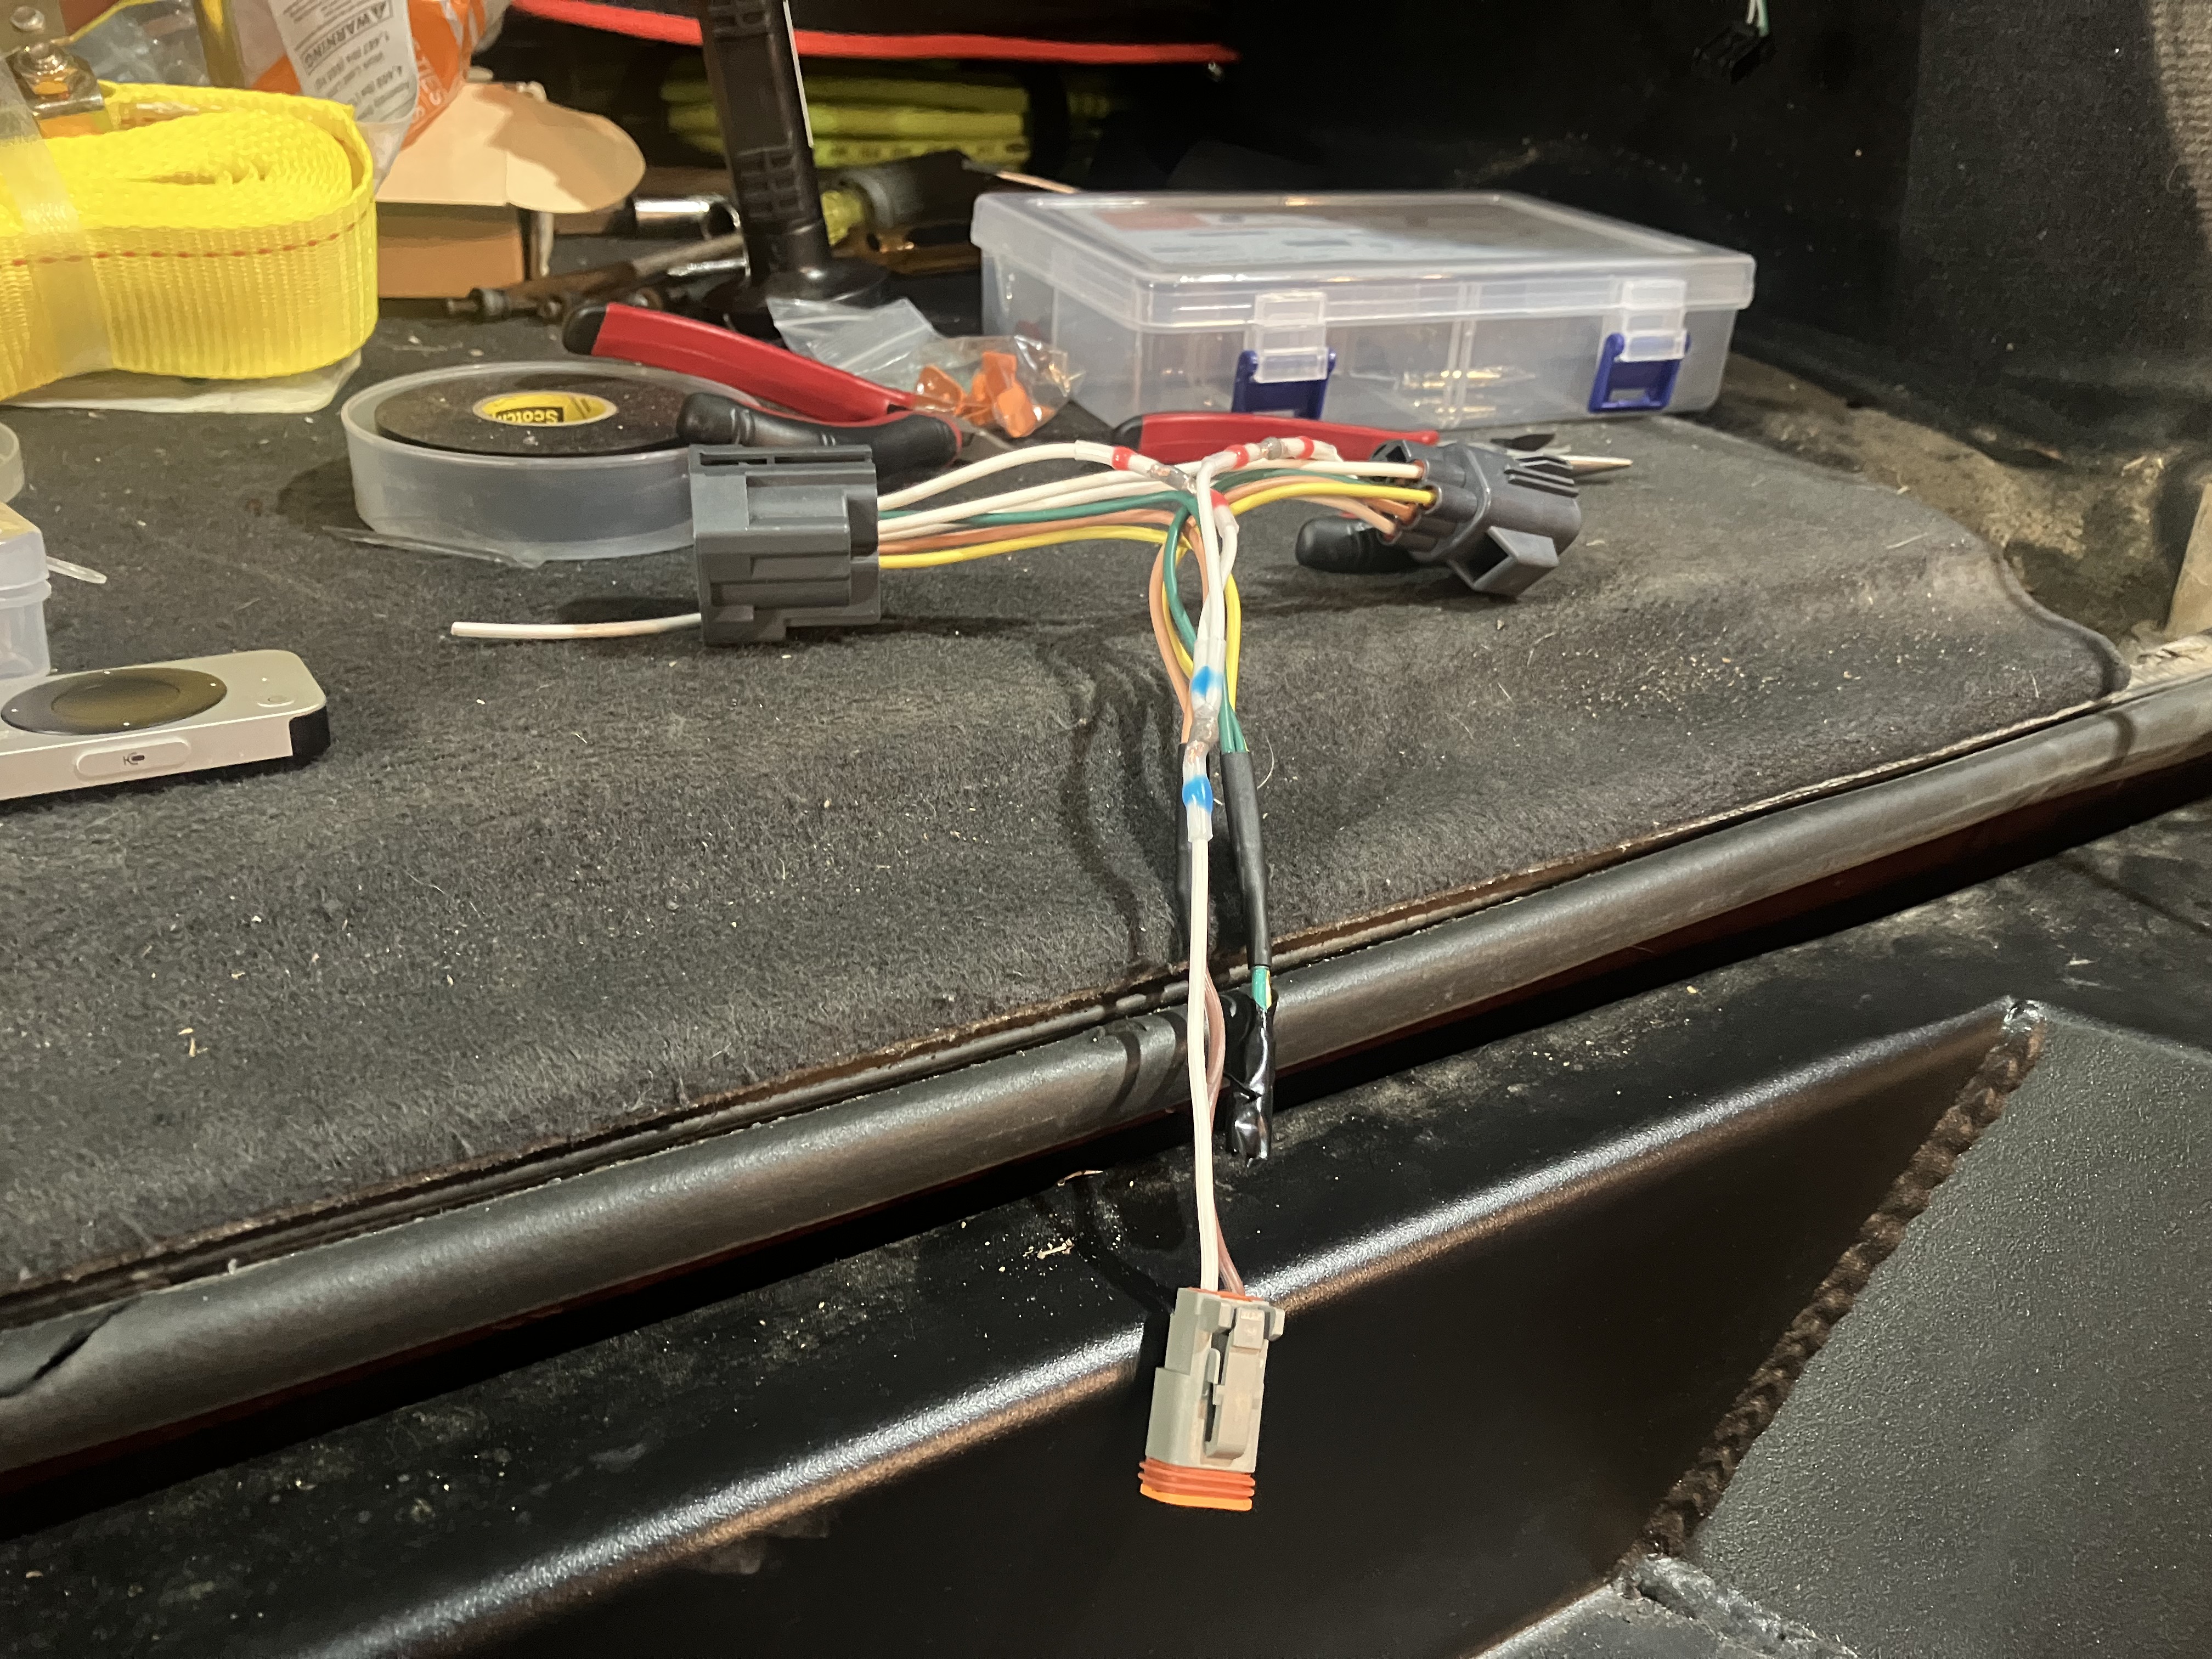
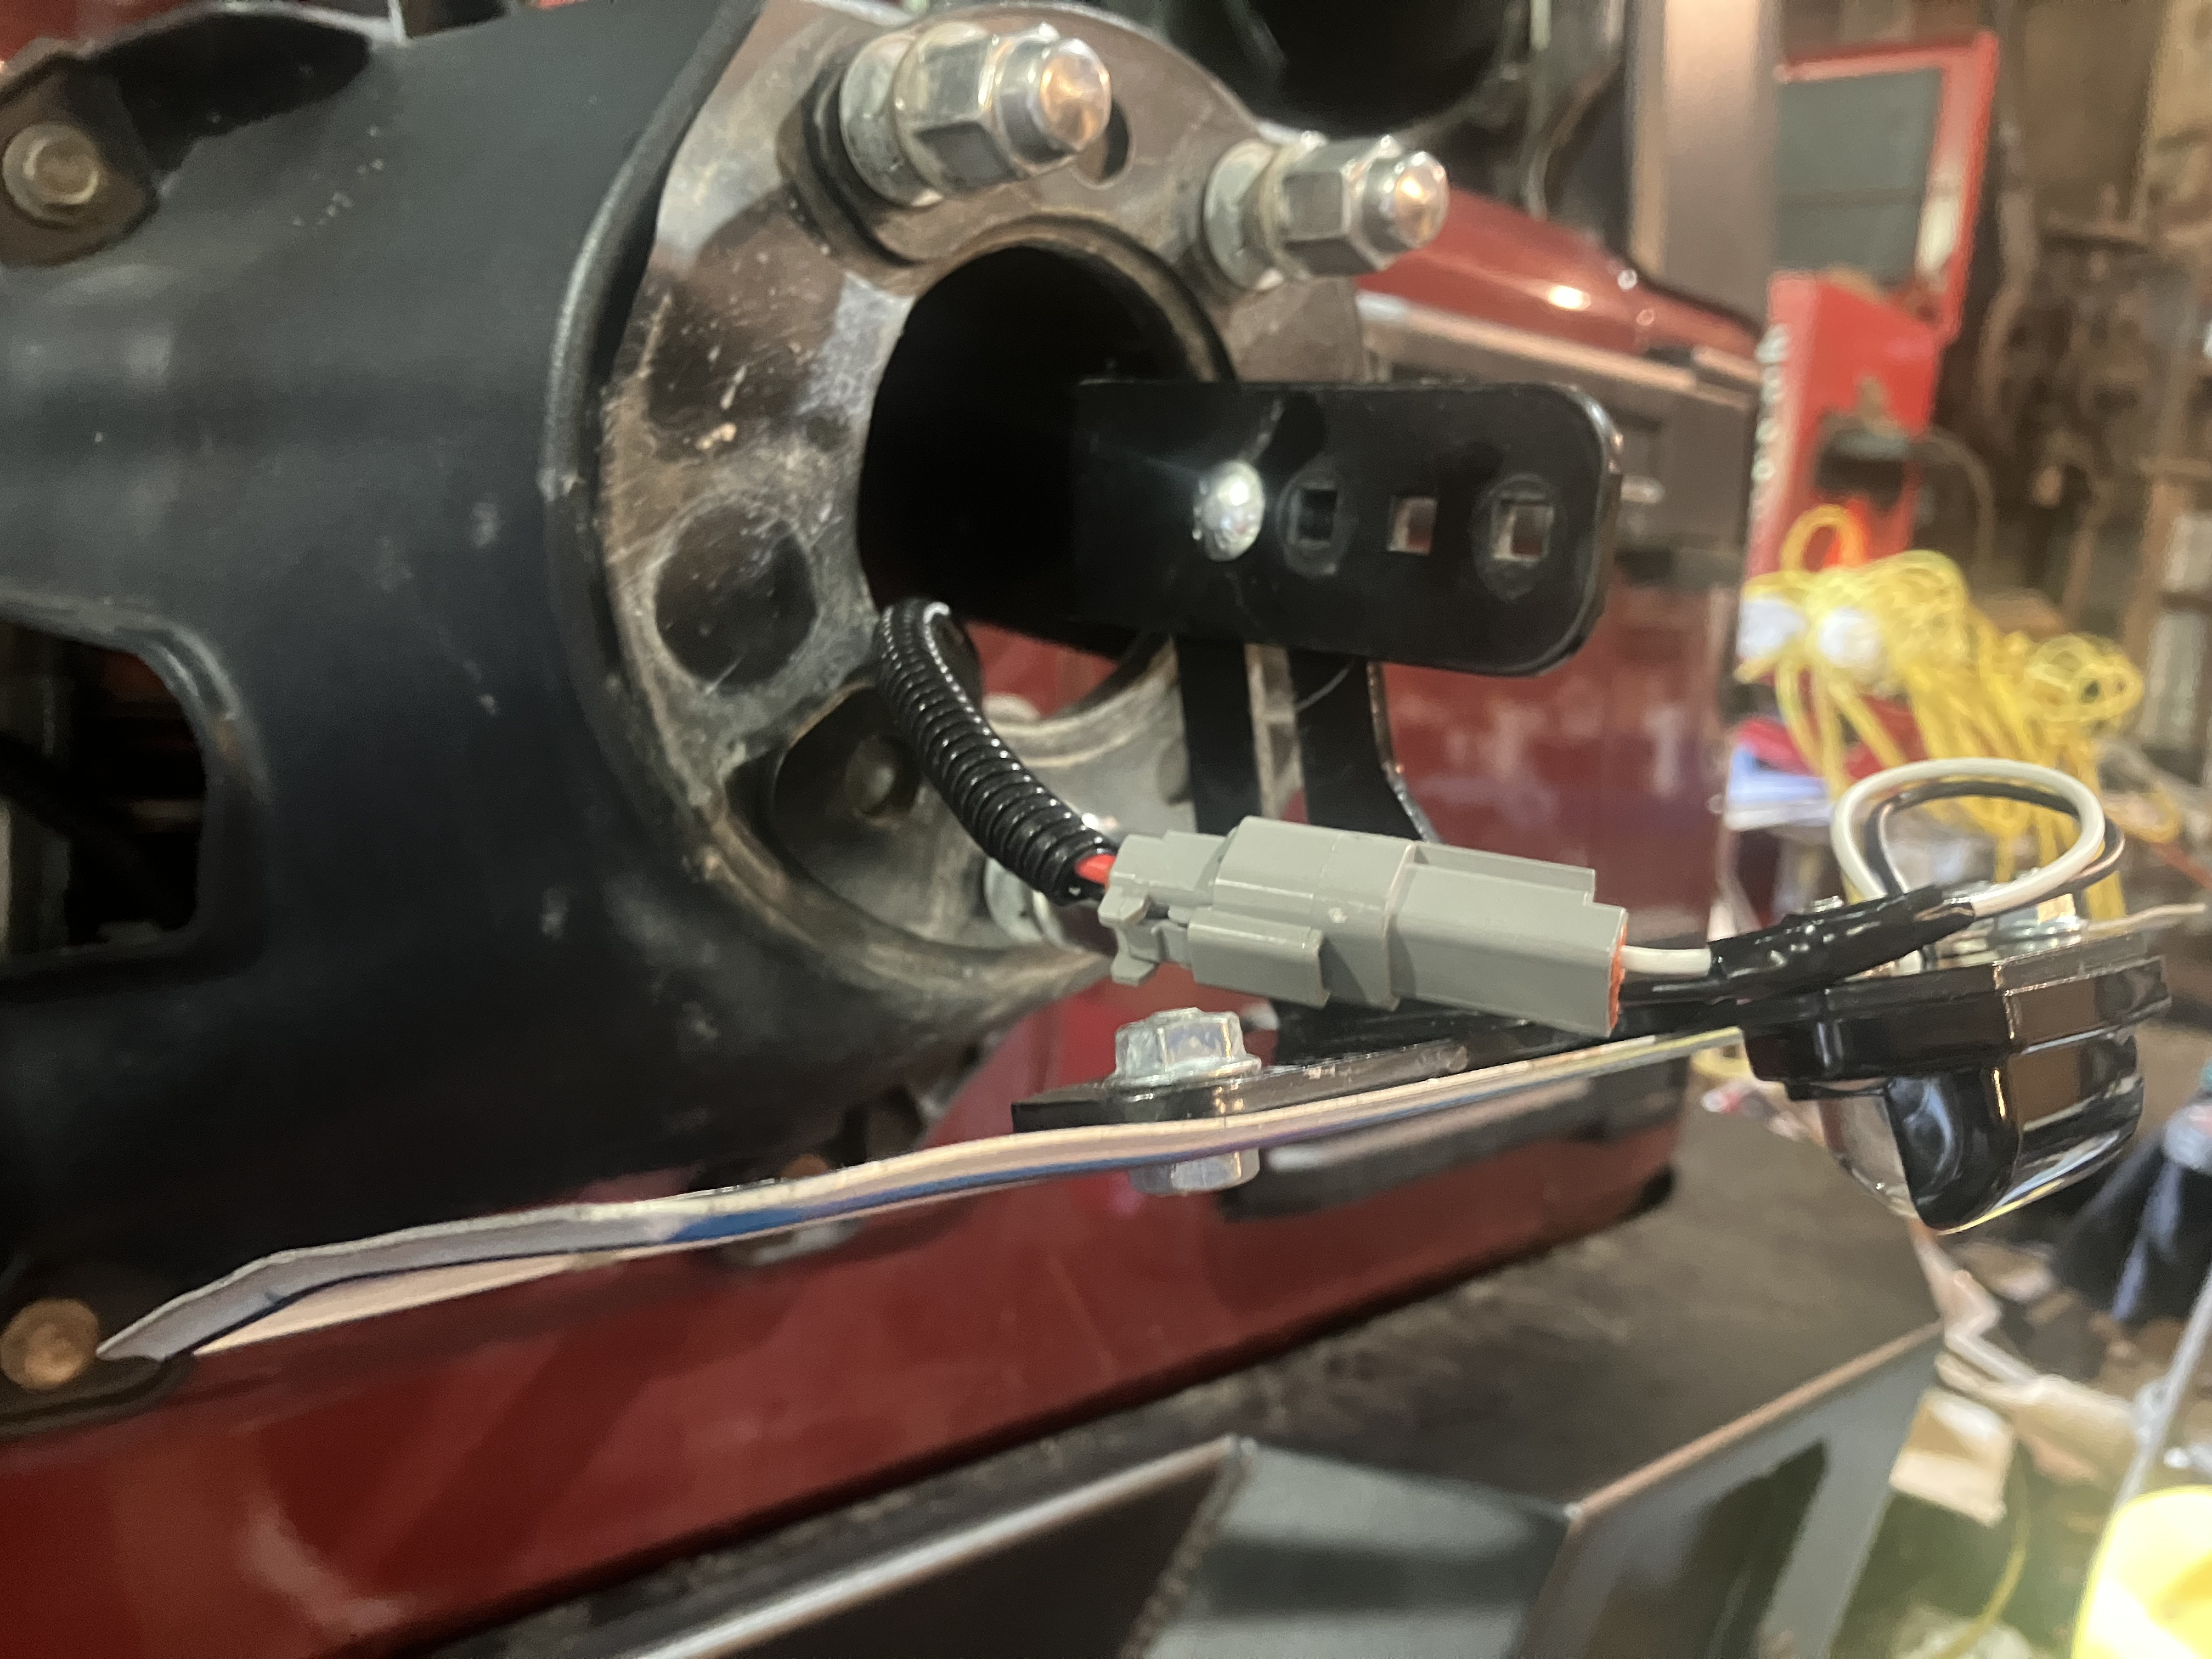
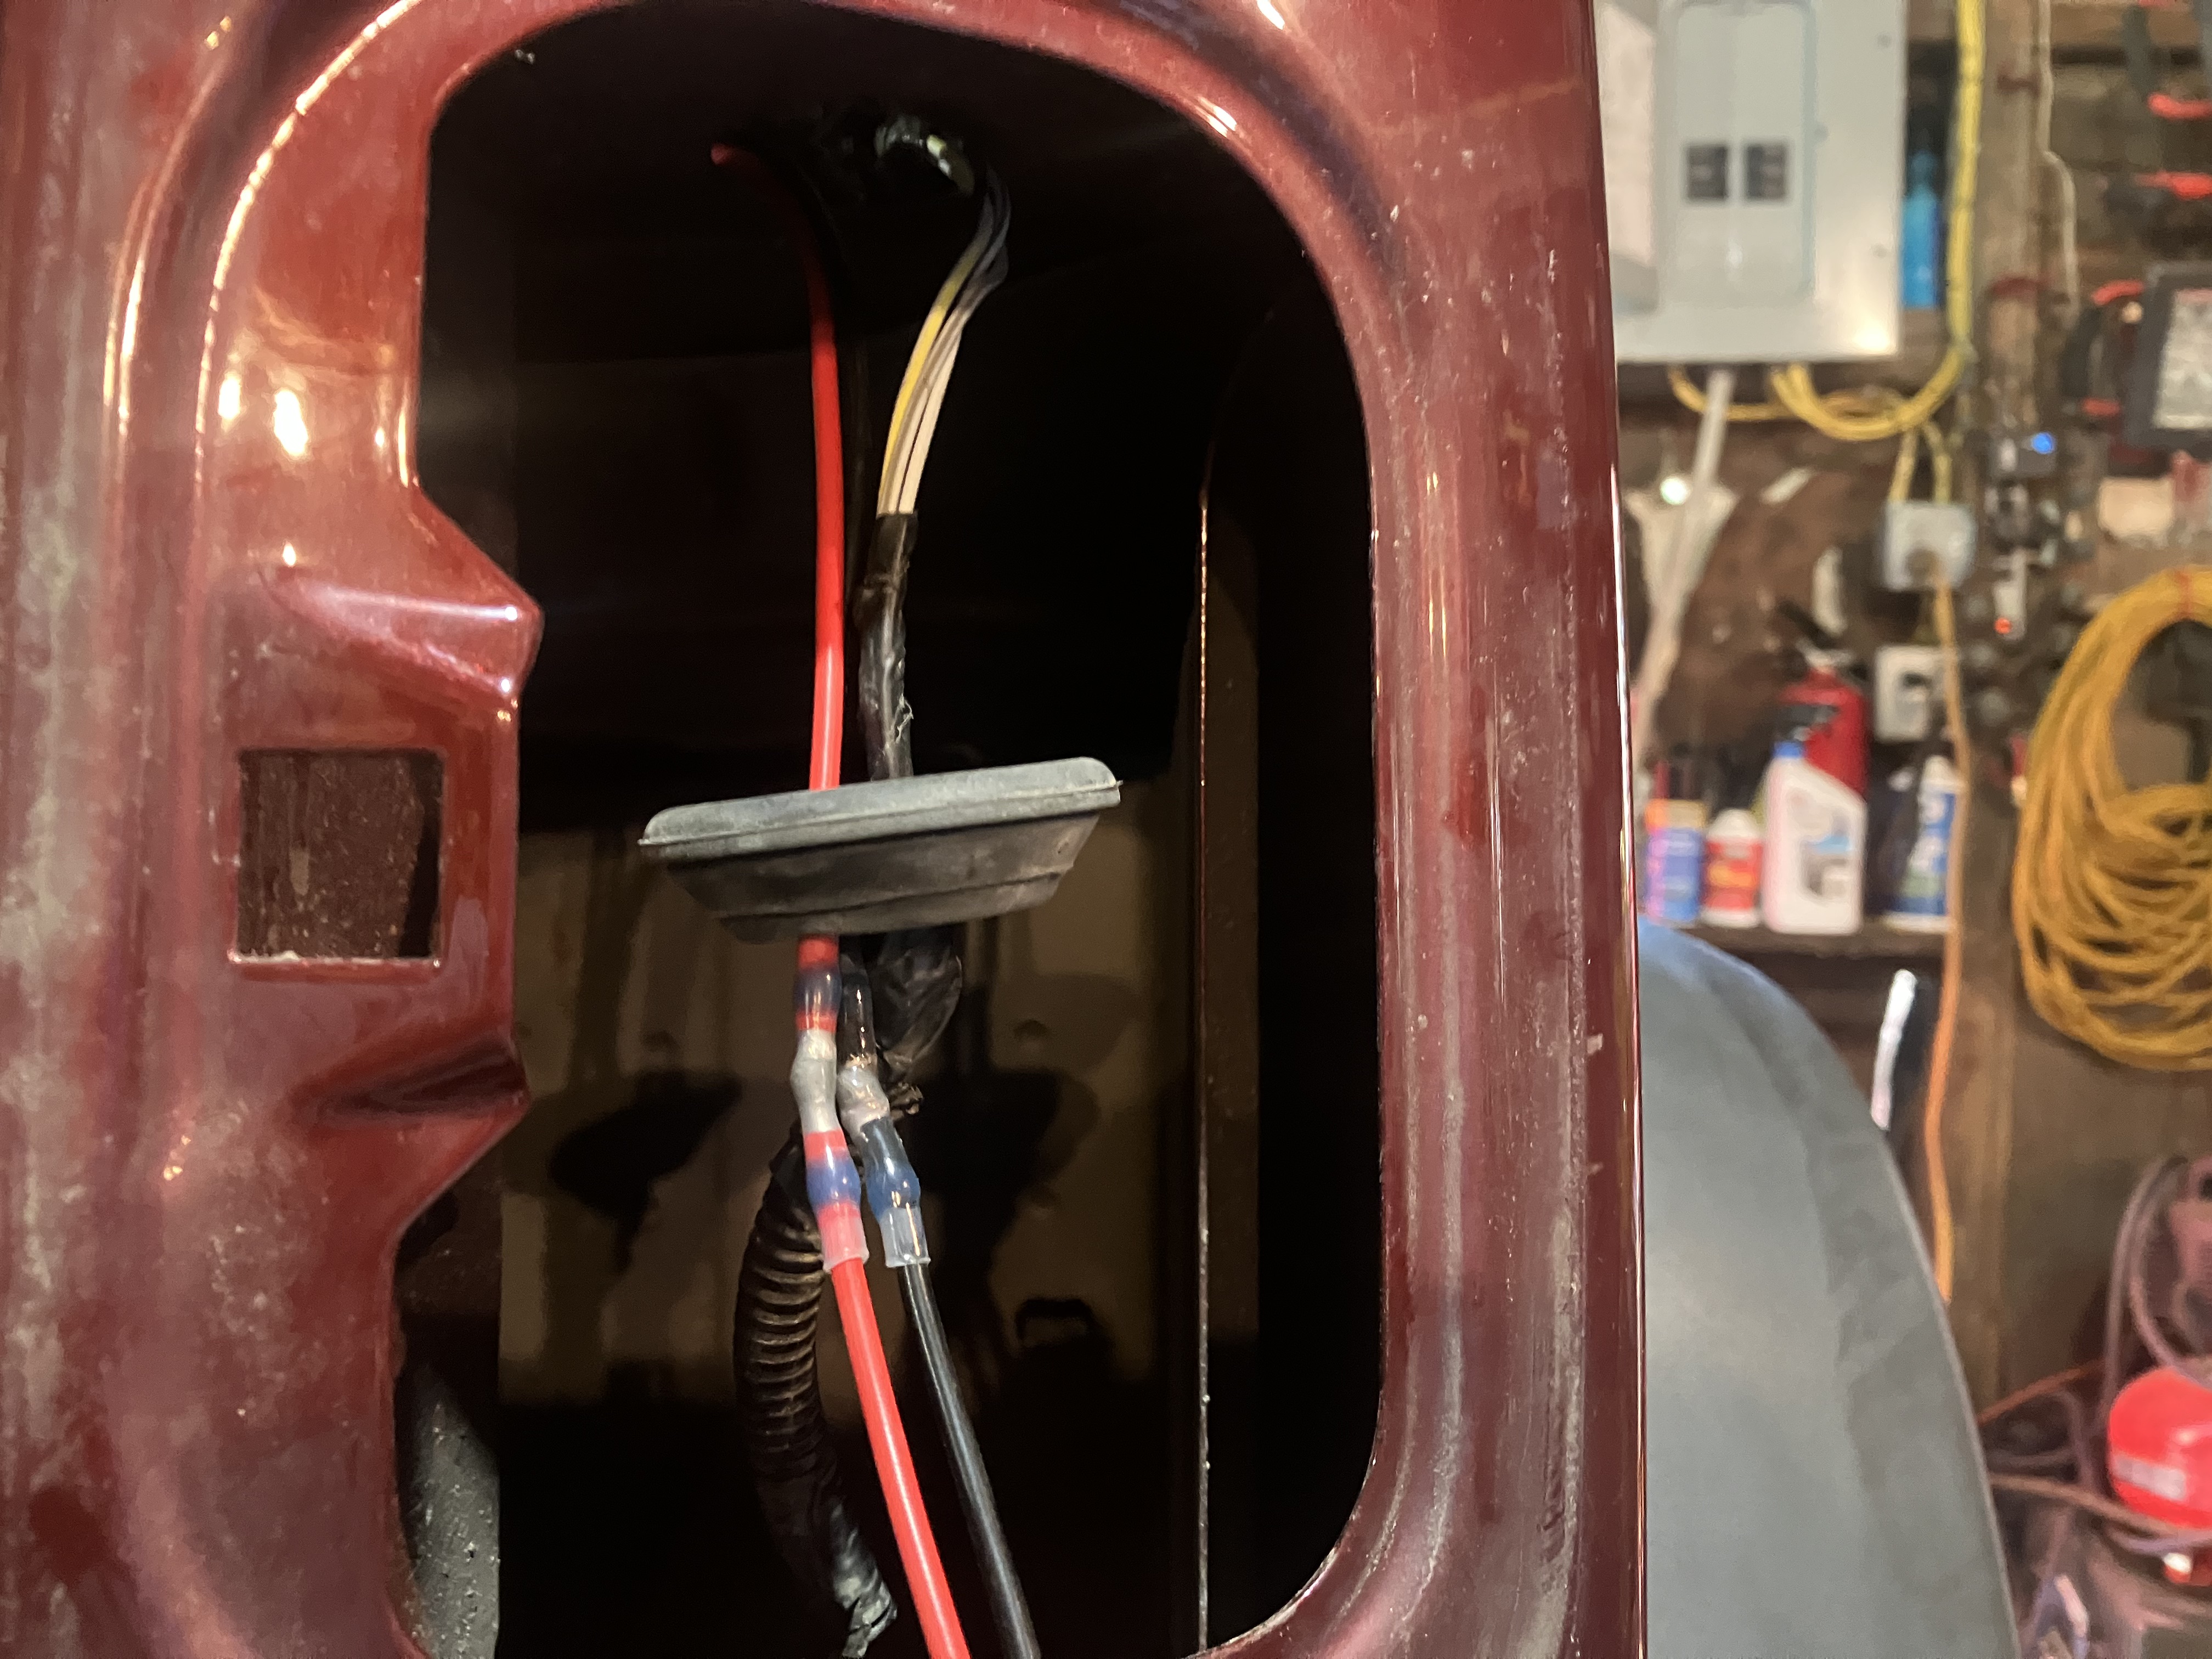
Cut a slot in the dust plug and pushed the wire and DT connector through. Suppose it would've needed a smaller hole if I had just pushed the wires through but...meh. This plug doesn't keep water out.
And...nothing.
Got out the multimeter, confirmed I had power out the license plate.
Dag nabbit, it's a LED -- light emitting diodes. Diodes are one-way electrical devices, hmmm...
Yep instead of following the automotive style "Black is negative" they followed the RV style "Black is positive."
Had to pull off the old connector and use a new one with the wires reversed.
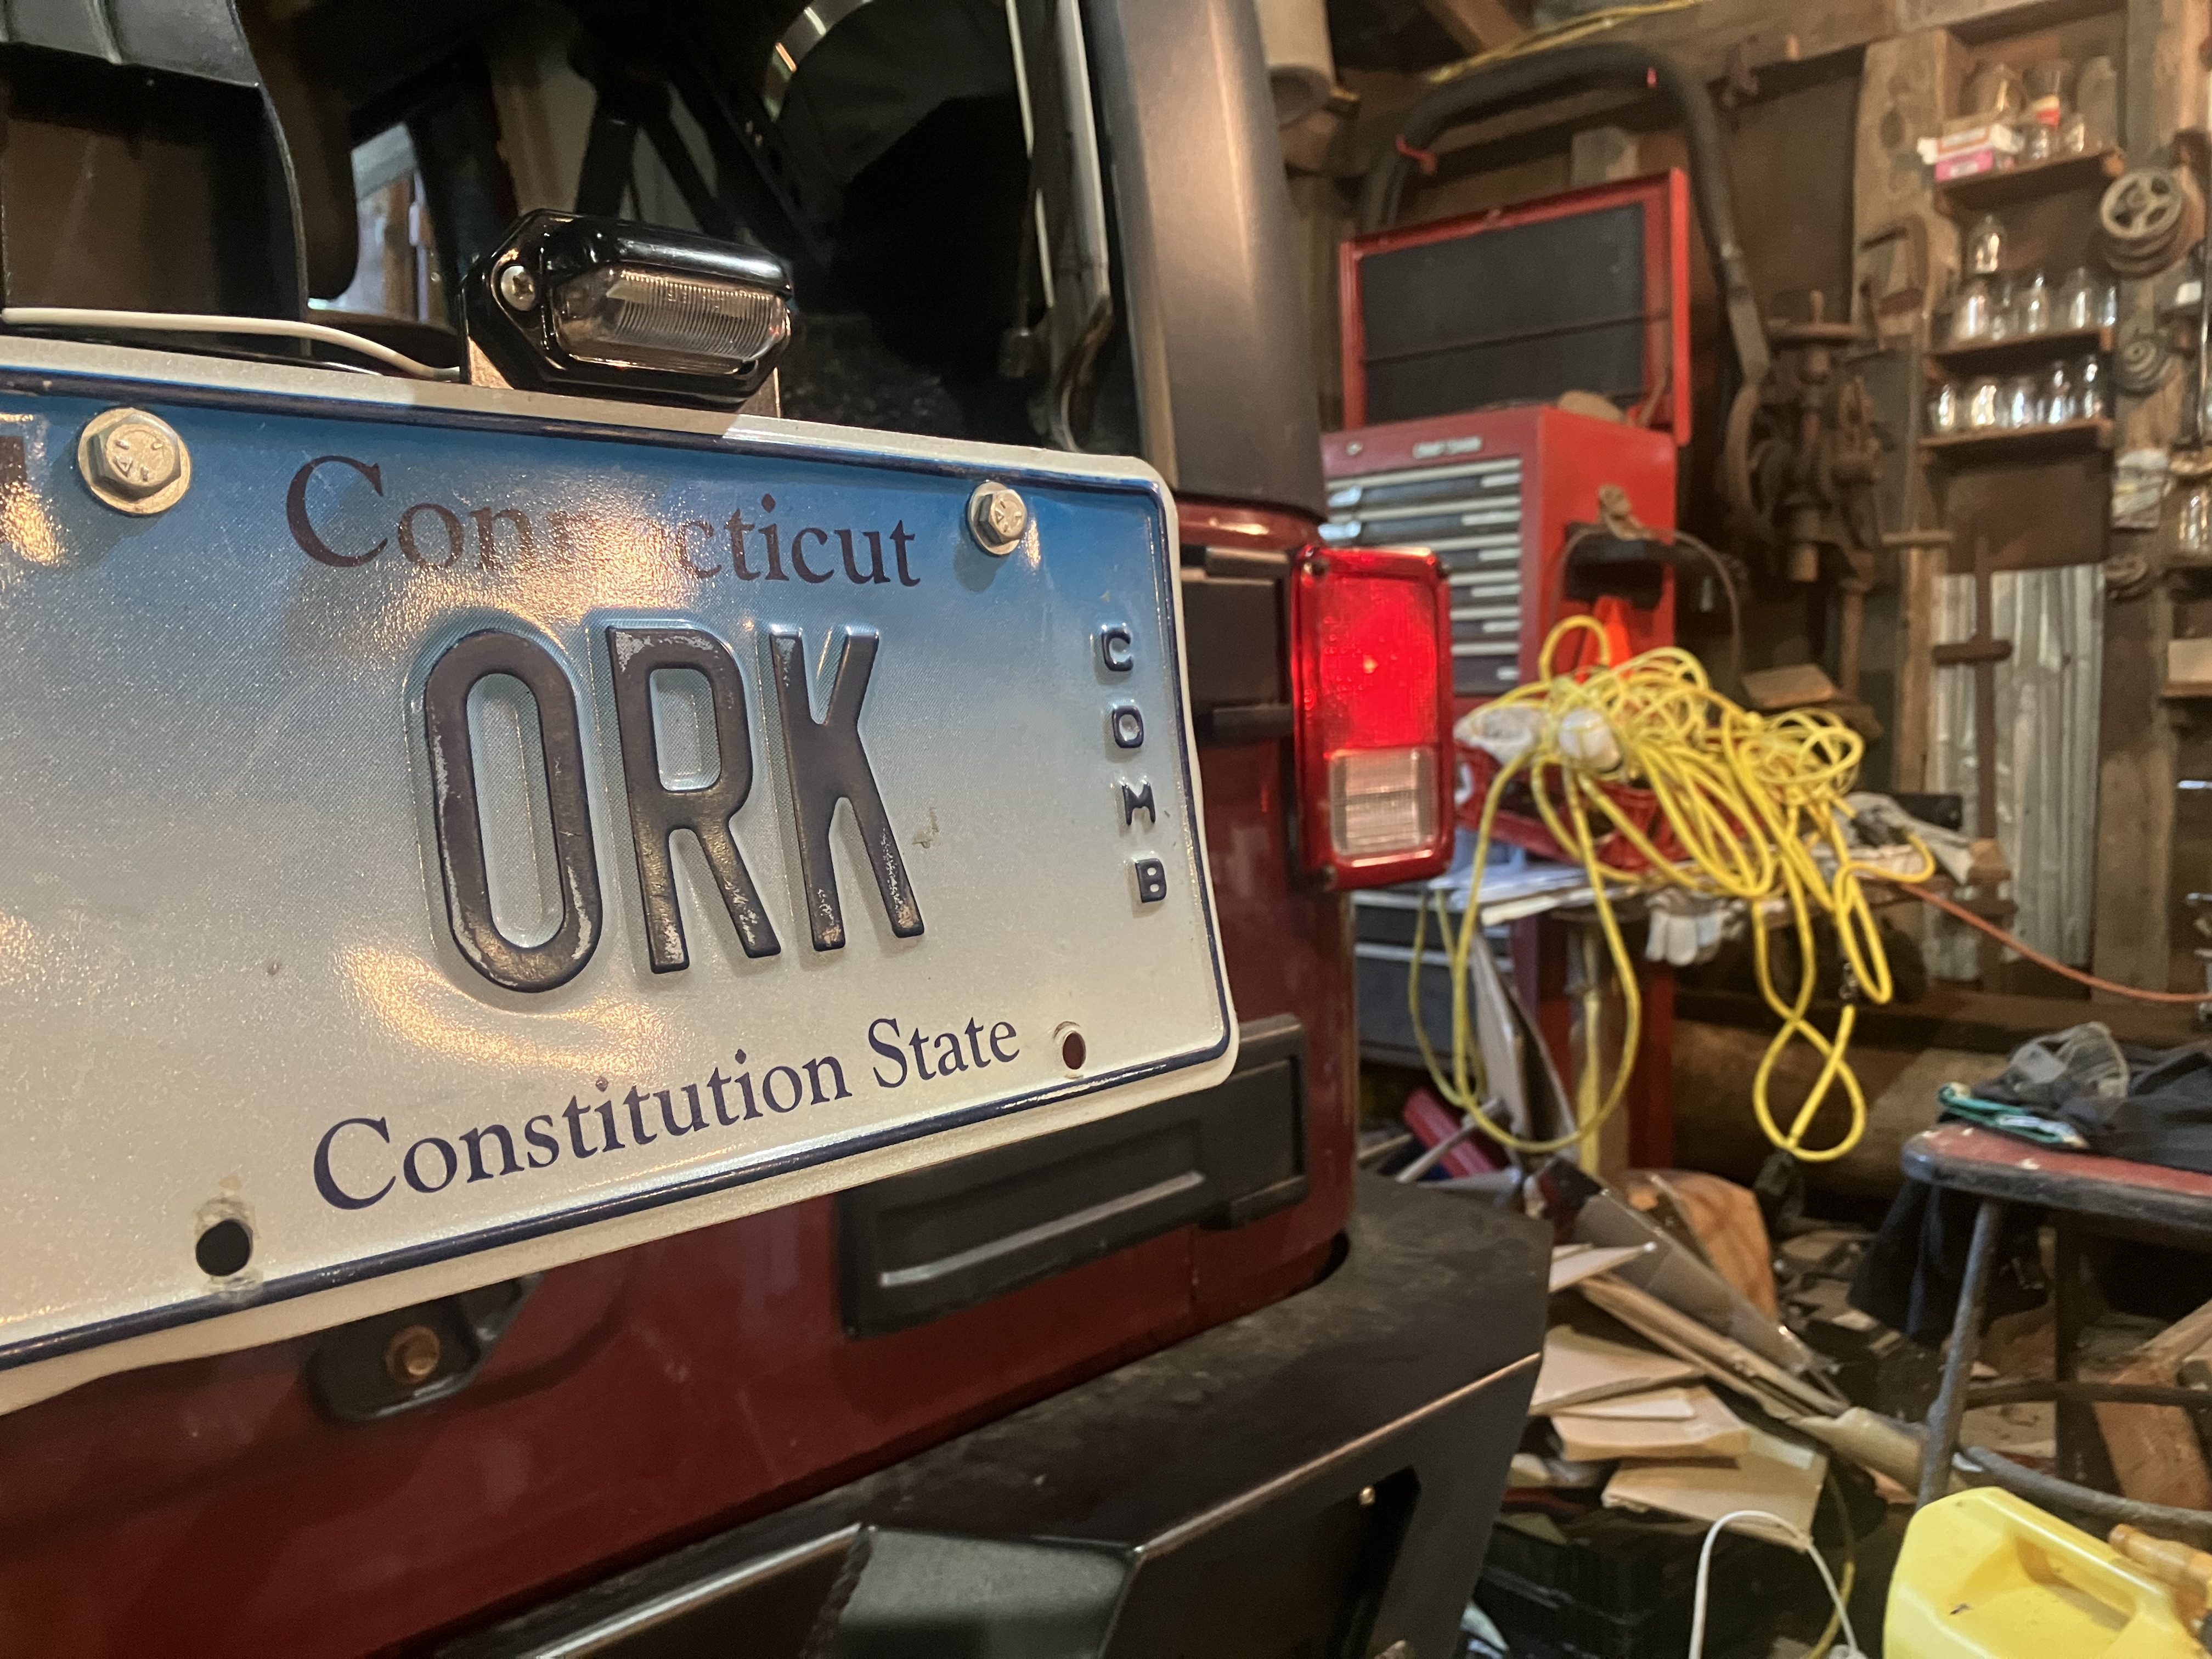
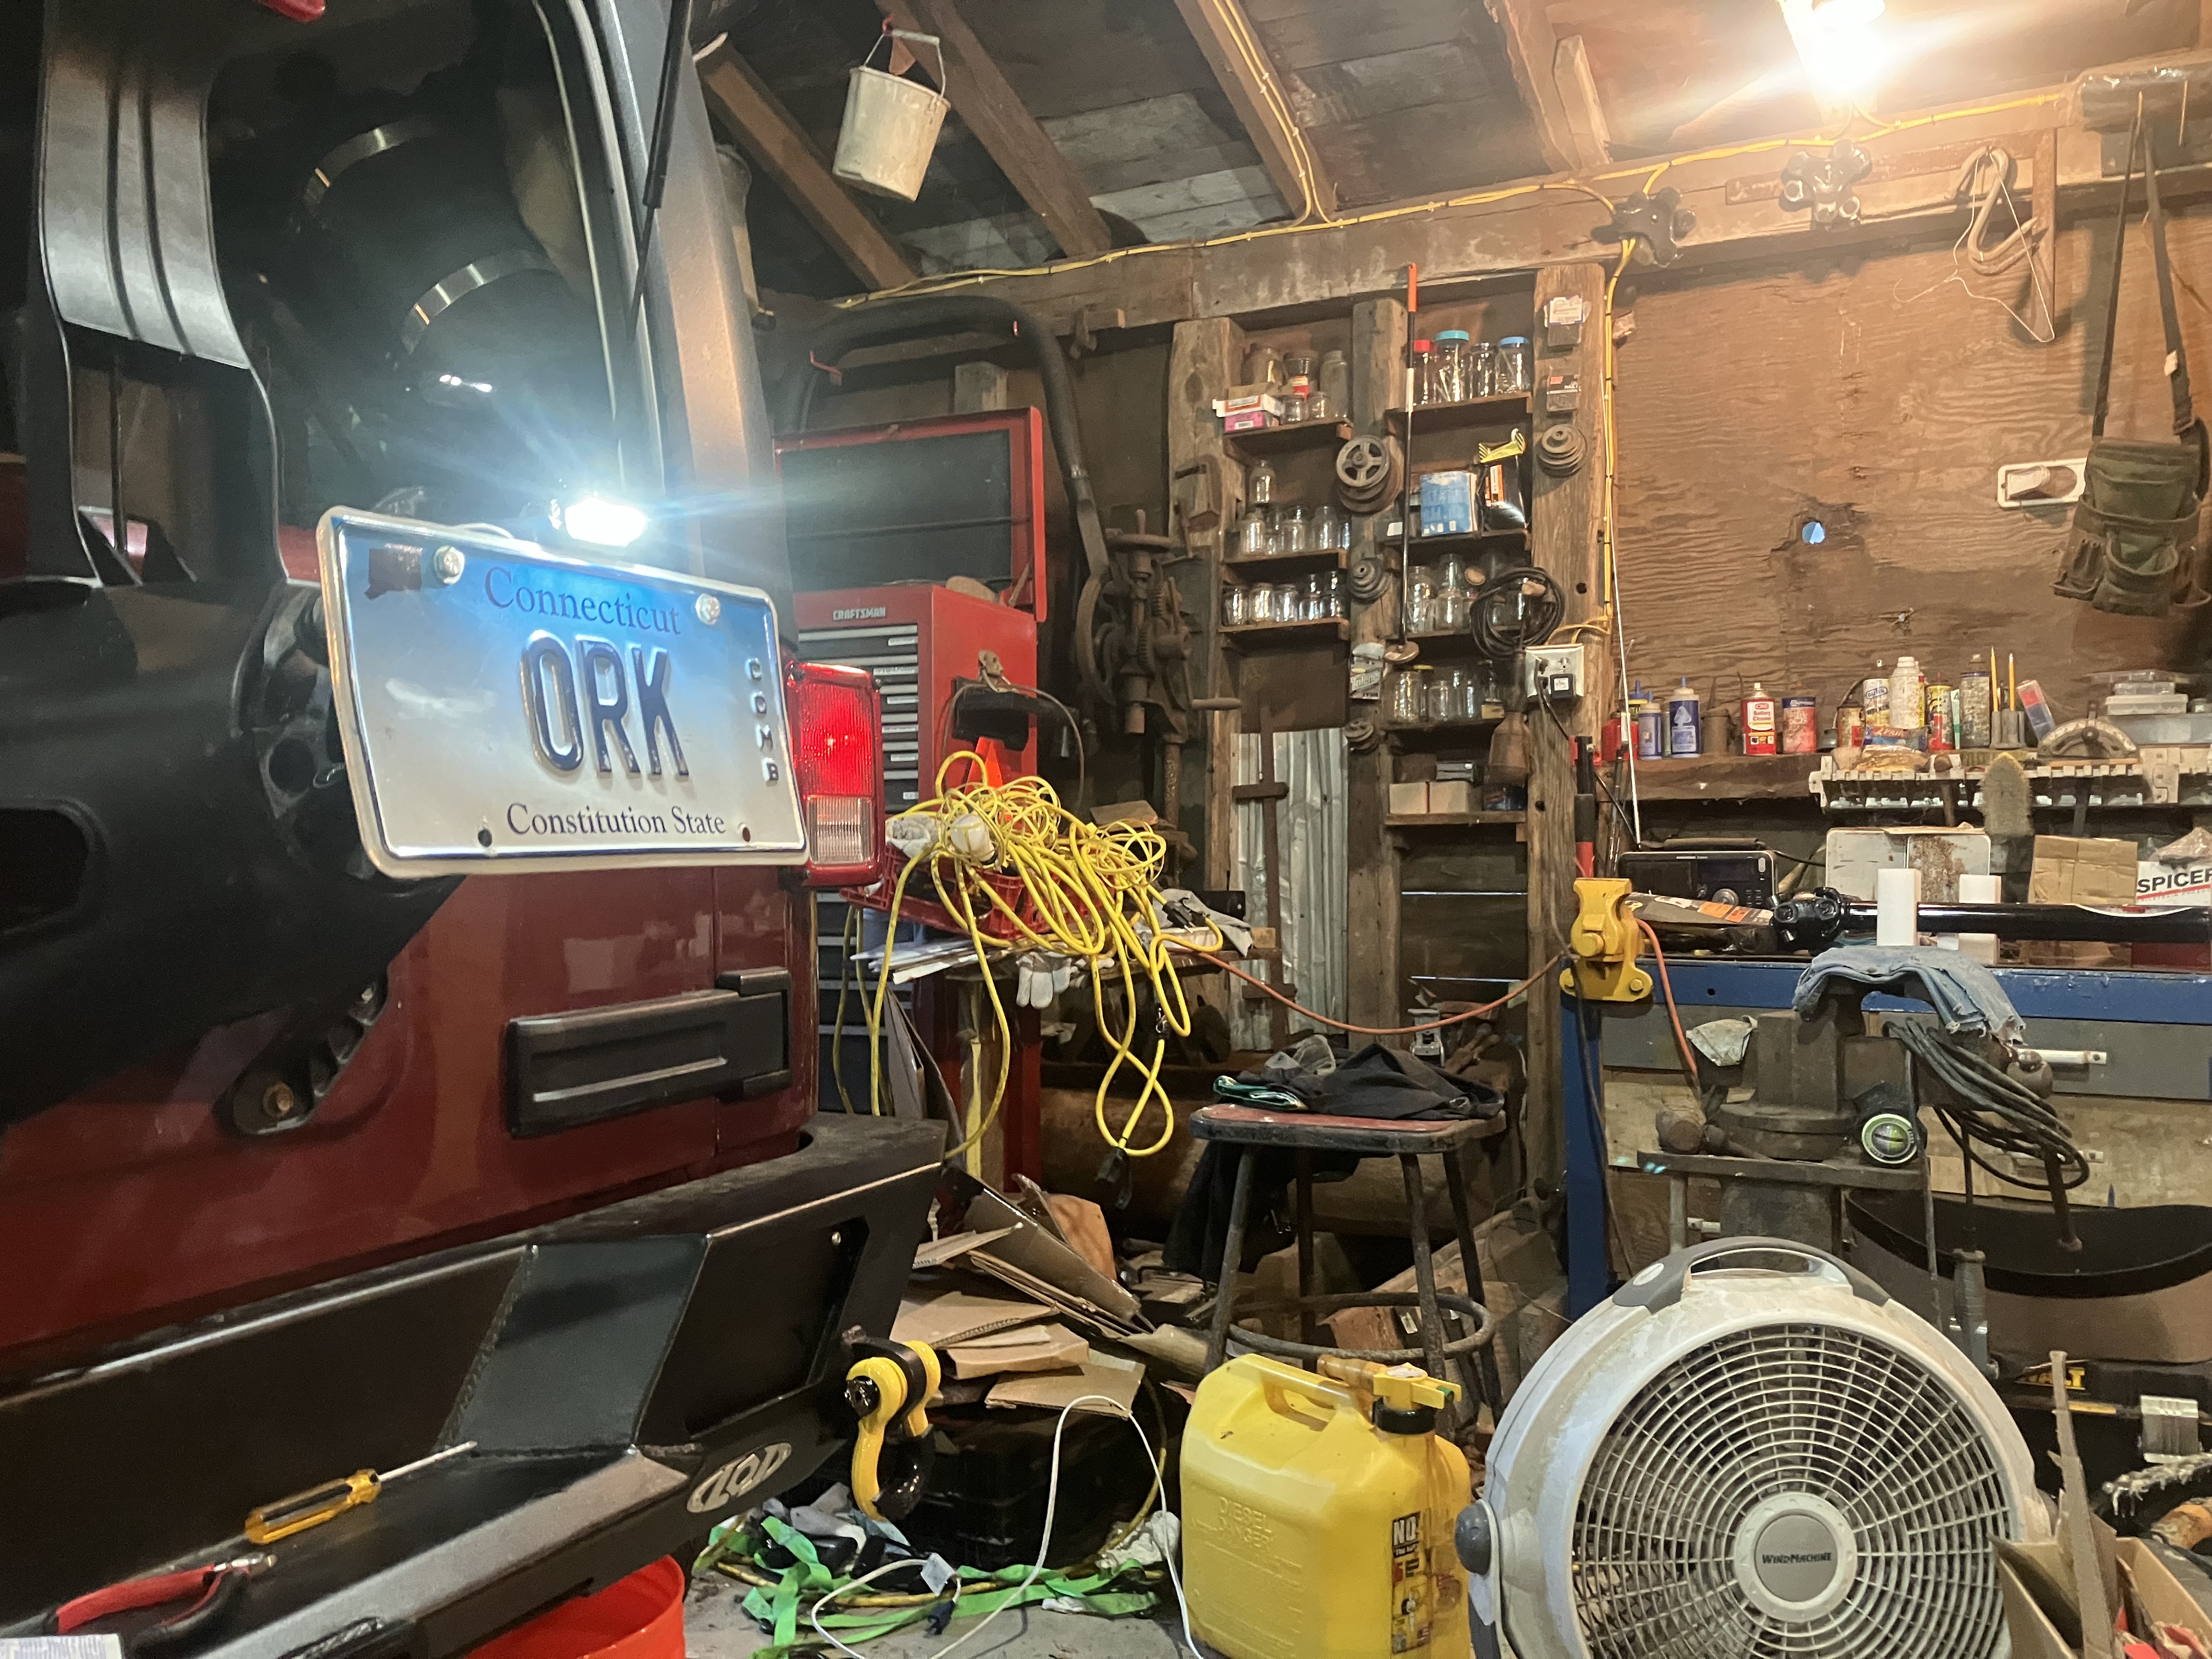
After this pic I also put a piece of electrical tape over the top half of the clear part because it looked like it would be annoying as fuck to be following it, and it didn't impact illuminating the license plate.
No comments:
Post a Comment